Create and Manage a Project
Use this page to create a project, connect data, manage project access, and handle project reset or deletion.
Before you begin
You must be an organization admin to create or delete a project. Project owners can manage most project settings after the project is created.
Choose a project type
When creating a project, you'll be asked to choose between two project types:
- Agentic project (recommended) — Unlocks Agentic Mode, plus Knowledge, Skills, Memories, and GenBI Apps. The agent learns from your conversations and grows new capabilities over time.
- Classic project — The dashboards-and-spreadsheets experience with Ad-hoc and Interactive Mode. Use this if your team prefers a more traditional BI workflow.
Agentic Mode is only available inside Agentic projects. Classic projects cannot enable Agentic Mode after creation. You can mix both project types in one workspace.
Create an Agentic project
Memories, Skills, and Knowledge only exist inside Agentic projects. Choosing Agentic Mode at creation is what unlocks them.
For details on redeeming the early access credit before creating an Agentic project, see Asking Questions (Agentic Mode) → Early access.
There are two ways to start, depending on whether you already have projects:
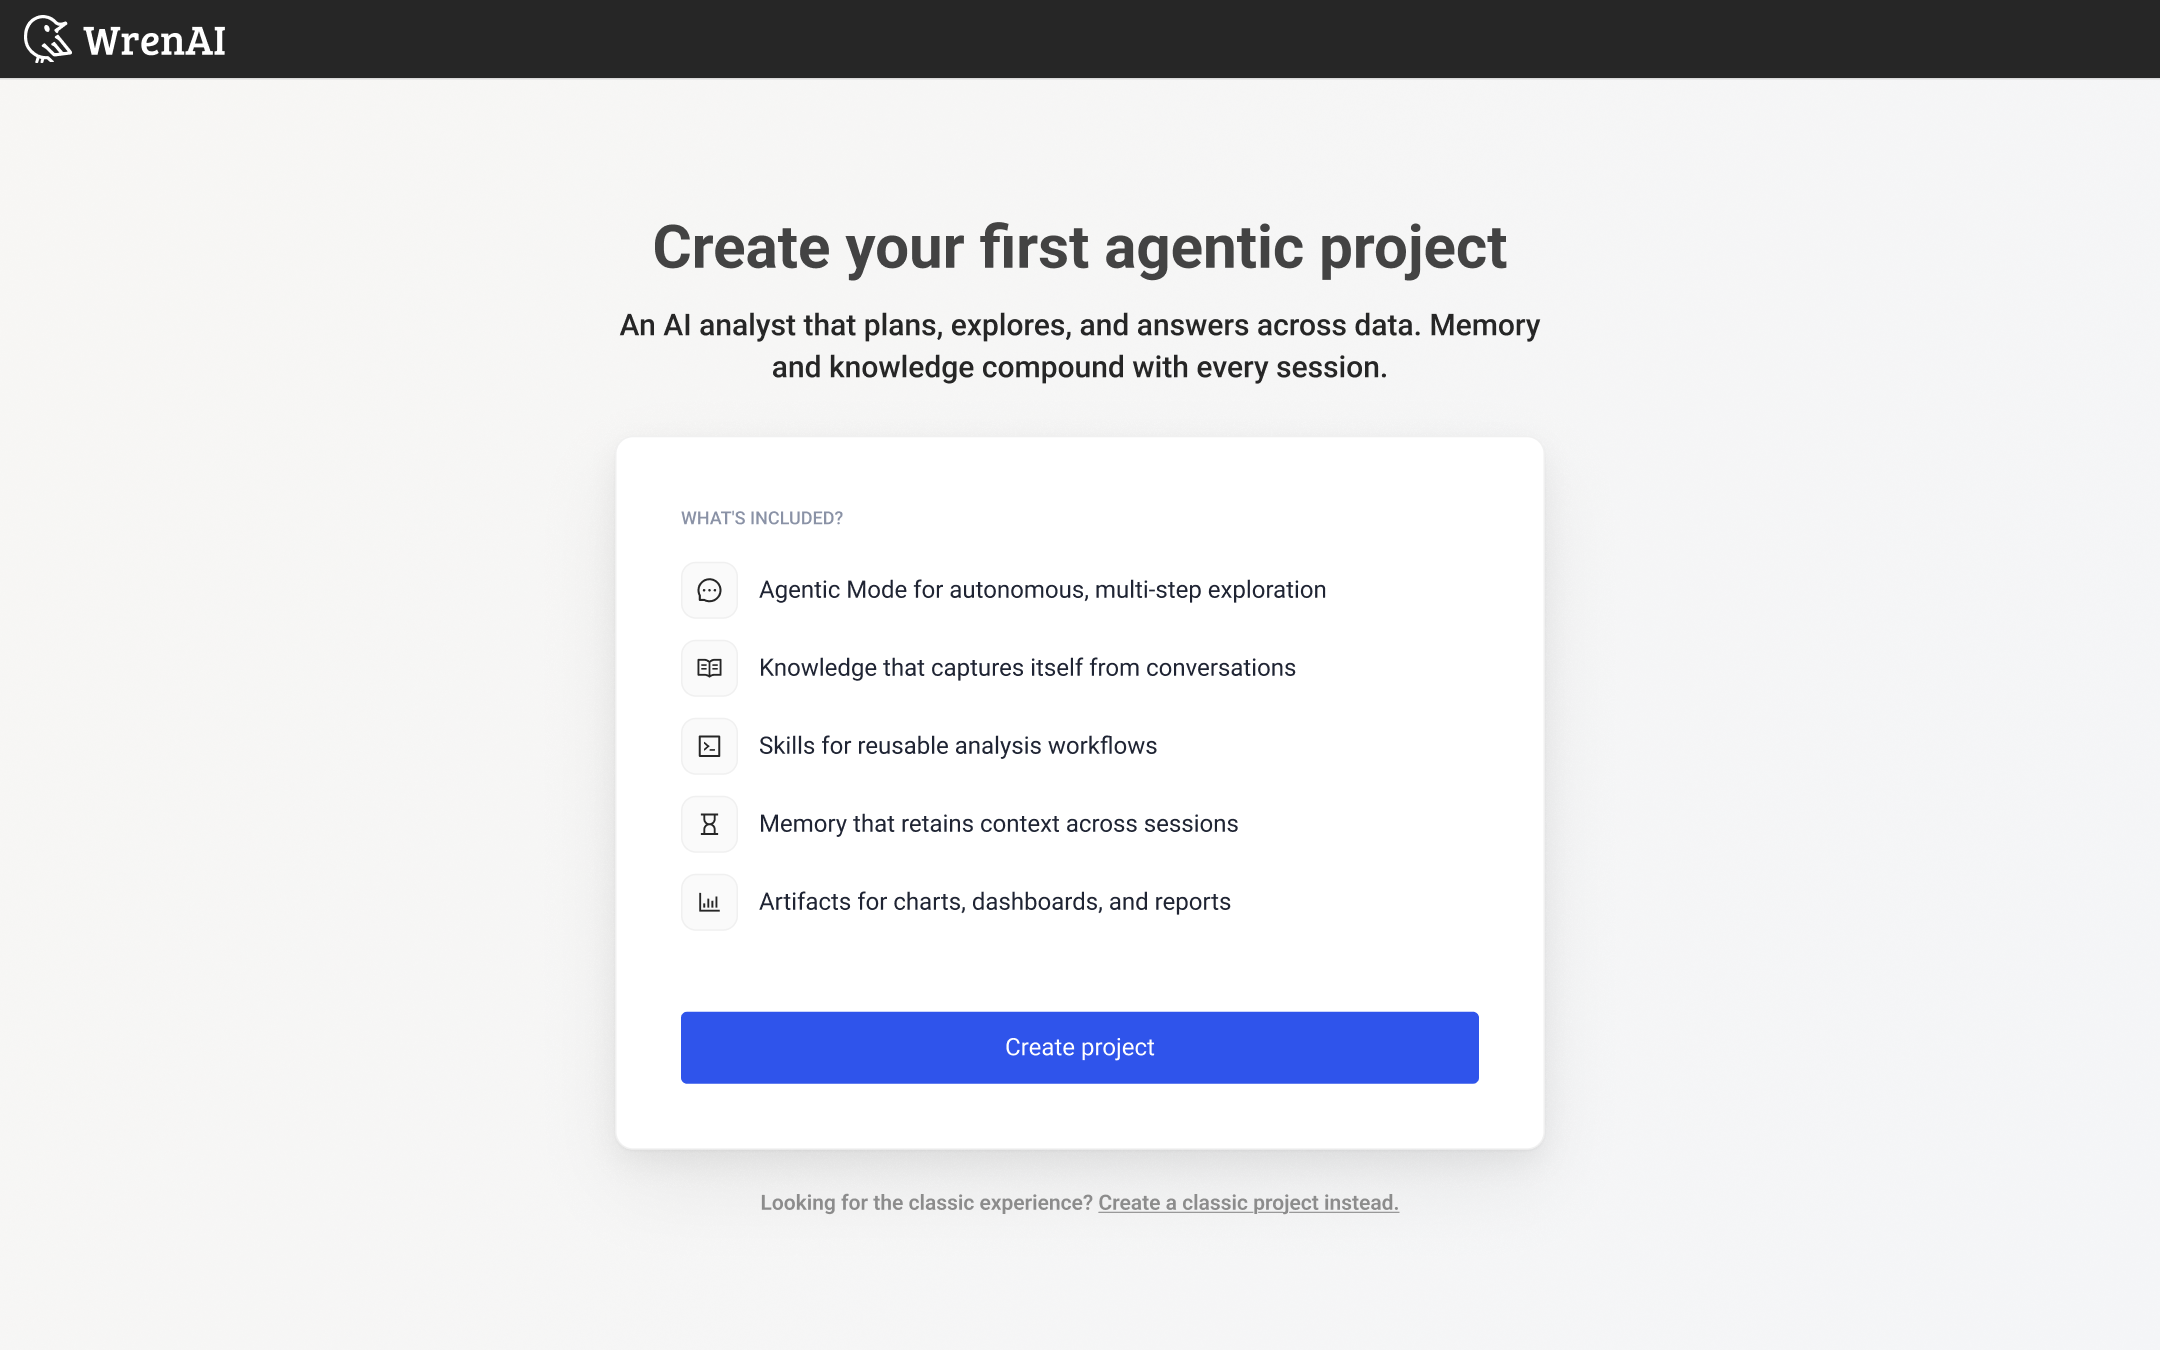
First project: You'll land on the Create your first agentic project page, which already presents the Agentic option.
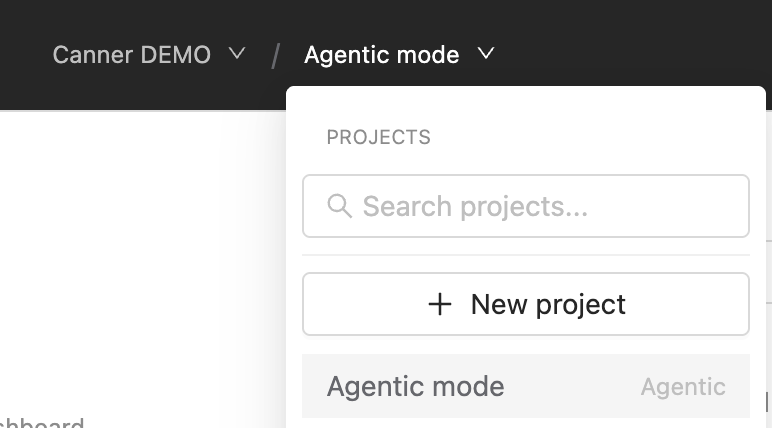
Adding another project: In the top navigation, click the project picker next to your workspace name, then click + New project.
In the Create project modal, two options are stacked. Agentic project is selected by default and tagged RECOMMENDED. Review what's included:
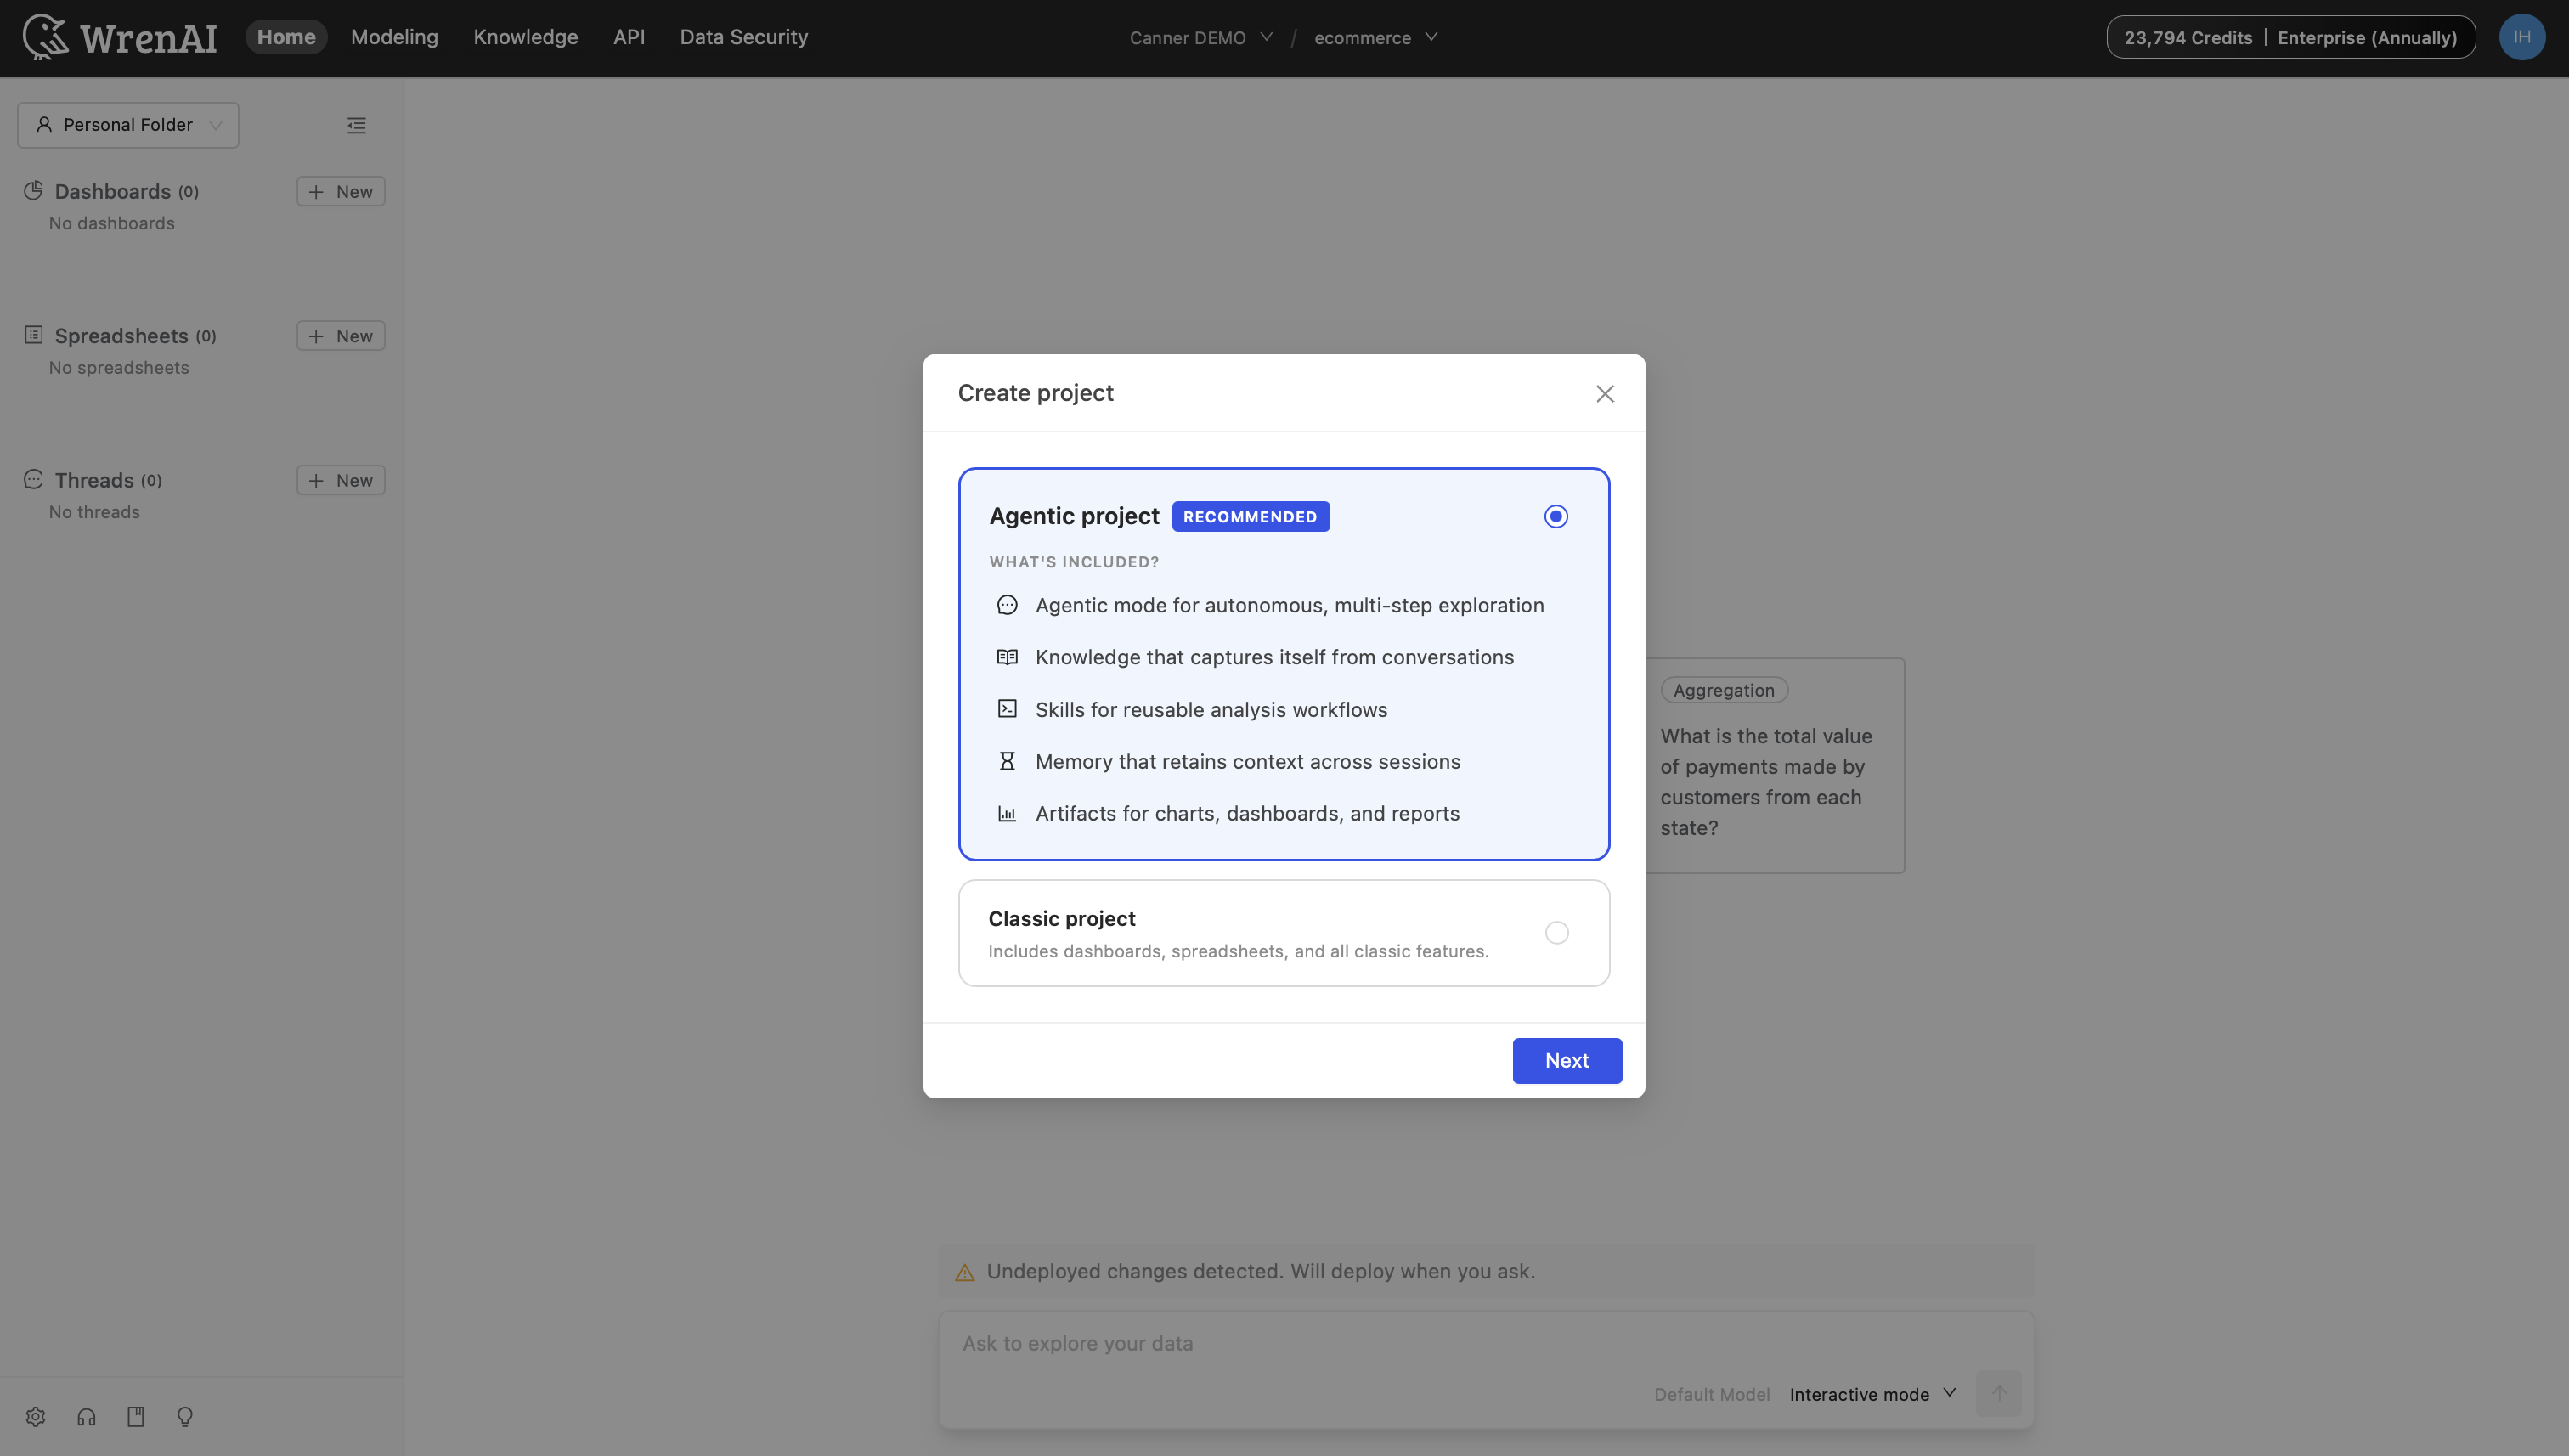
- Agentic Mode: autonomous, multi-step exploration
- Knowledge that captures itself from conversations
- Skills for reusable analysis workflows
- Memory that retains context across sessions
- Artifacts for charts, dashboards, and reports
Click Next and finish the project setup wizard.
You can mix project types in one workspace. Use a Classic project alongside an Agentic project if your team needs both surfaces during the transition.
Create a Classic project
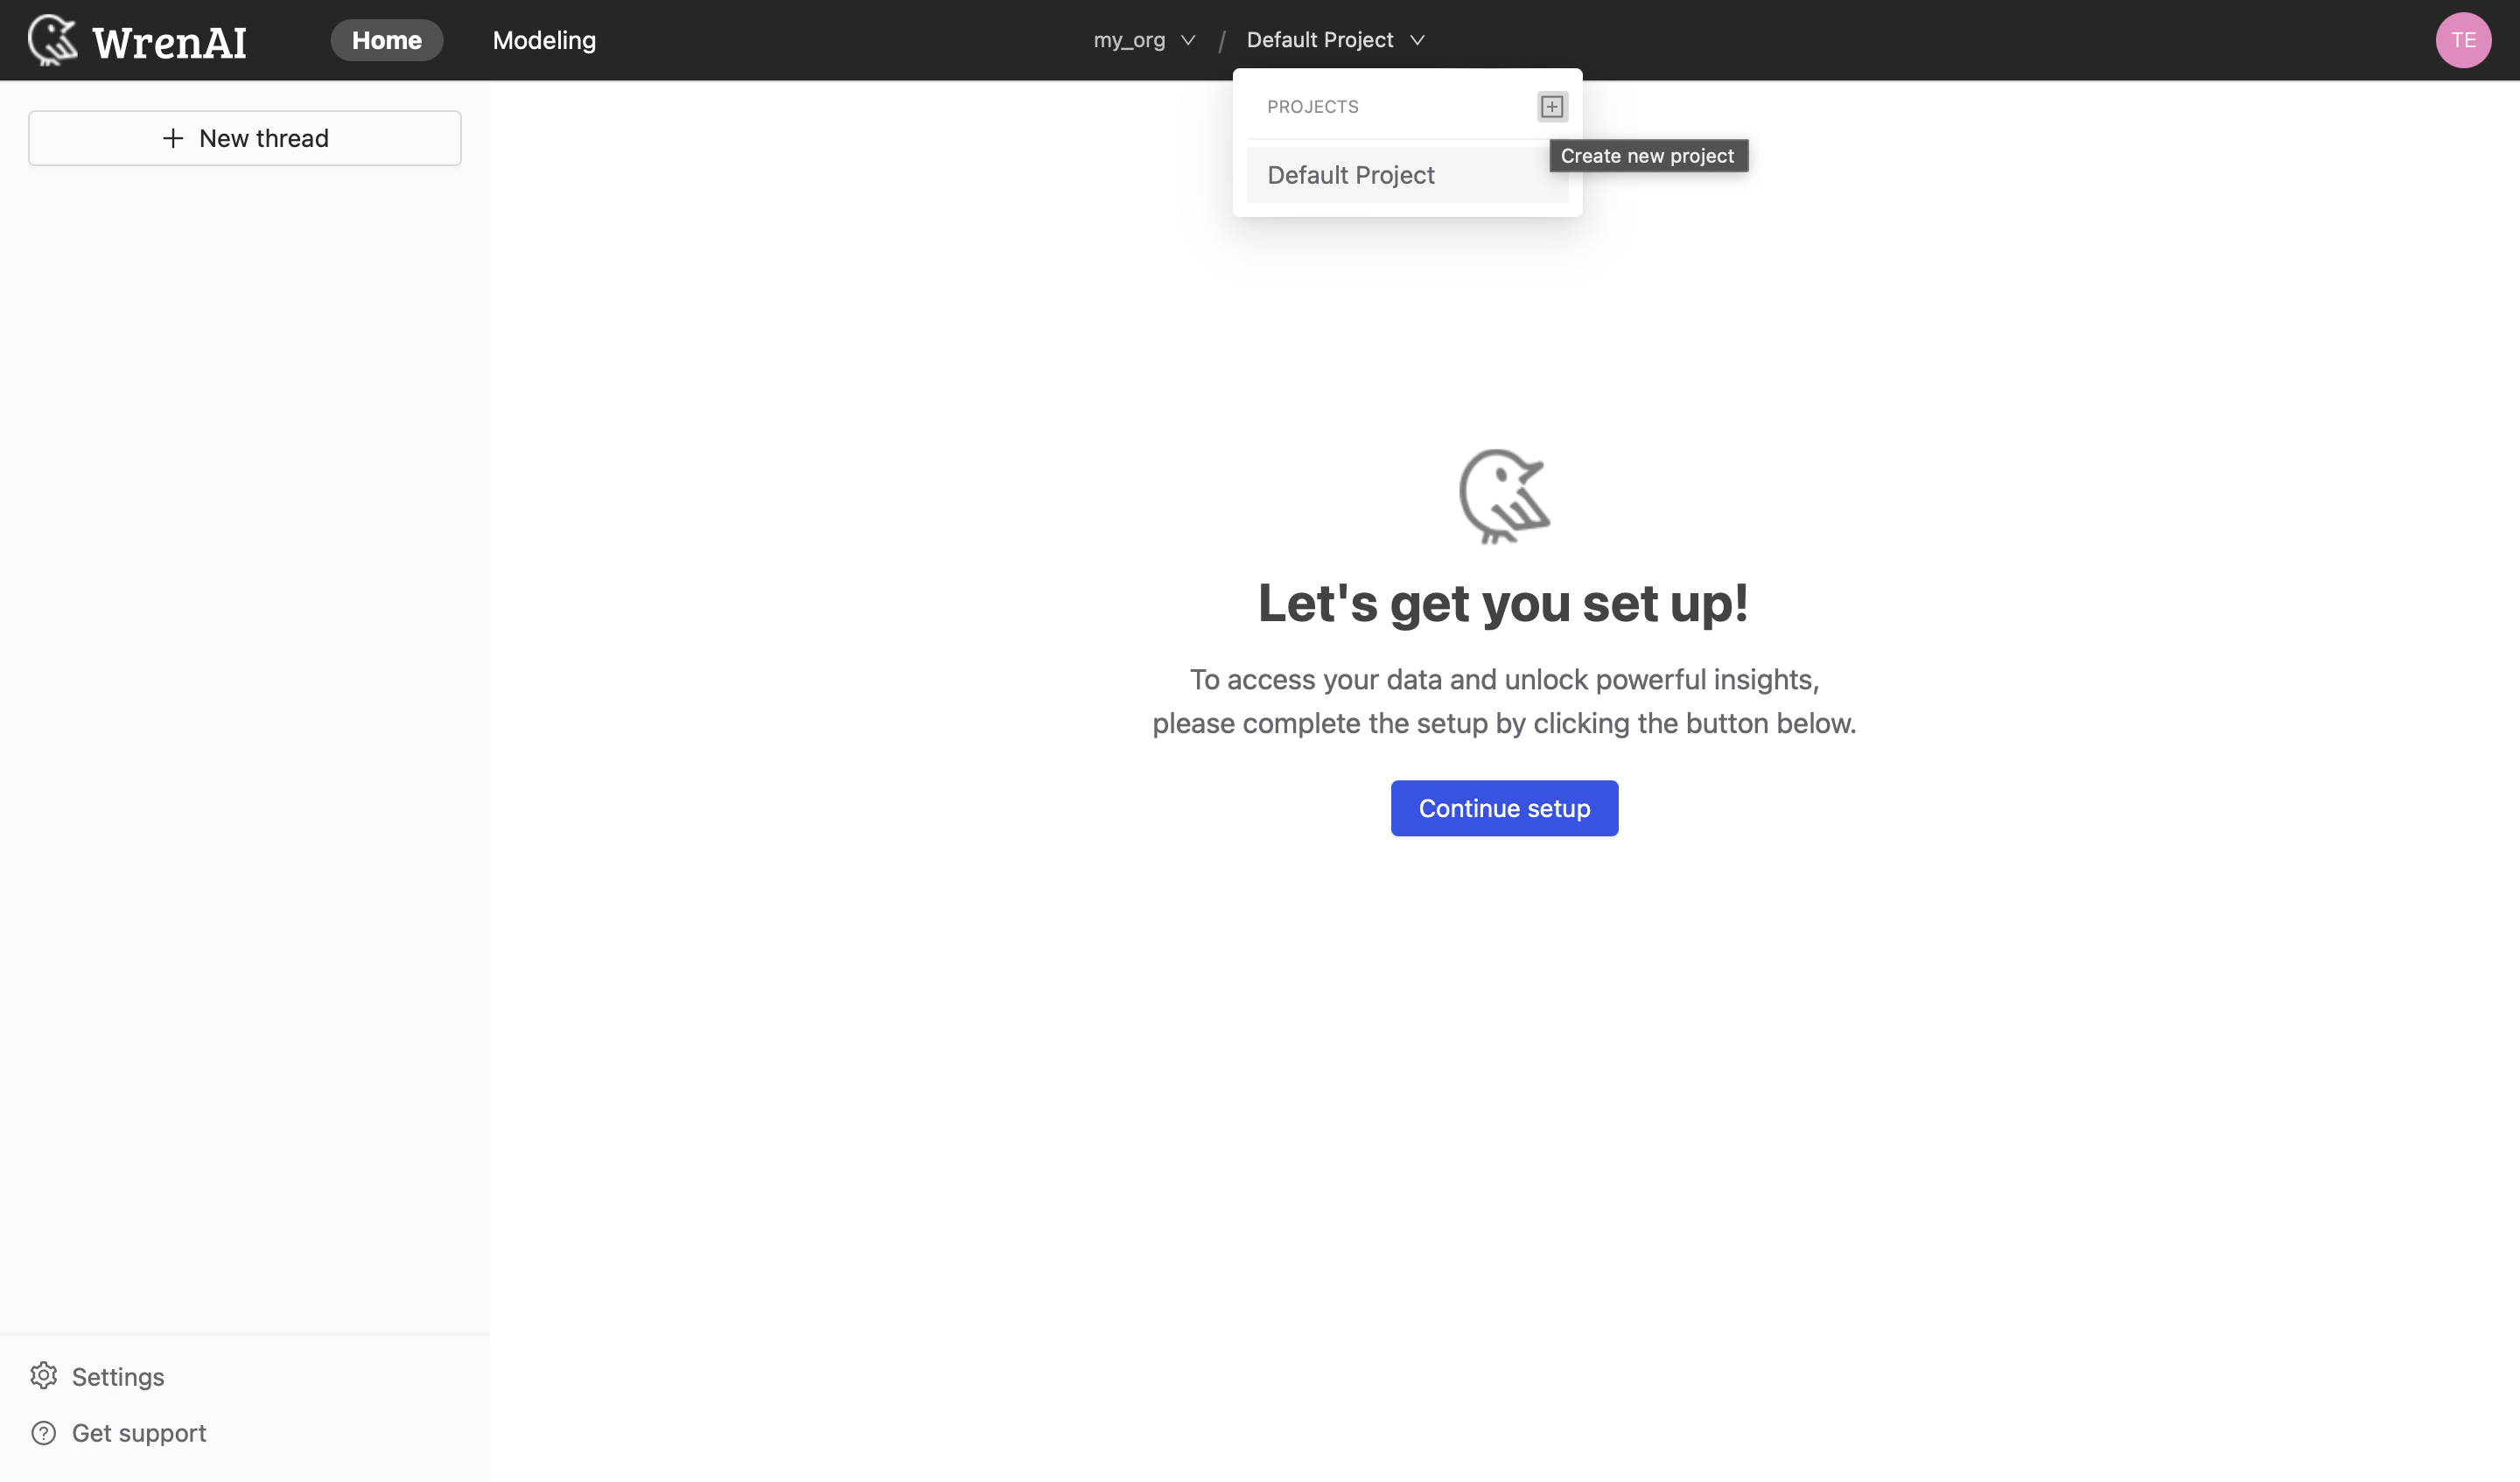
As an organization admin, you can create a Classic project from the navigation bar.
- Open the project switcher or navigation menu.
- Click Create project.
- In the Create project modal, choose Classic project.
- Enter the project details and confirm creation.
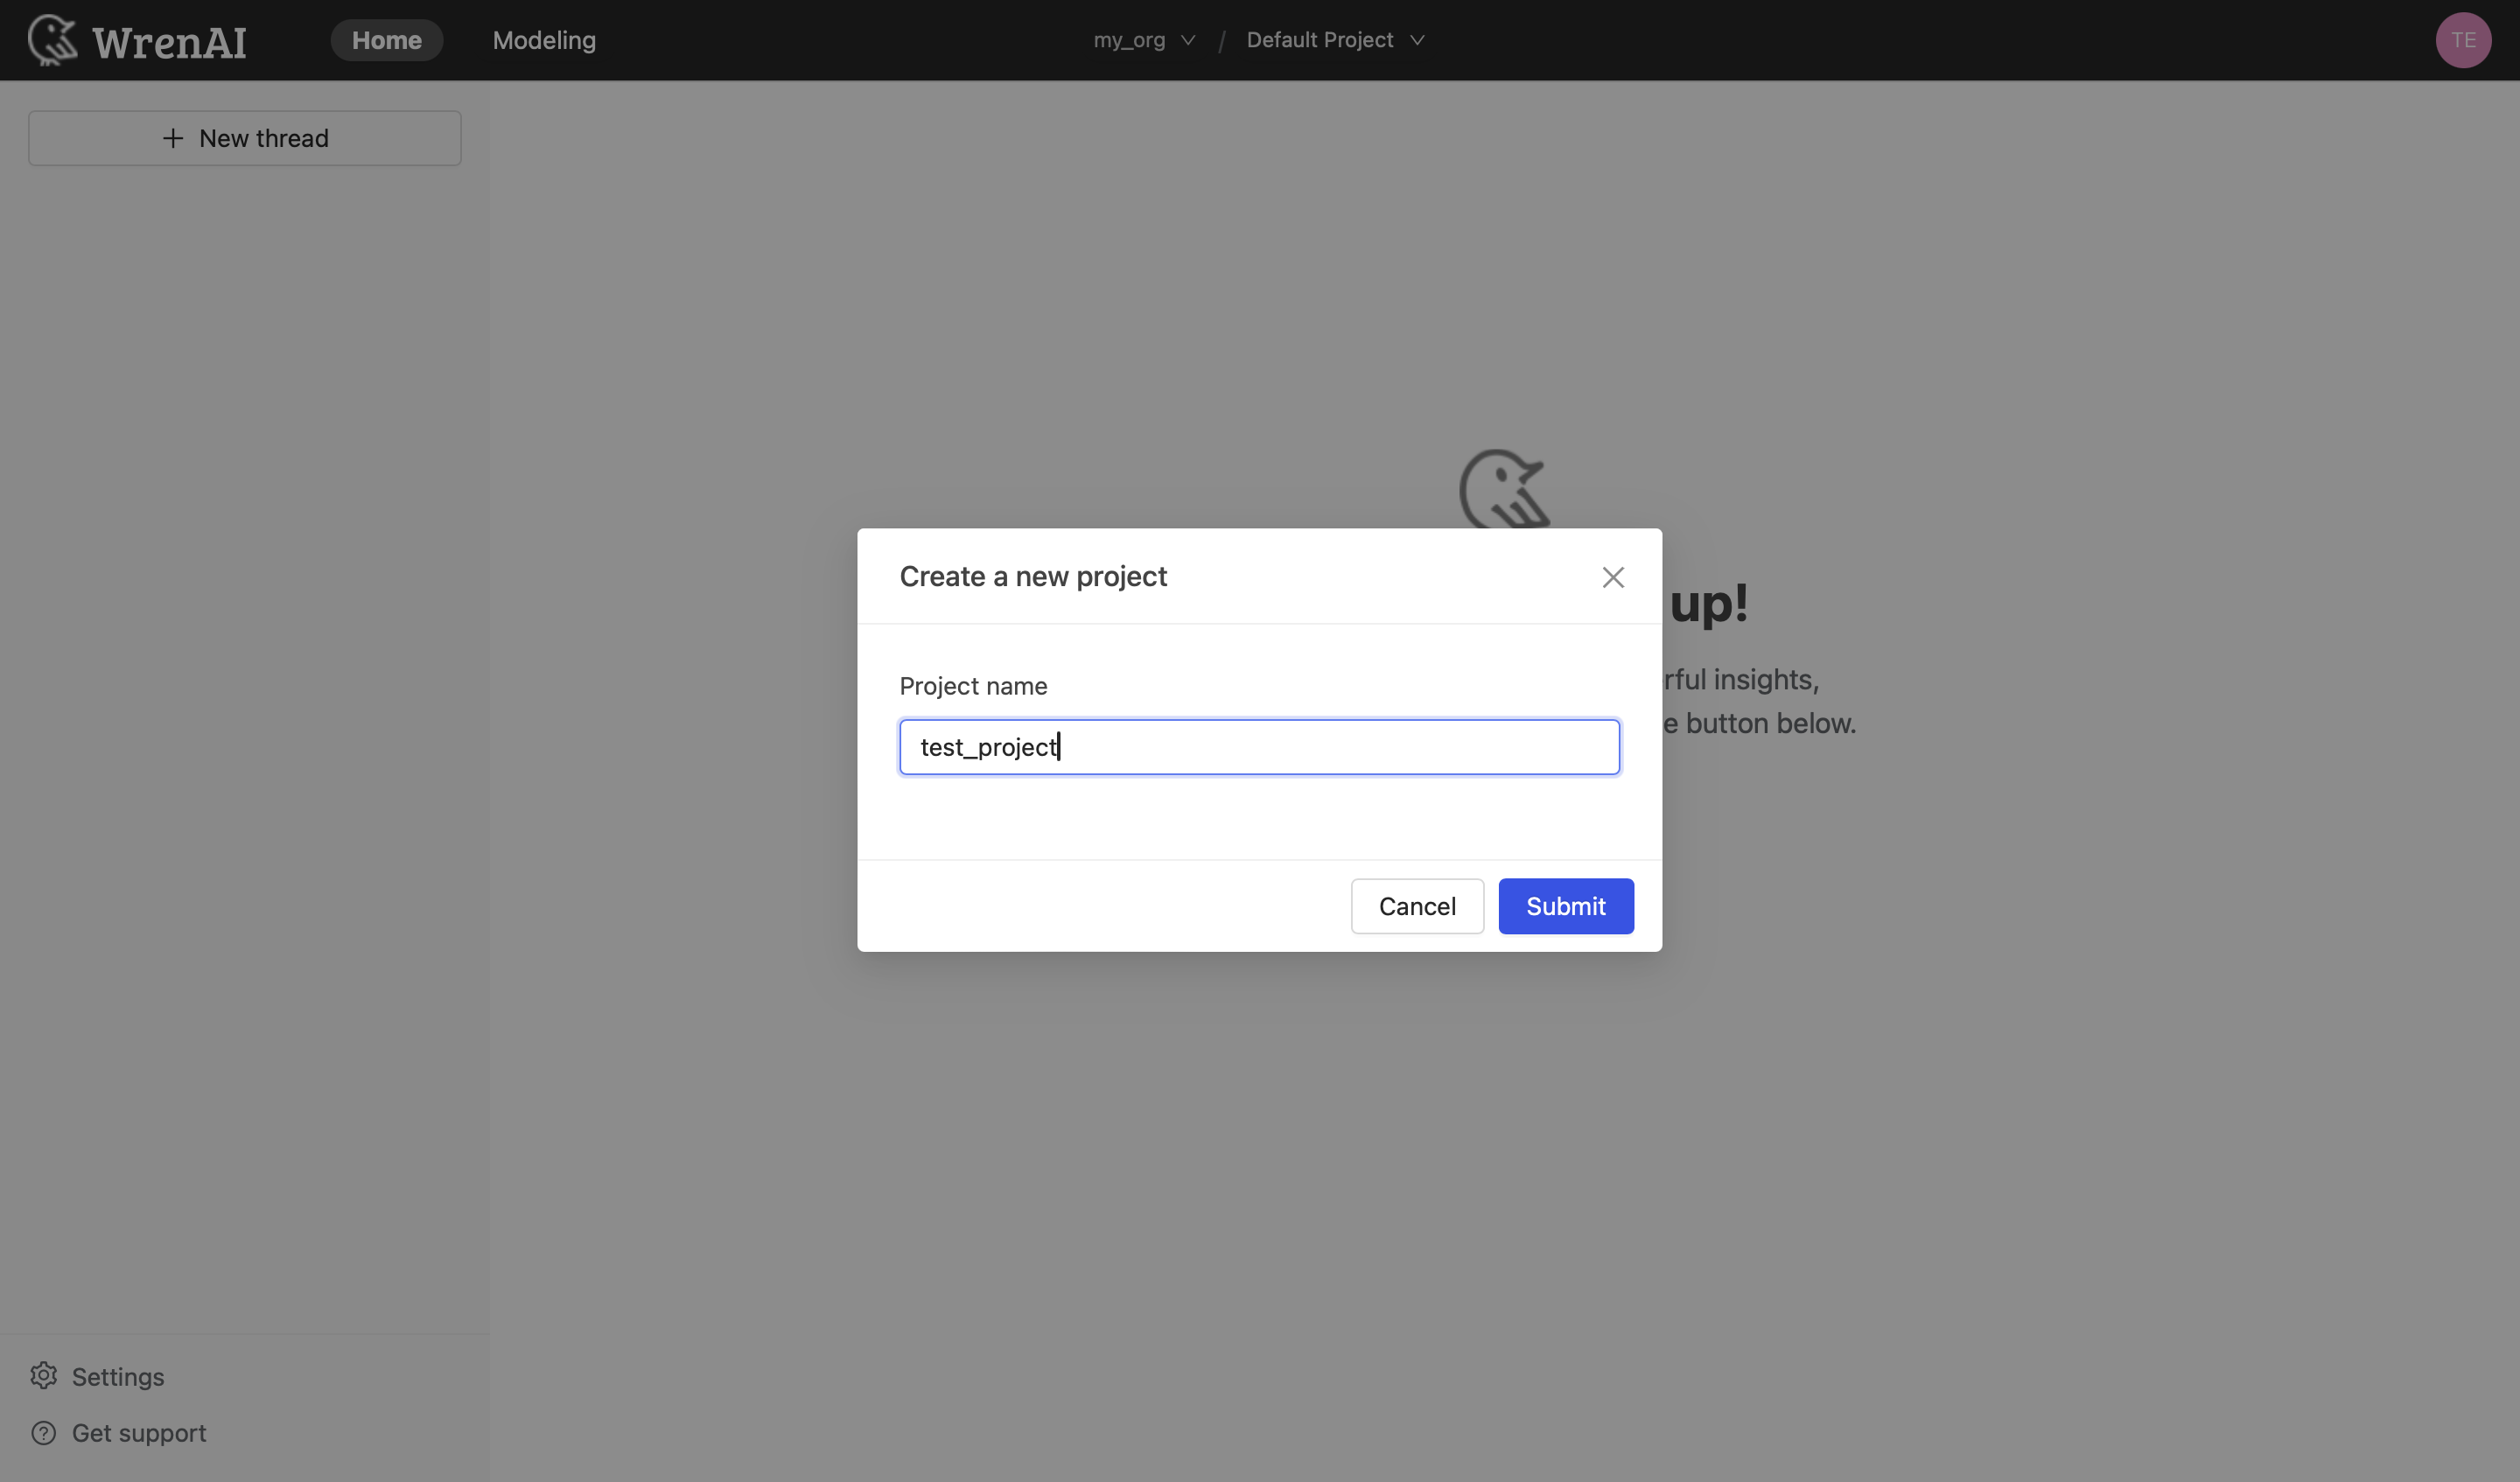
Next steps after project creation
After the project is created, continue with these setup steps:
- Set up a data source connection.
- Start asking questions in your project after the initial metadata sync is complete.
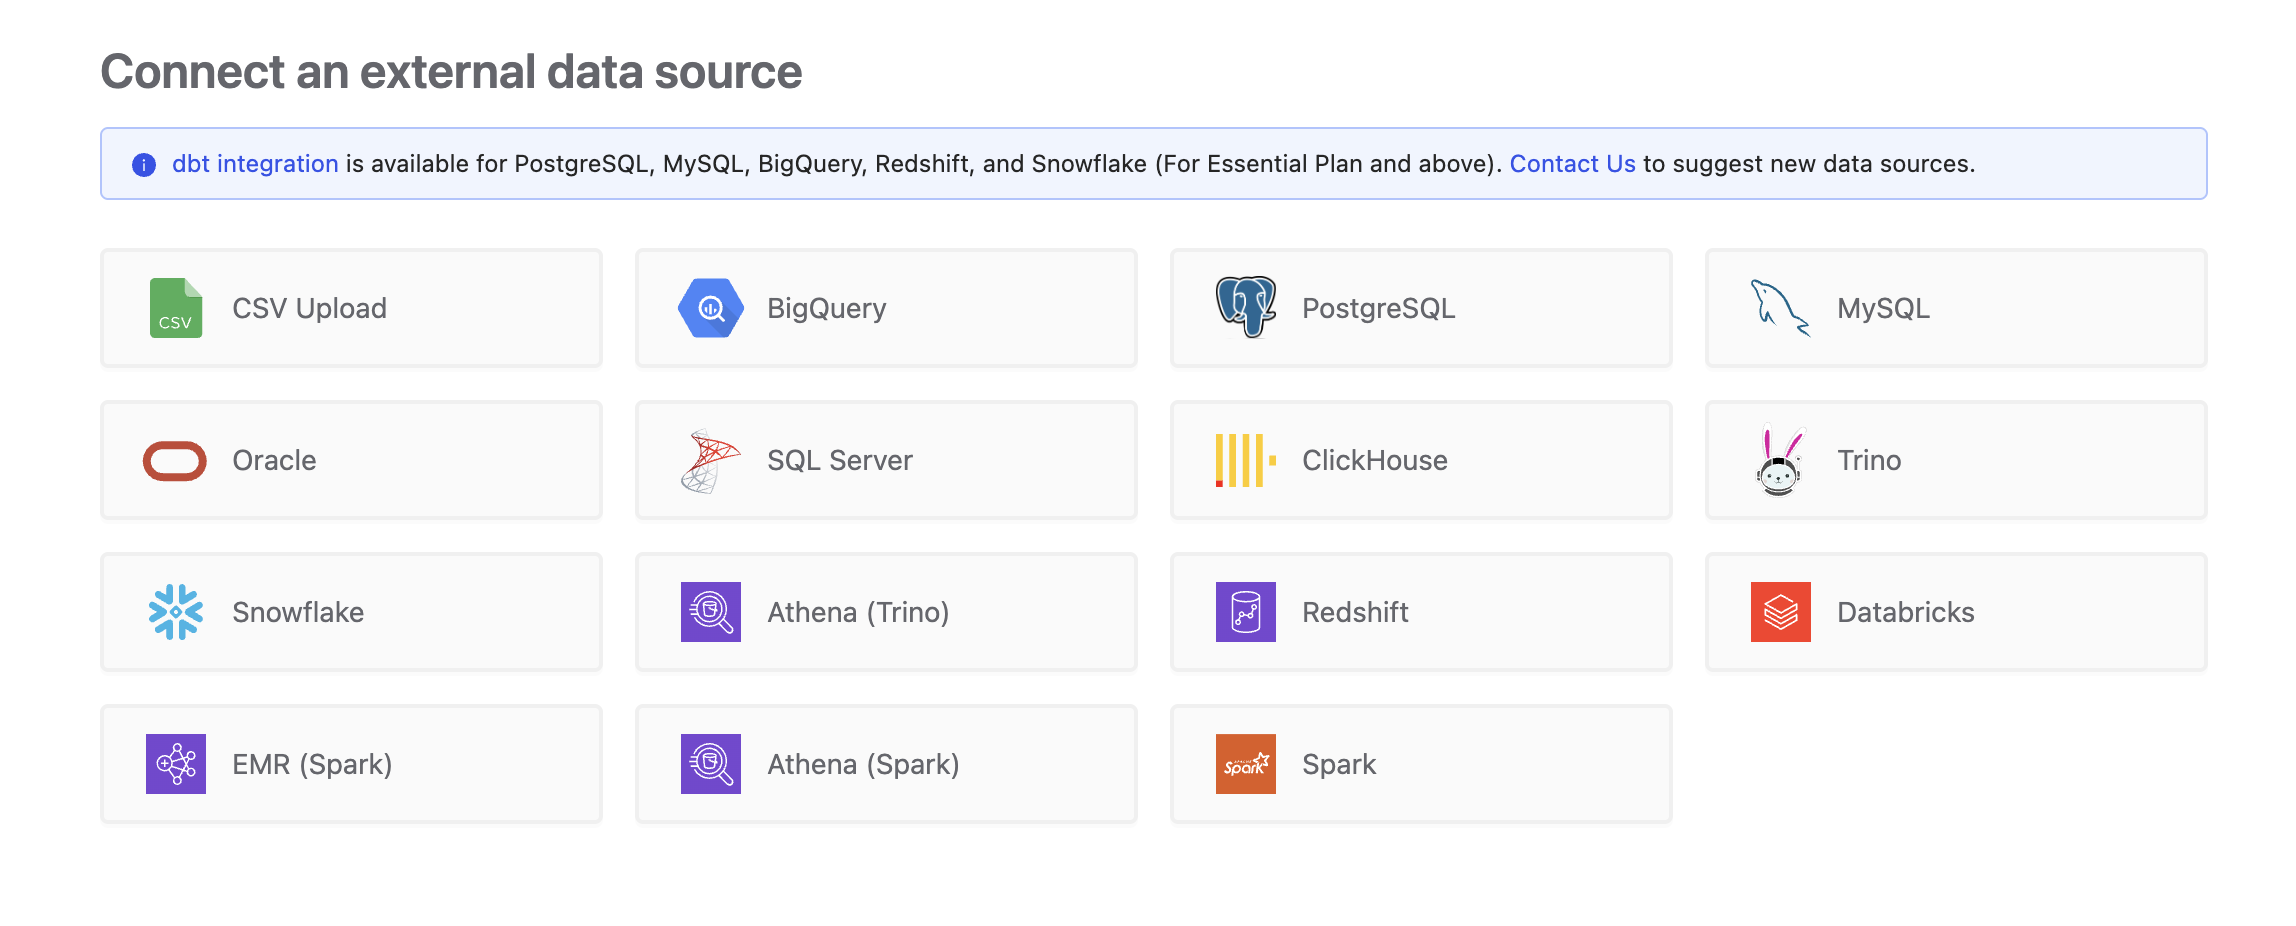
Wait for the initial metadata sync to finish.
Initial synchronization can take time. During this step, Wren AI syncs metadata and schema information from your data source. It does not copy or ingest your raw data into Wren AI. Wait until the metadata sync is complete before asking questions so Wren AI can understand your data structure correctly.
Project settings overview
After a project is created, open Project Settings to update configuration, access, and data source details.
General
Project owners can update the project name and project language in General.
Update project name
Change the display name of the project in General.
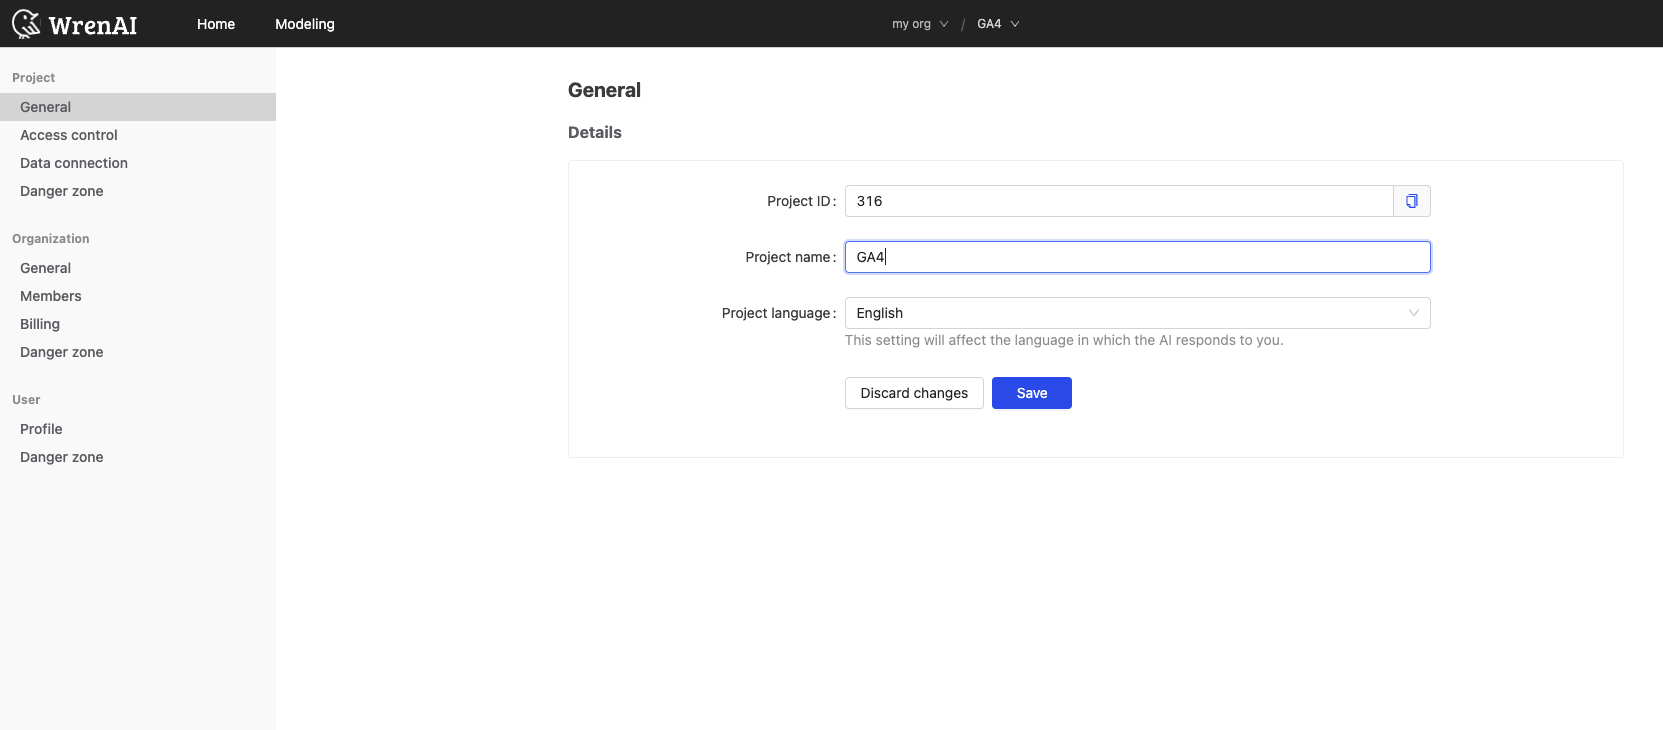
Update project language
Change the project language in General. This setting affects the language Wren AI uses when responding in the project.
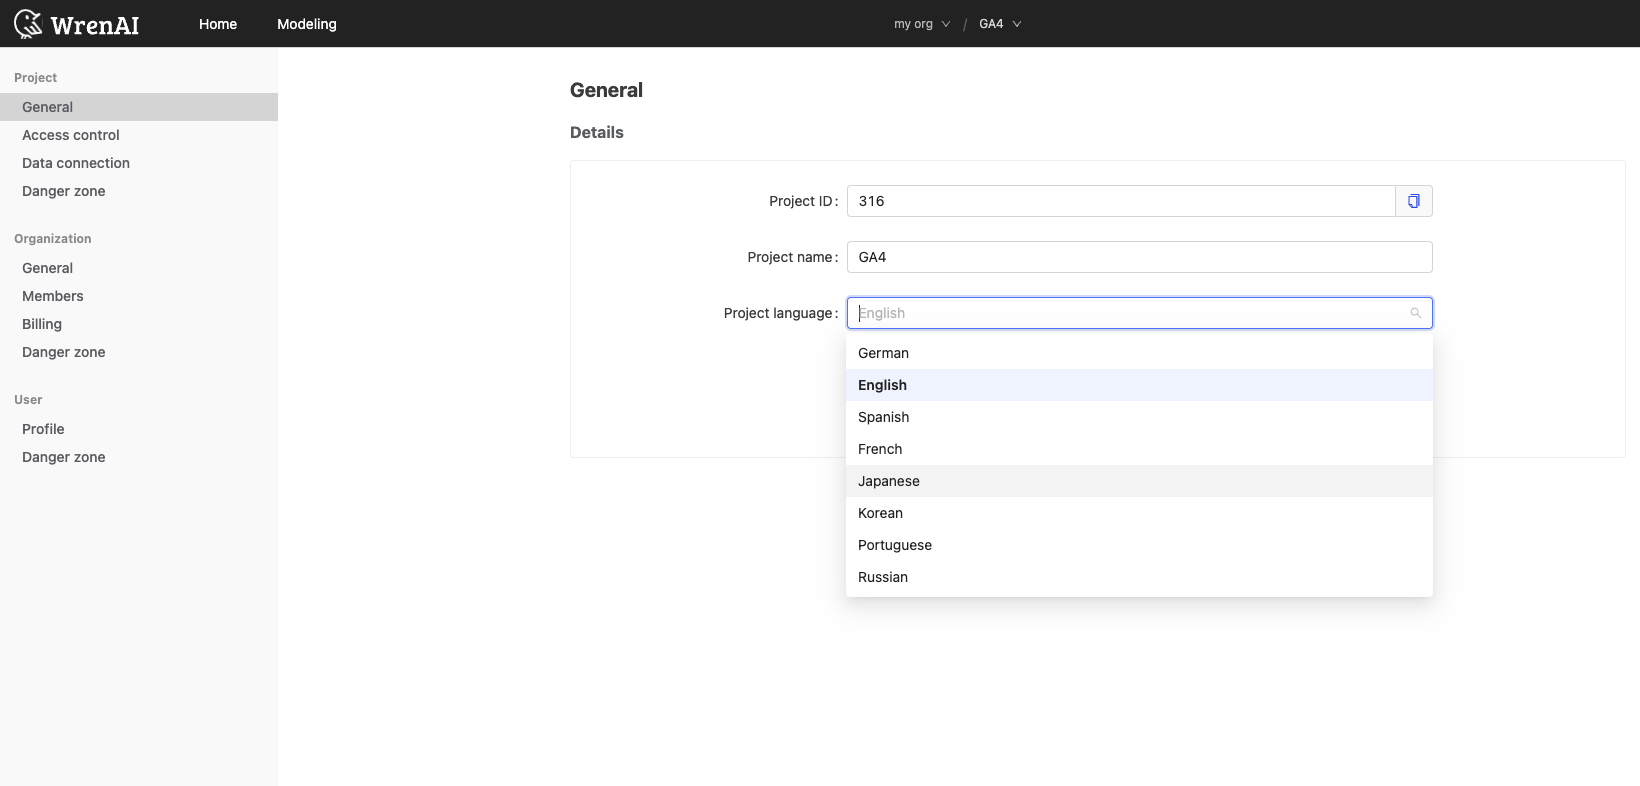
Access control
Use Access Control to manage who can access the project and what each user can do.
Only users with the Project Owner role can manage project access.
Wren AI supports three project roles:
- Project Owner
- Project Contributor
- Project Viewer
To review the meaning of each role, see Manage Members and Roles.
Add a member
Before you add someone to a project, invite them to the organization.
- Click Add member.
- Select the organization member you want to add.
- Choose the project role to assign.
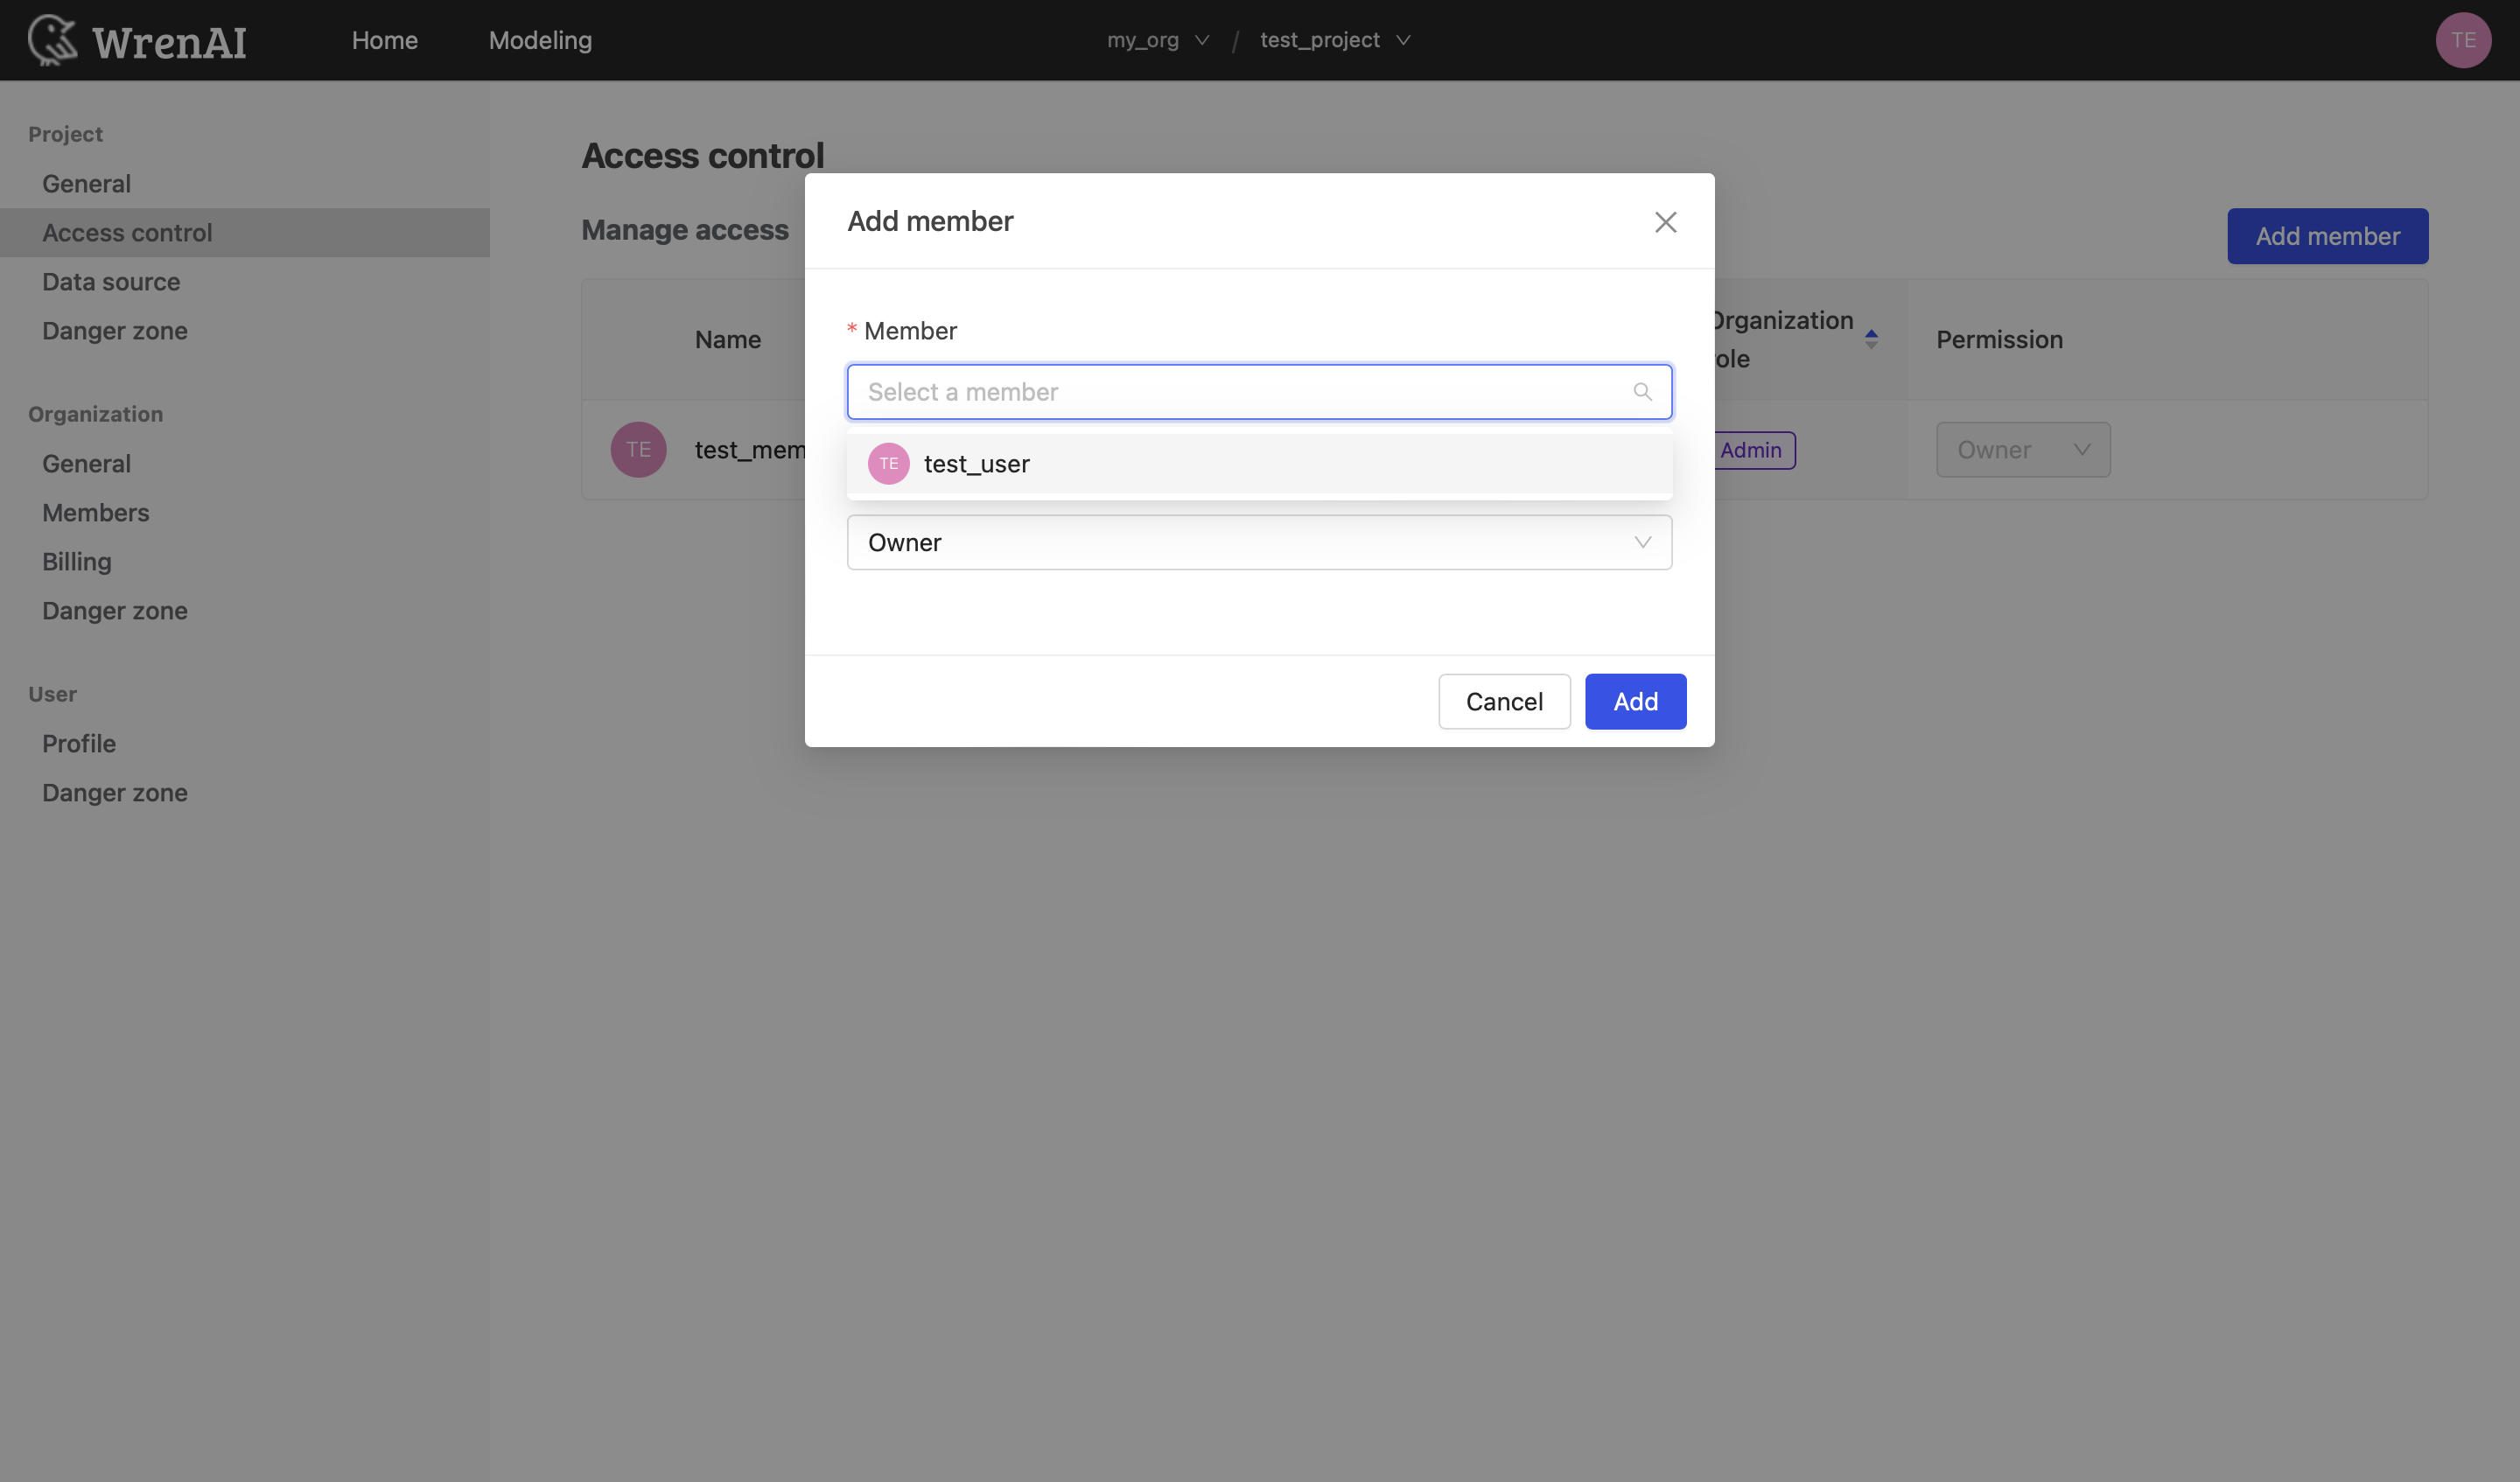
After the user is added to the project, they can start asking questions against connected datasets based on their permissions.
Update a member's permission
- Find the user in the member list.
- Open the Permission dropdown.
- Select the new project role.
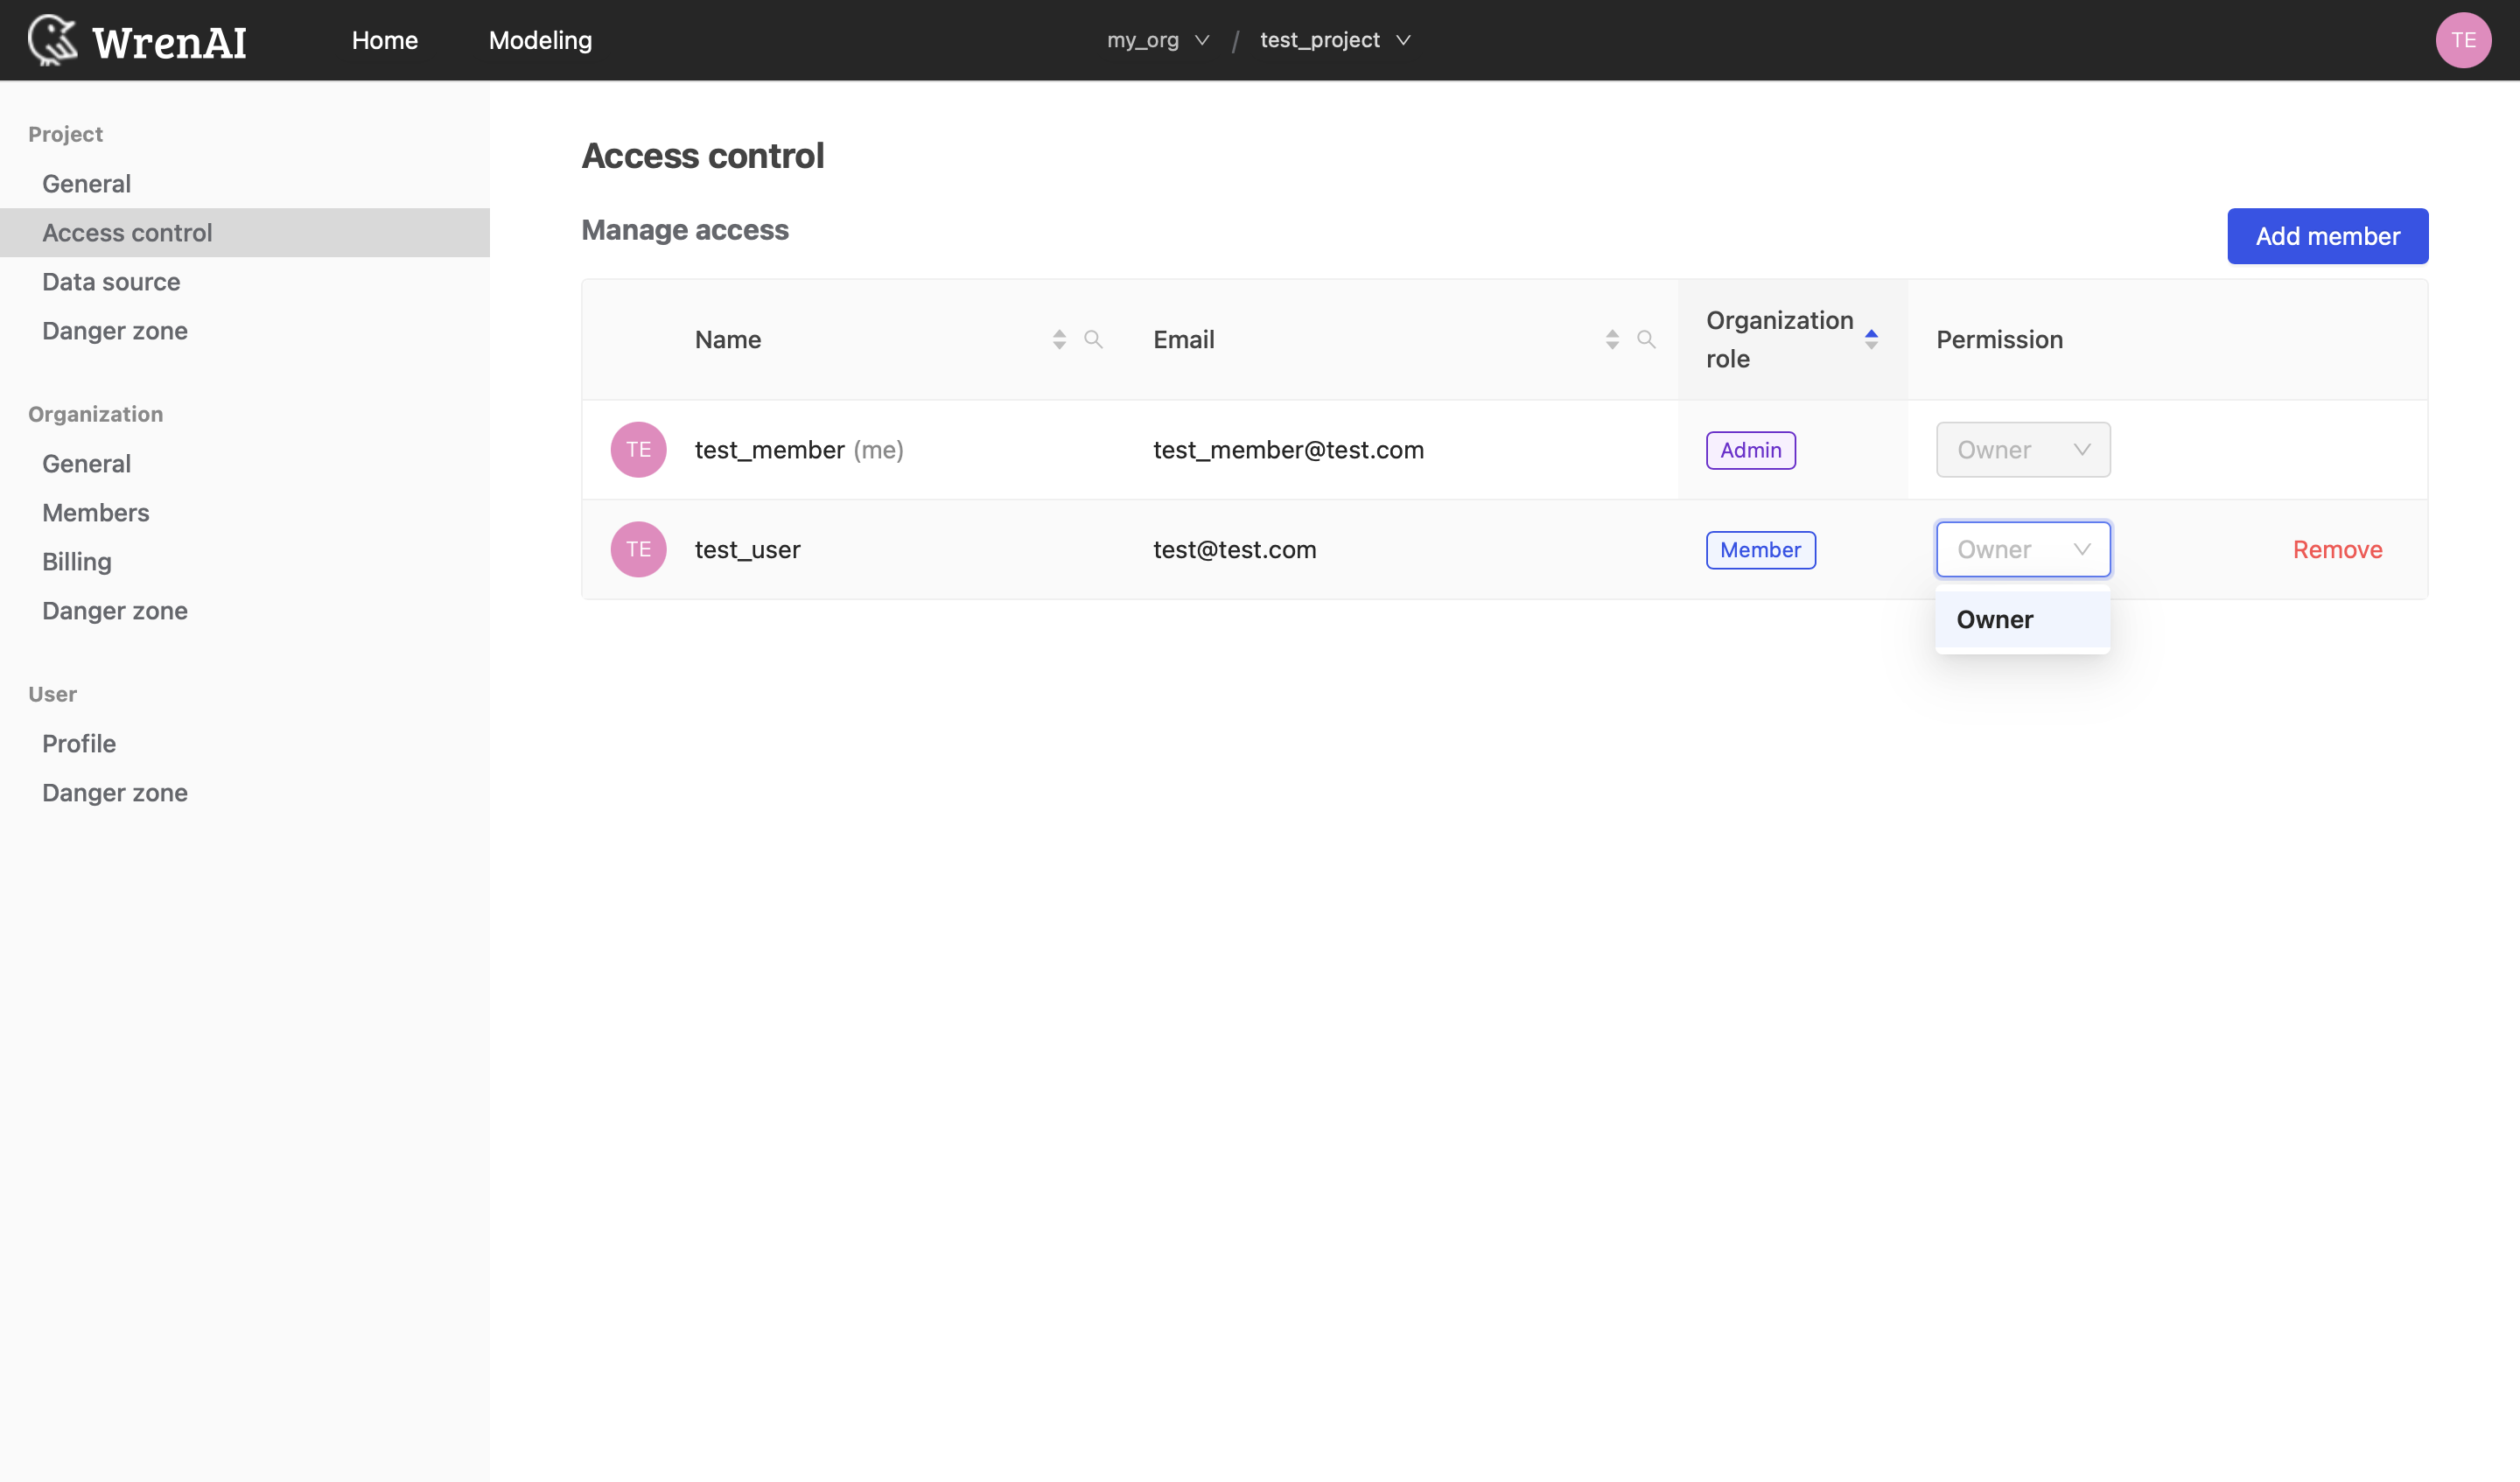
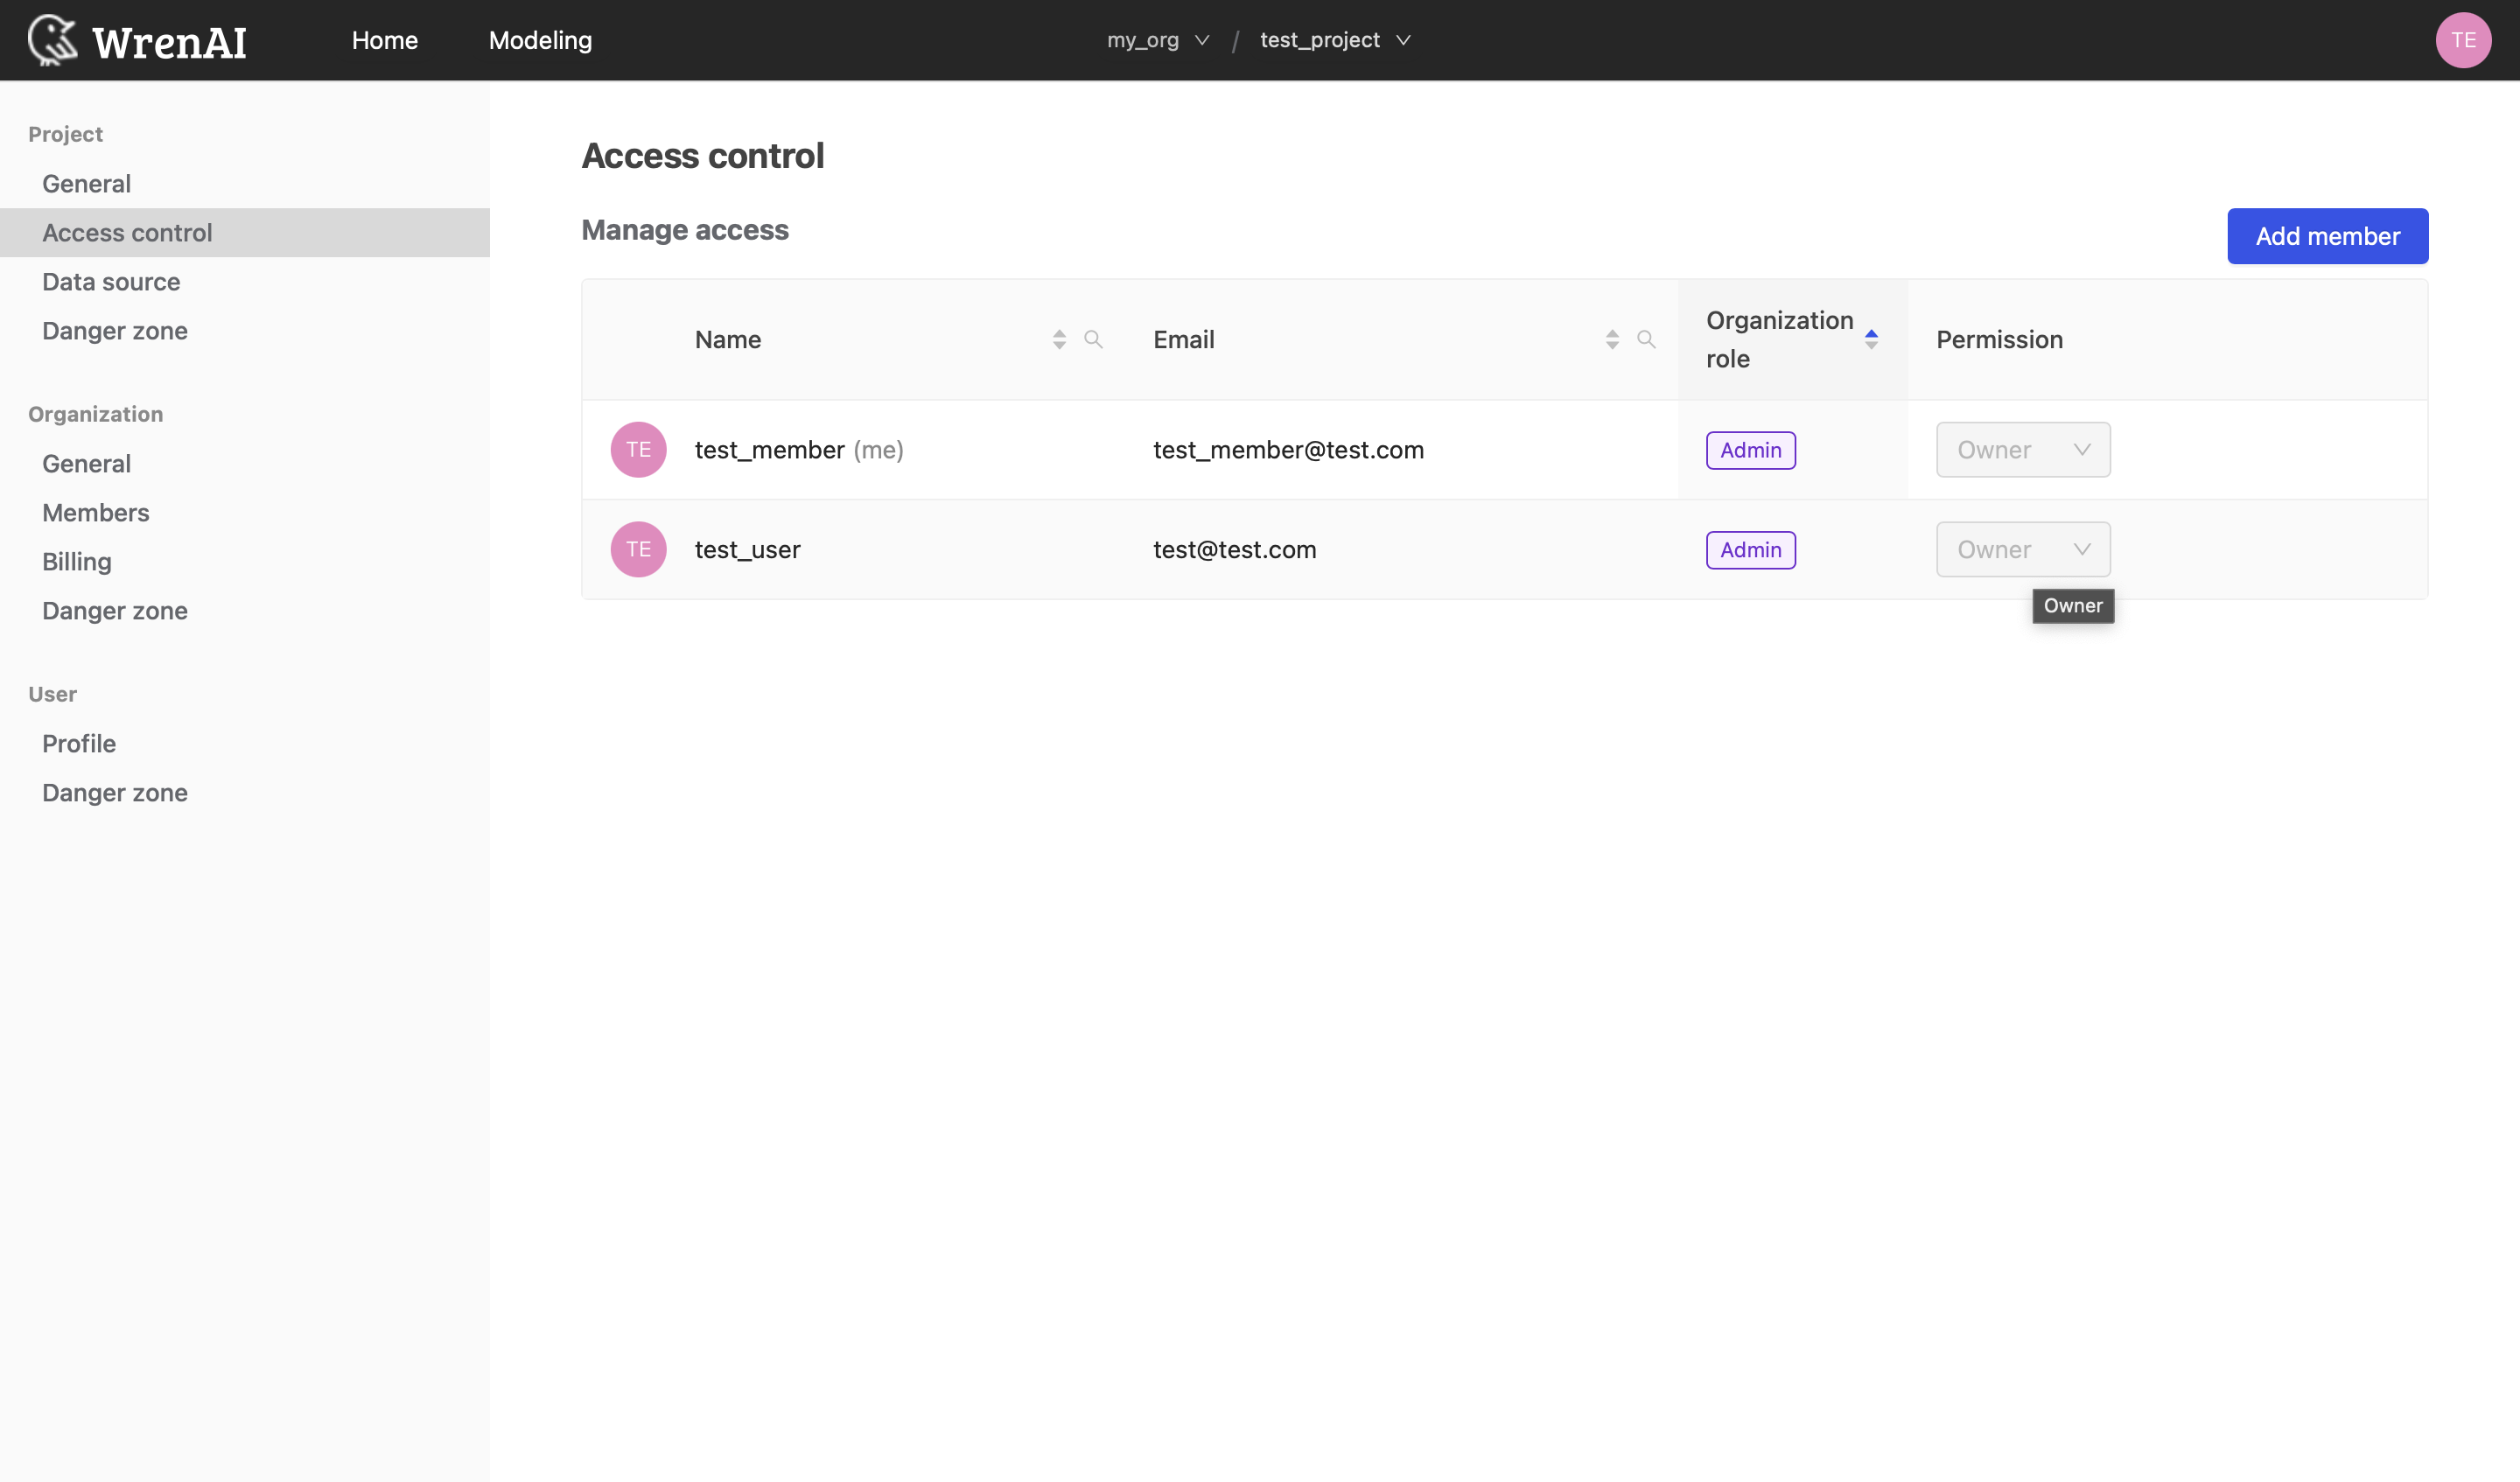
Keep these restrictions in mind:
- You cannot modify your own role.
- The organization admin is an owner of all projects by default.
- You cannot change the role of the organization admin.
Remove a member
Project owners can remove other users from a project.
- Find the user in the member list.
- Click Remove on that user's row.
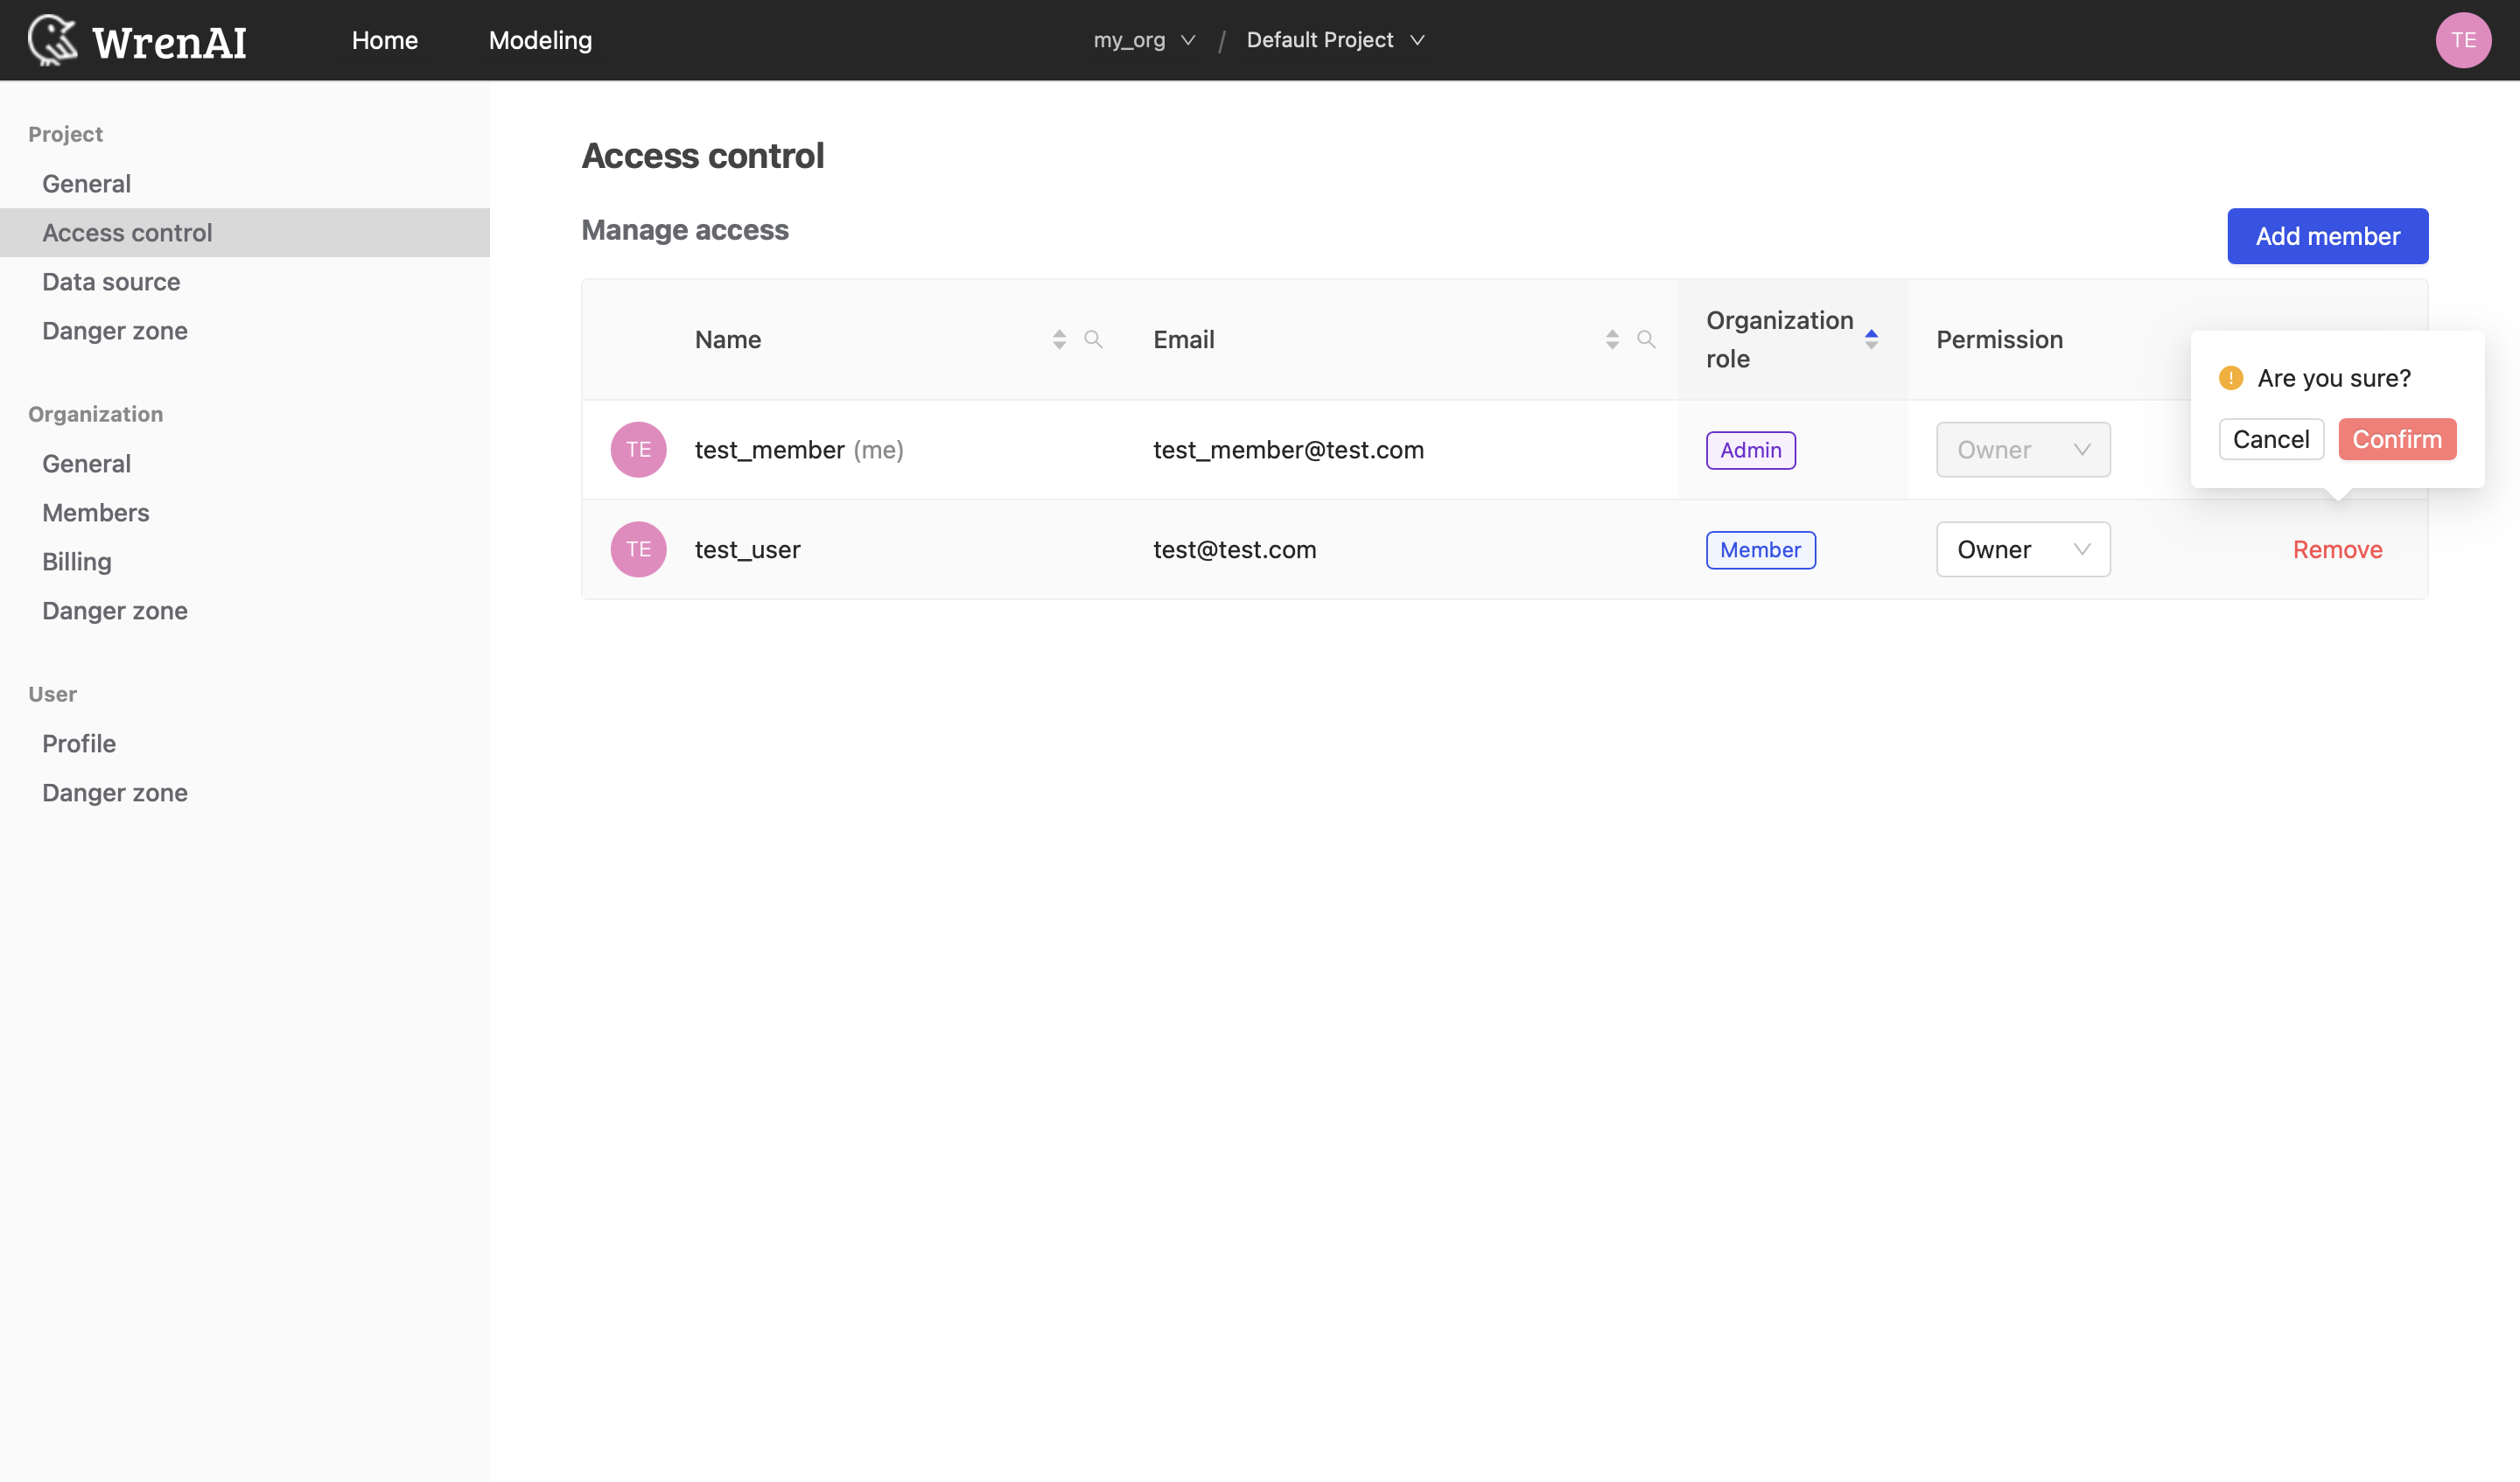
After removal, the user can no longer access the project or its ask records.
You cannot remove the organization admin from the project.
Data source
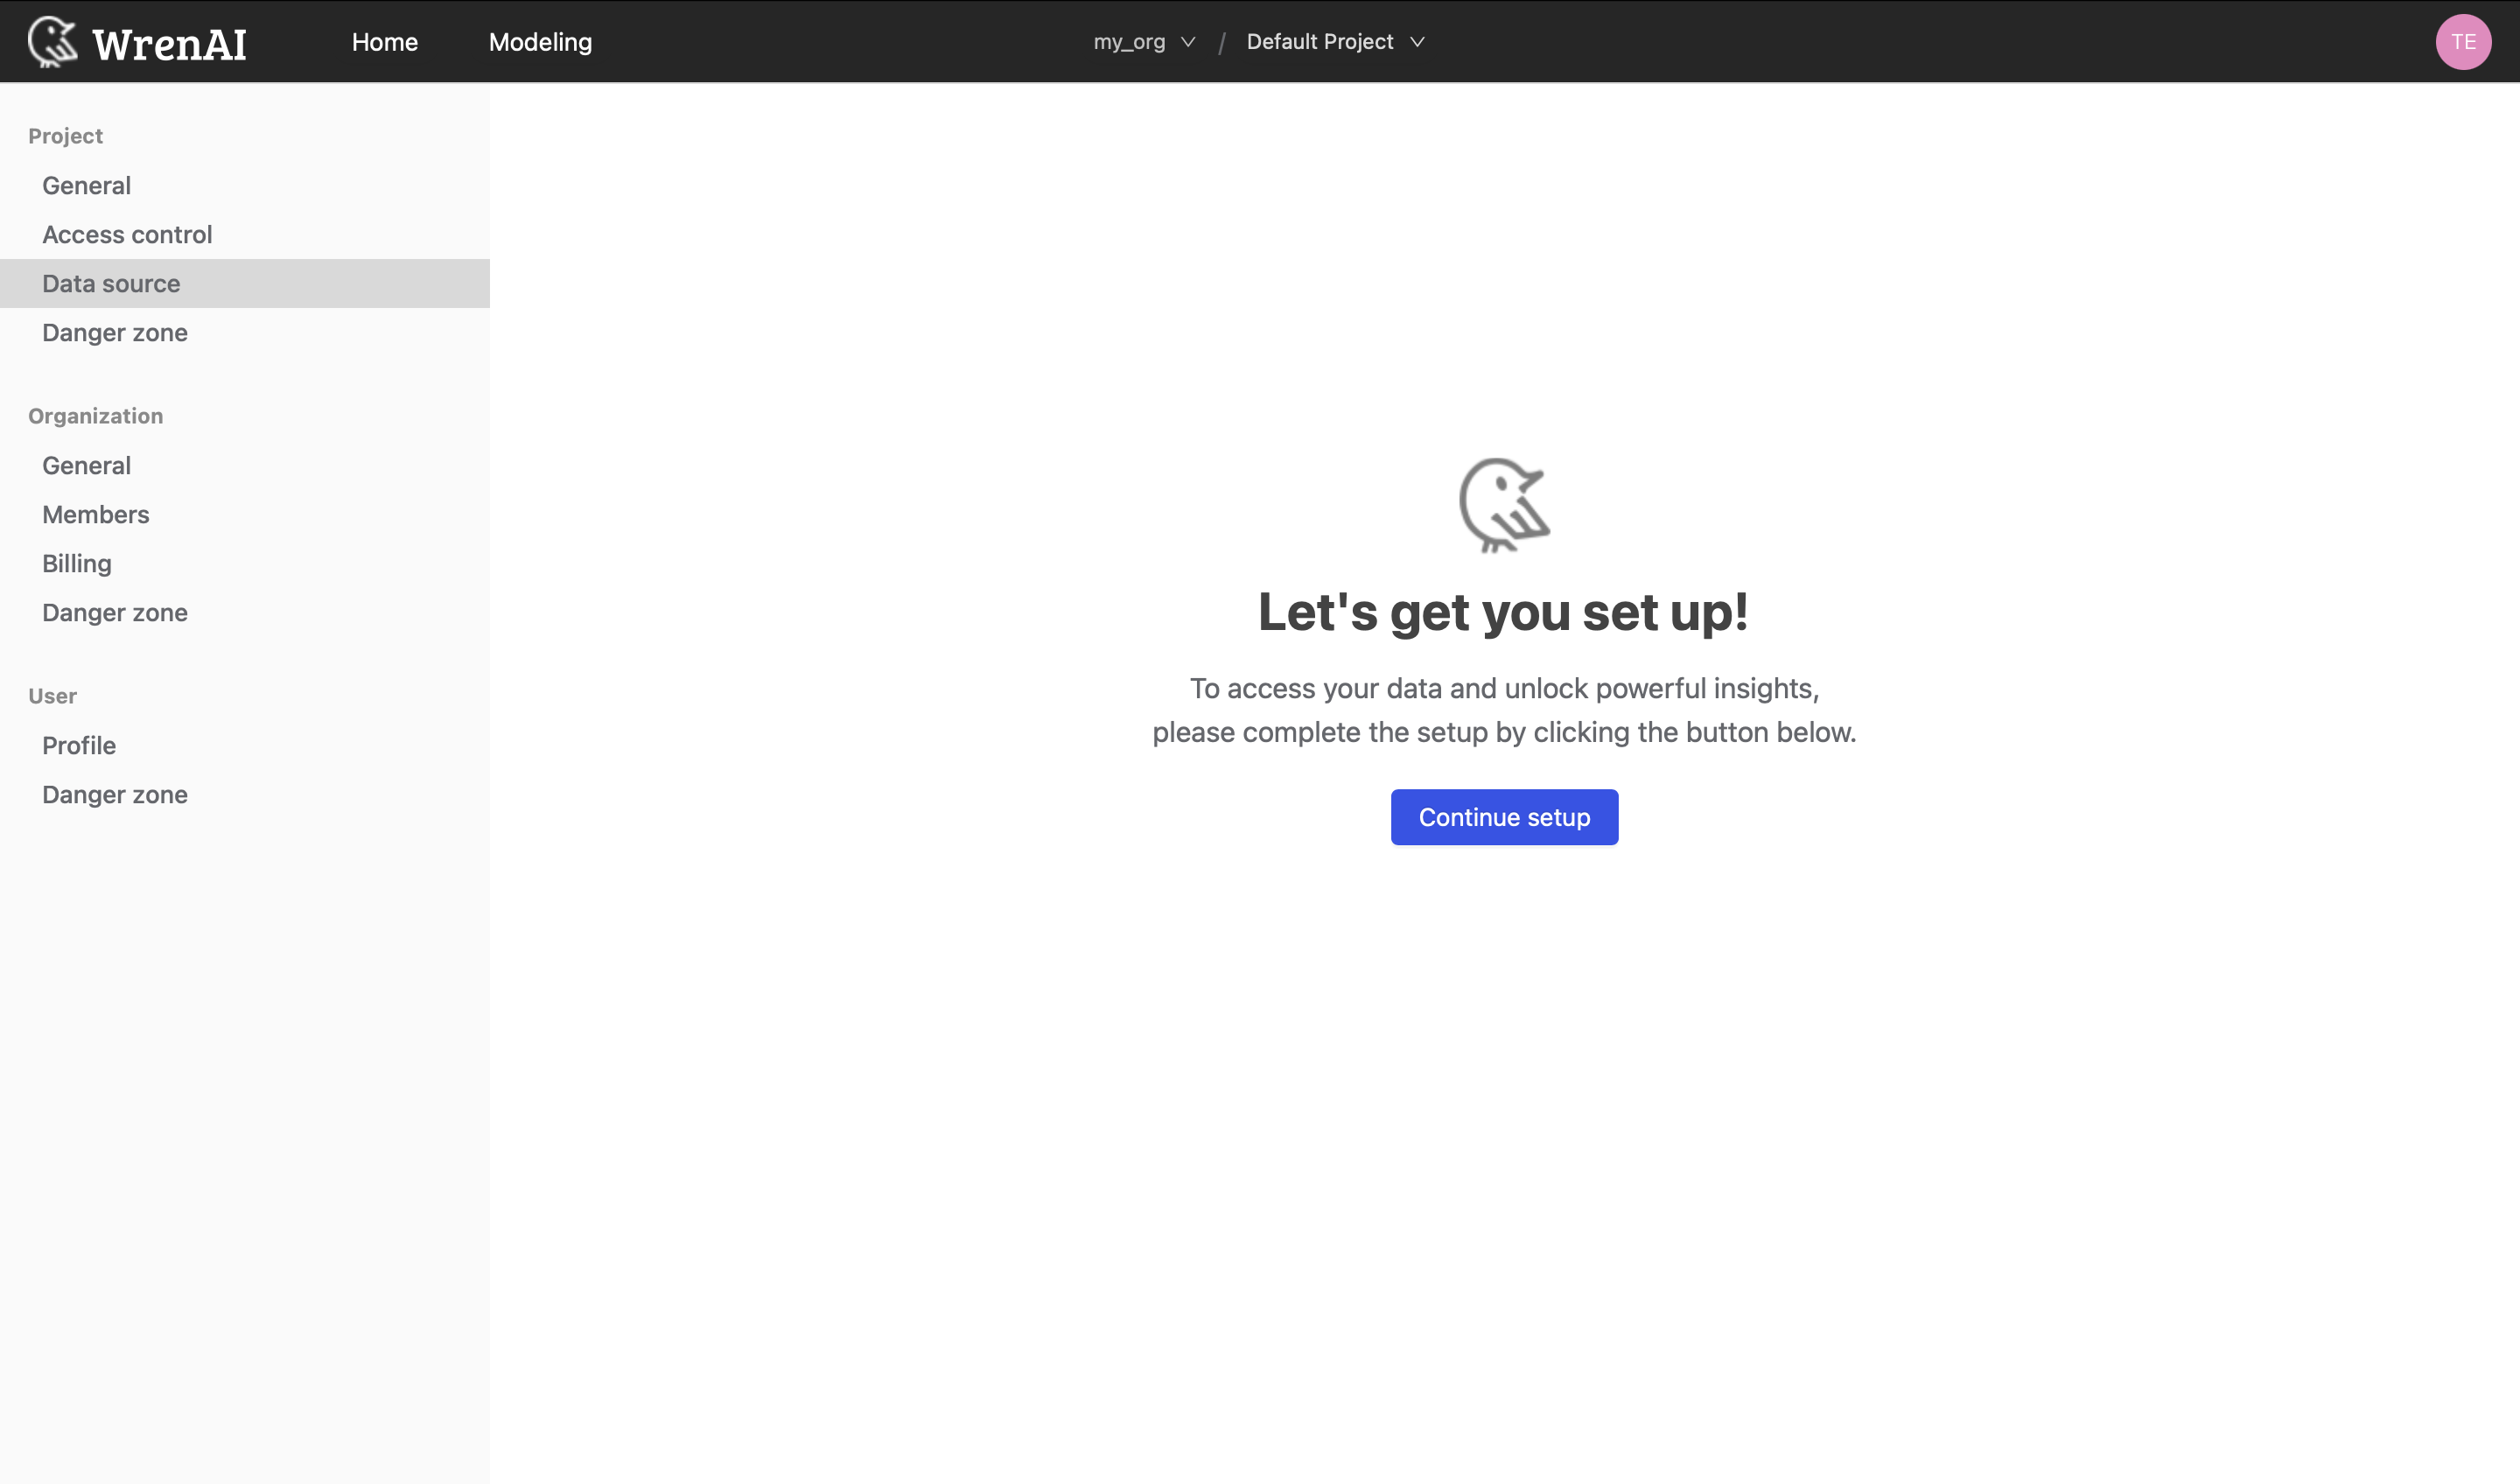
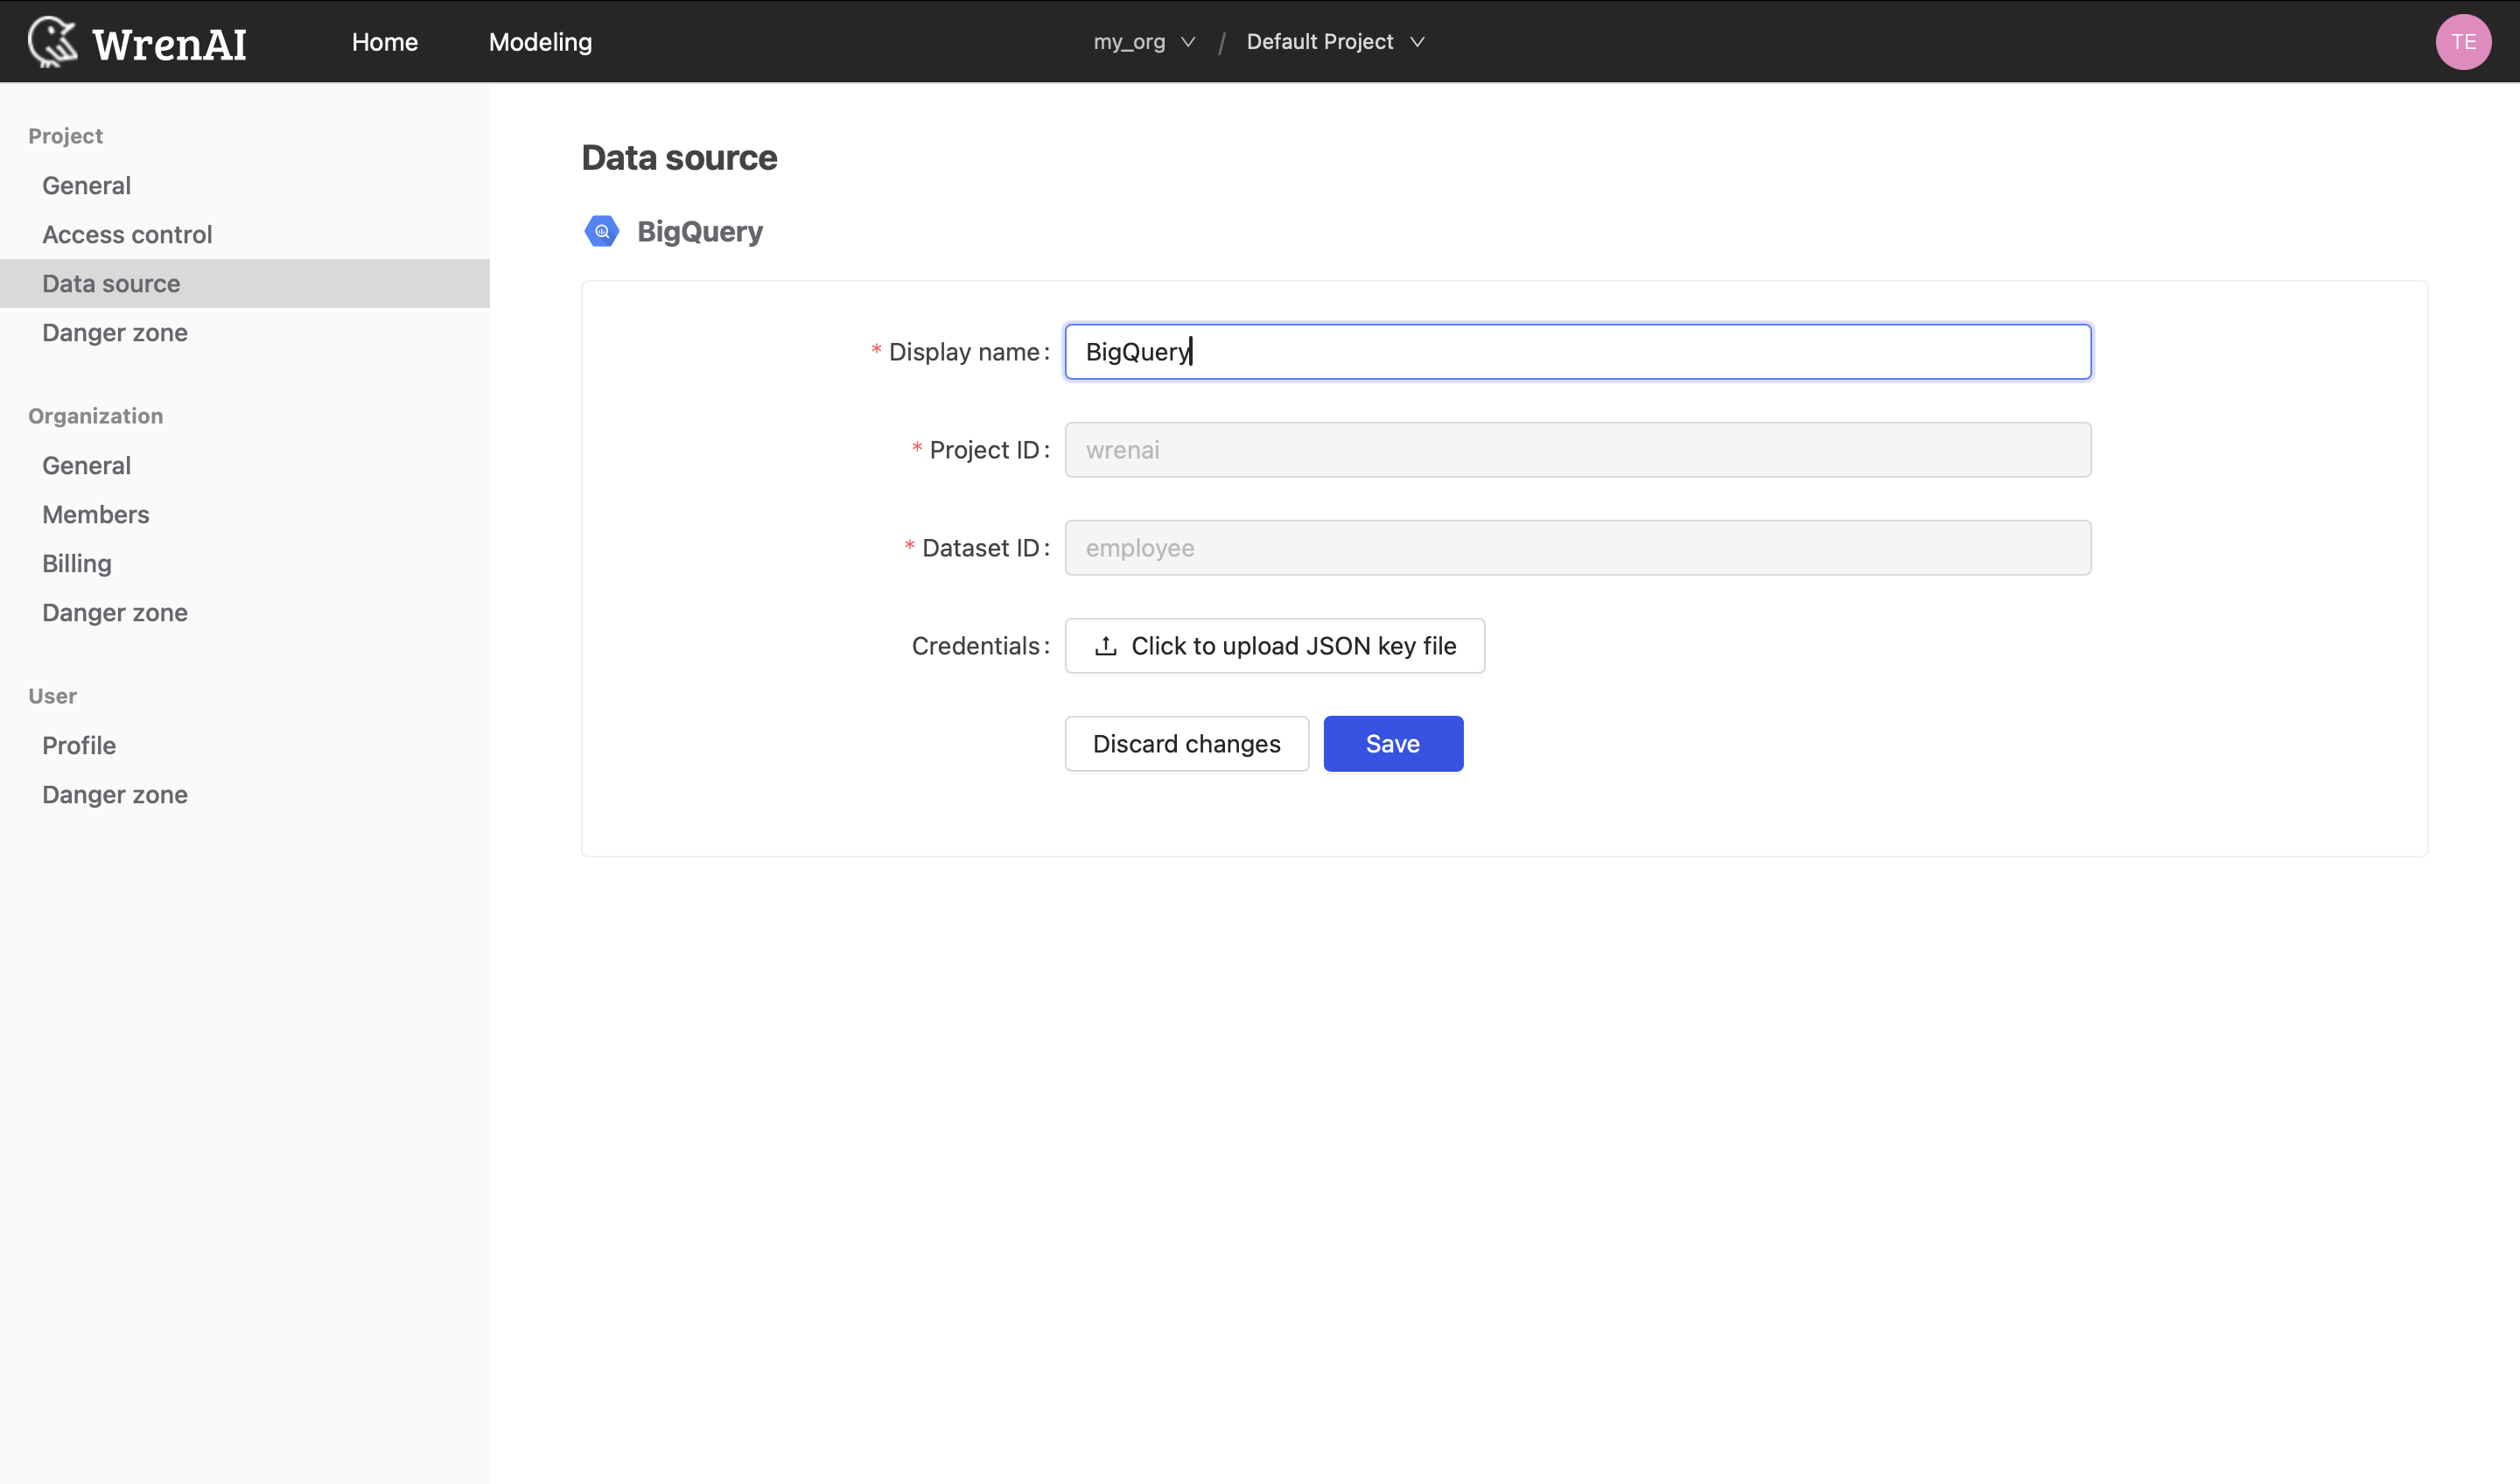
Project owners can create or update the project's data source connection in Data Source.
If no data source is connected yet, continue the setup flow from this section.
If a data source is already connected, you can view and edit the connection details here.
Danger zone
Use Danger Zone for destructive project actions.
Actions in this section cannot be undone.
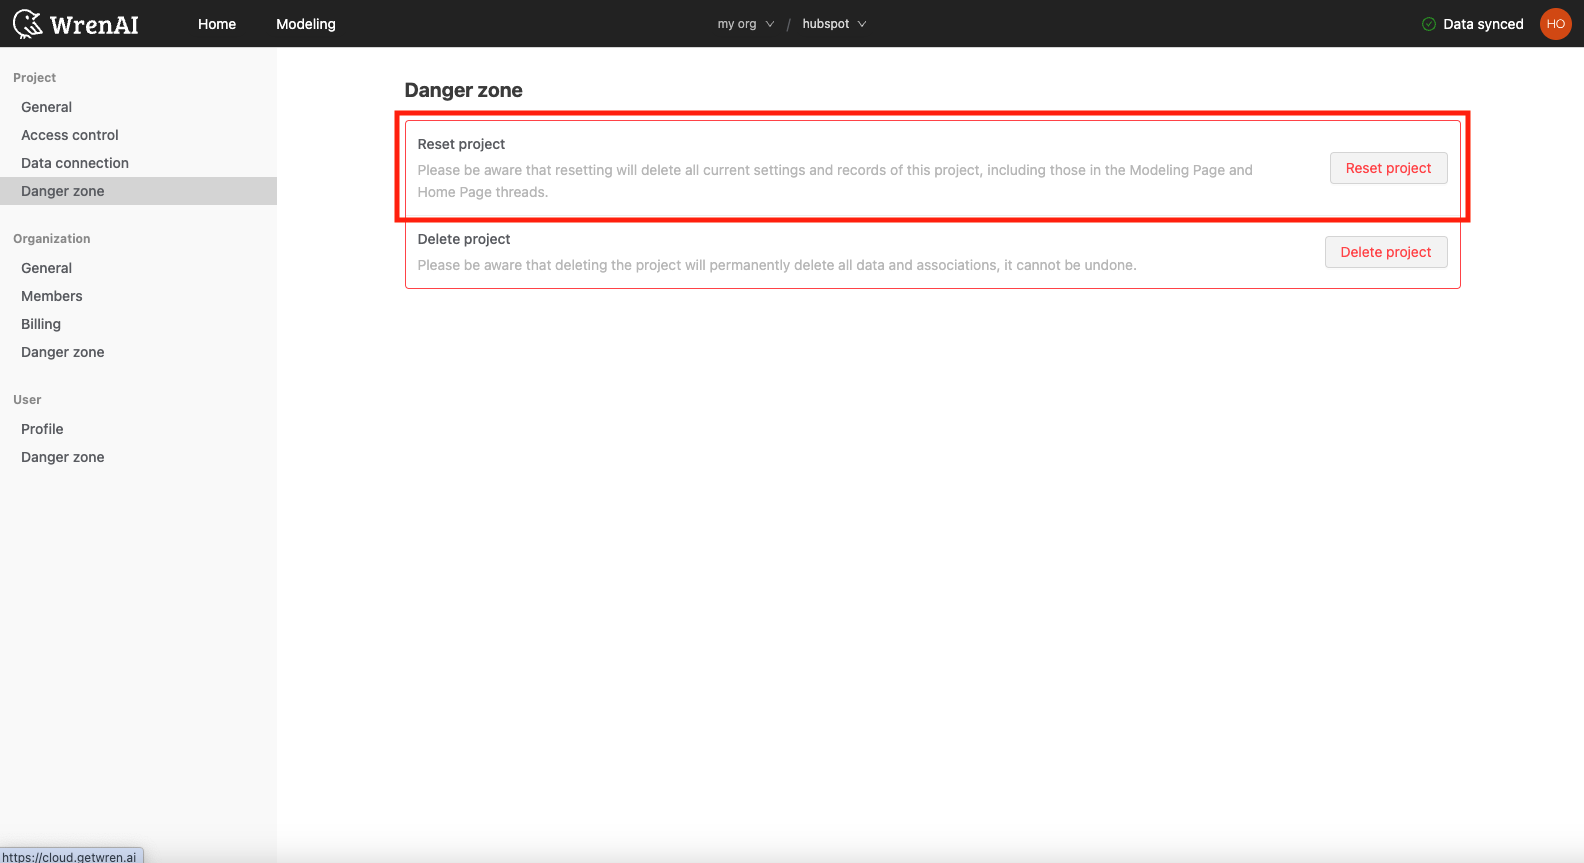
Reset project
Resetting a project removes its current settings and records, including data connection information, Modeling page information, and Home page threads.
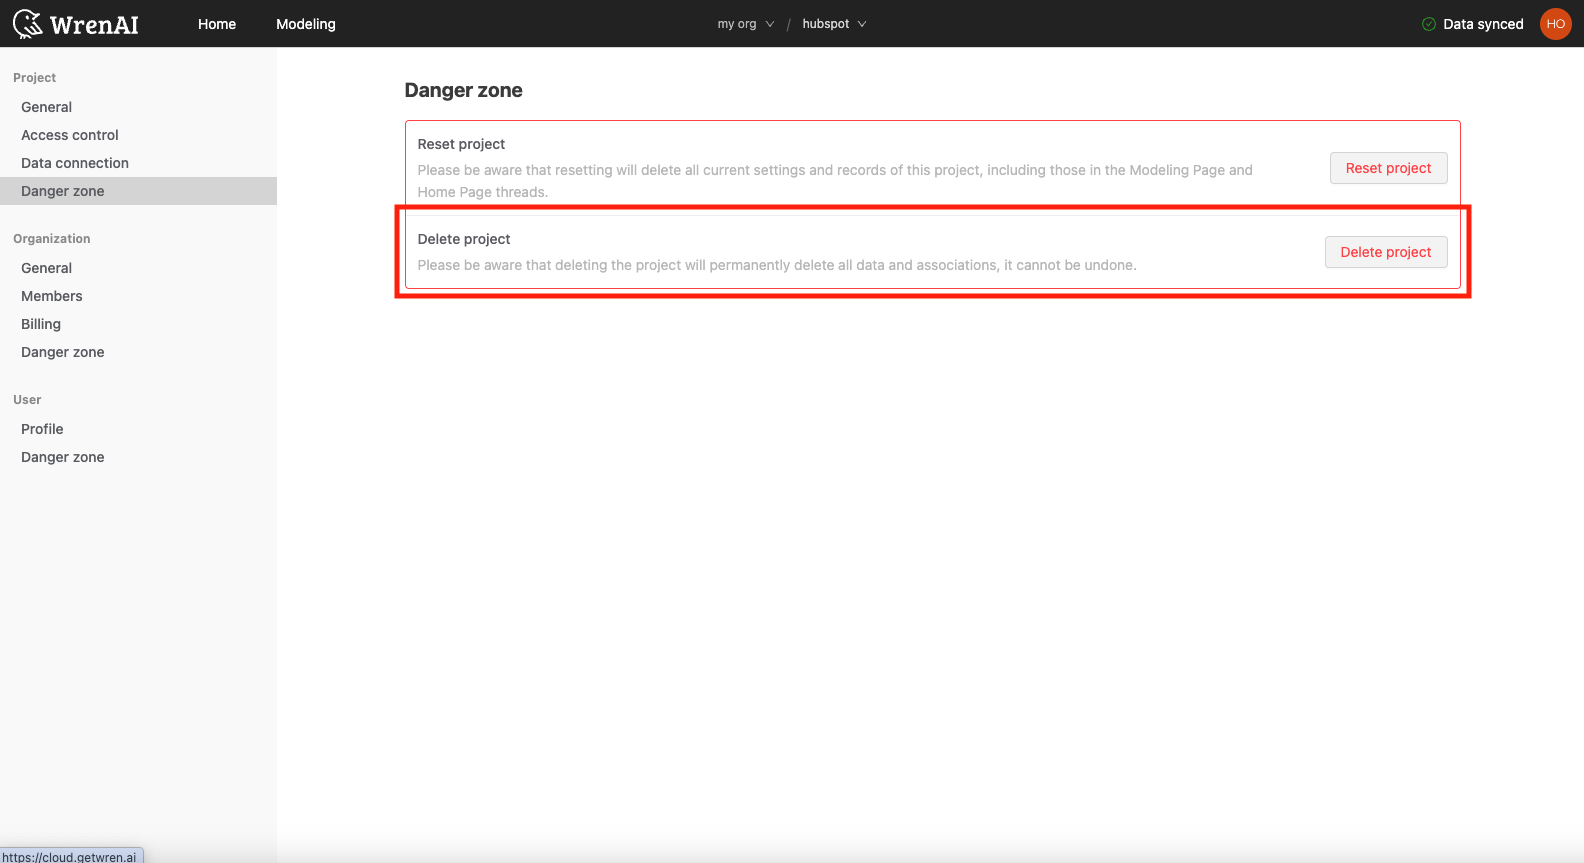
Delete project
Only organization admins can delete a project.
Deleting a project permanently removes access to its ask records for all owners and members.
You cannot delete the project if it is your last accessible project within the organization.