Wren AI MCP
Wren AI MCP currently runs in Interactive Mode only. Agentic Mode is not supported. Calls through MCP will use Interactive Mode even if the connected project has Agentic Mode available.
Overview
Wren AI MCP connects your AI agent (Claude, ChatGPT) to Wren AI so you can query your data, generate SQL, build charts, and get business insights in natural language — right from the tools you already use.
It's a single, organization-level endpoint secured with OAuth:
- Endpoint:
https://cloud.getwren.ai/api/mcp - Auth: OAuth (your Wren AI account) — no API key and no local proxy
- Plan: Enterprise
How It Works
- An organization admin enables MCP for the organization and chooses which projects are exposed.
- You add the one endpoint URL to your AI client and log in with OAuth.
- Your agent calls
list_projectsto discover the projects you can reach, then passes aprojectIdto the other tools. - Row/column-level security is applied per user, server-side — you only ever see what your Wren AI account is allowed to see.
Before You Begin
-
Wren AI Enterprise plan. MCP is an Enterprise feature.
-
An org admin enables MCP and exposes projects. In Wren AI, go to Settings → Organization → MCP, turn on Enable MCP for this organization, and toggle Exposed for each project you want reachable. Optionally set New projects default to Exposed. The endpoint URL shown here —
https://cloud.getwren.ai/api/mcp— is shared by everyone in the org.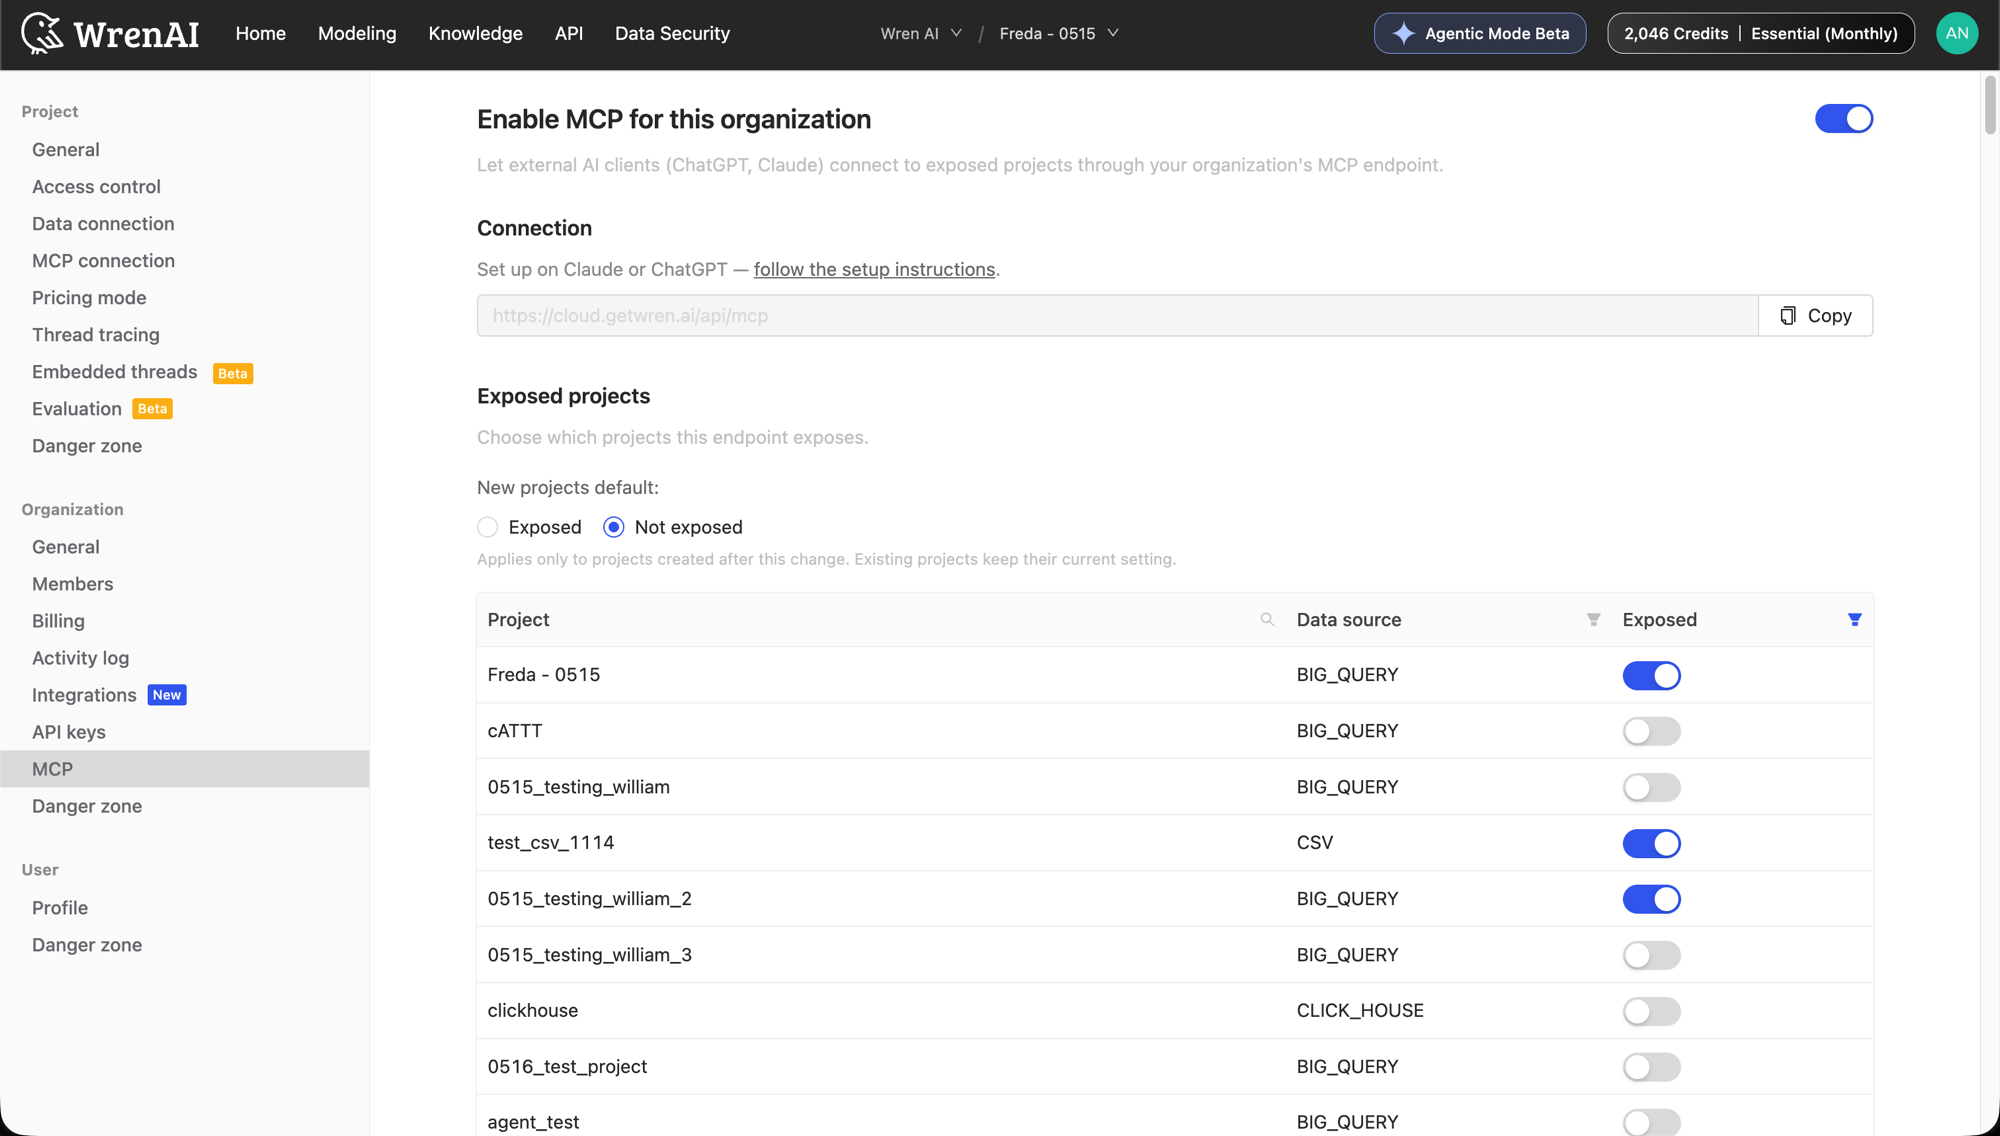 note
noteOnly exposed projects are reachable, and each user still only sees projects they're a member of. Turning a project off here (or disabling the org switch) immediately cuts its MCP access.
-
Claude custom-connector permission (Team/Enterprise workspaces). If you're on Claude's Team/Enterprise plan, your workspace admin must enable the Add custom connectors permission for your account — otherwise you won't see the "Add custom connector" option or be able to authorize the app on first connect.
Claude (Web & Desktop)
Auth is handled via OAuth — no API key needed.
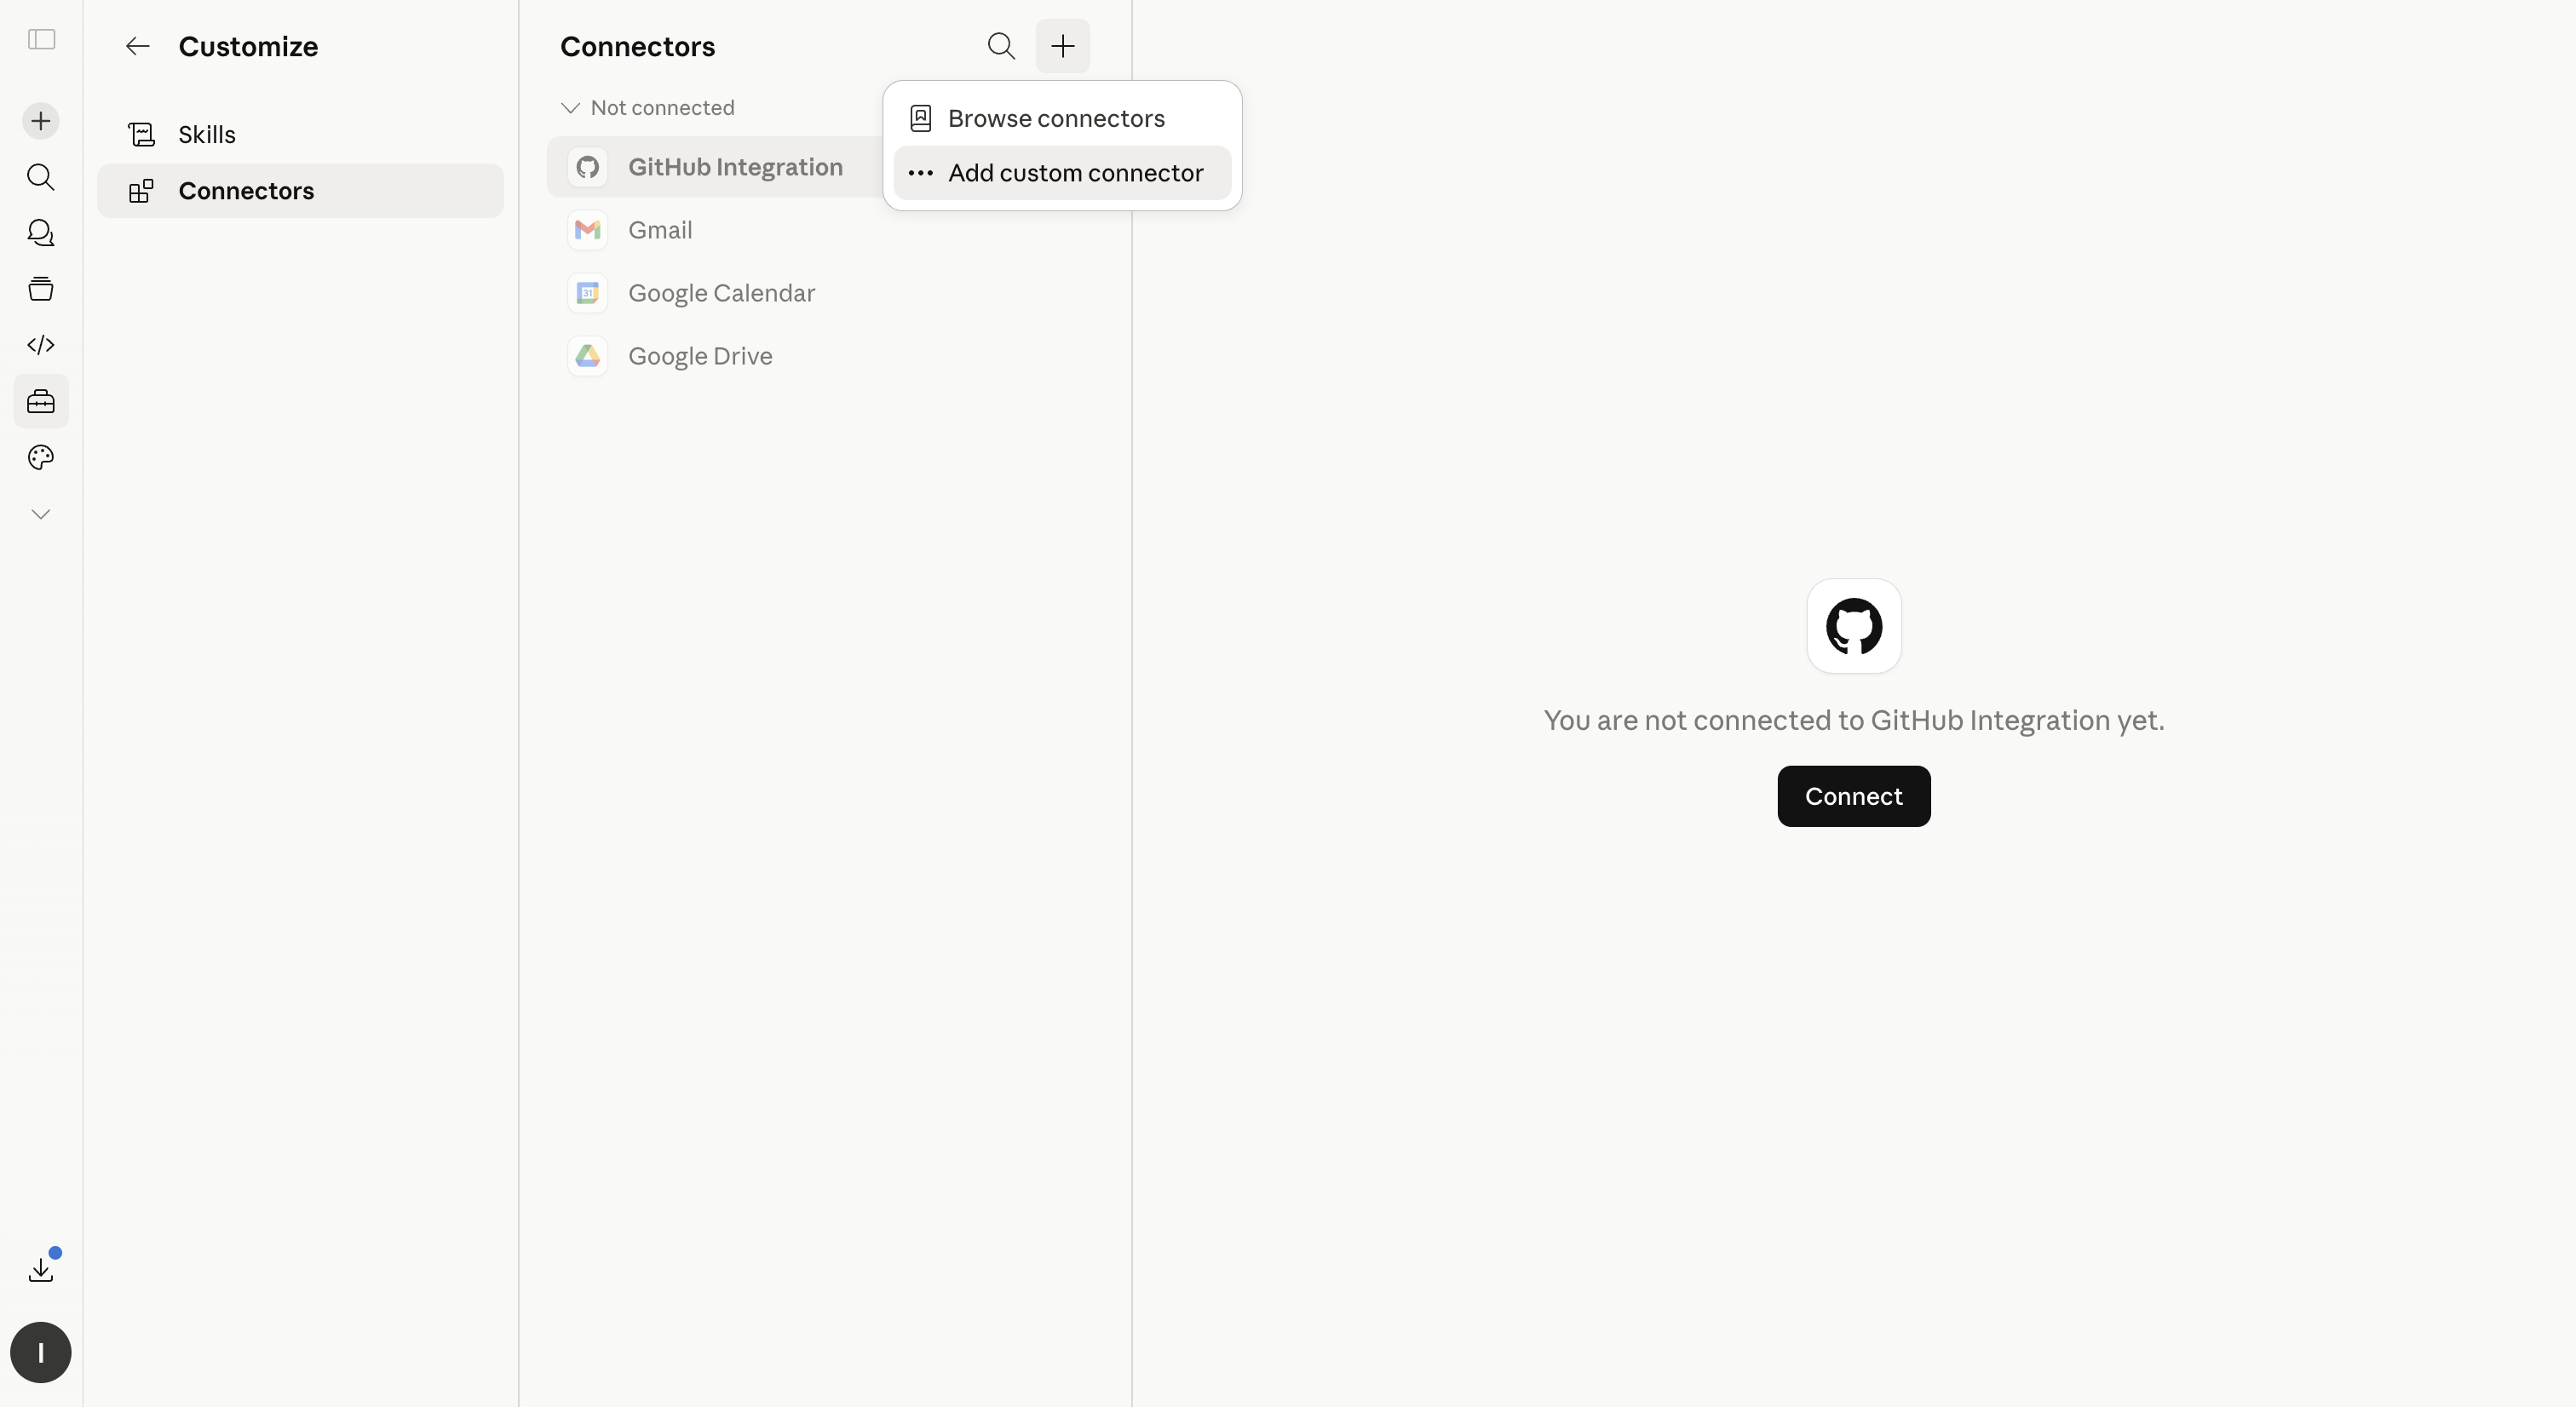
Step 1 — Add the MCP connector:
-
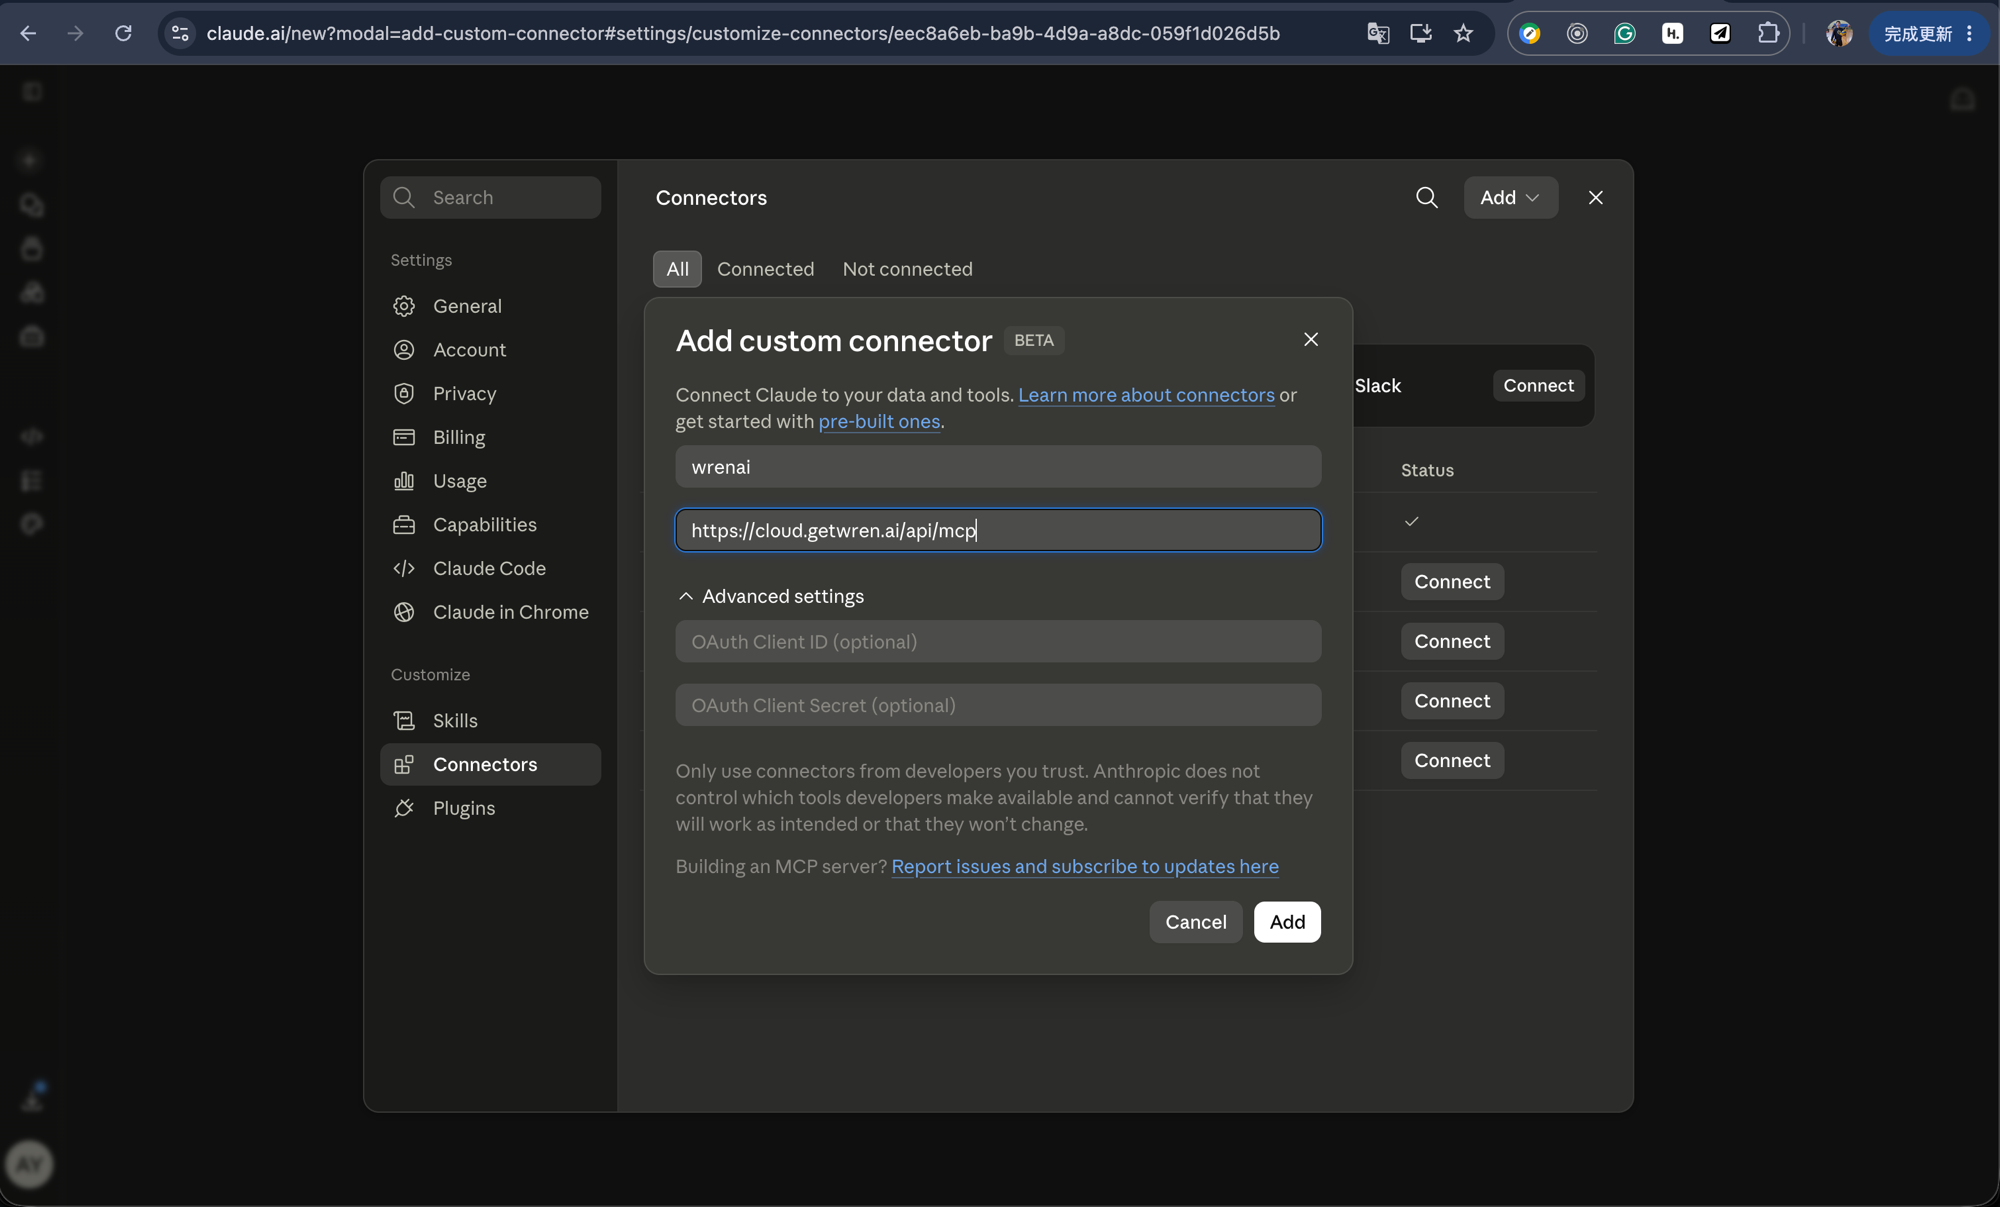
Go to Customize → Connectors → Add custom connector.
-
Name:
WrenAI -
URL:
https://cloud.getwren.ai/api/mcp -
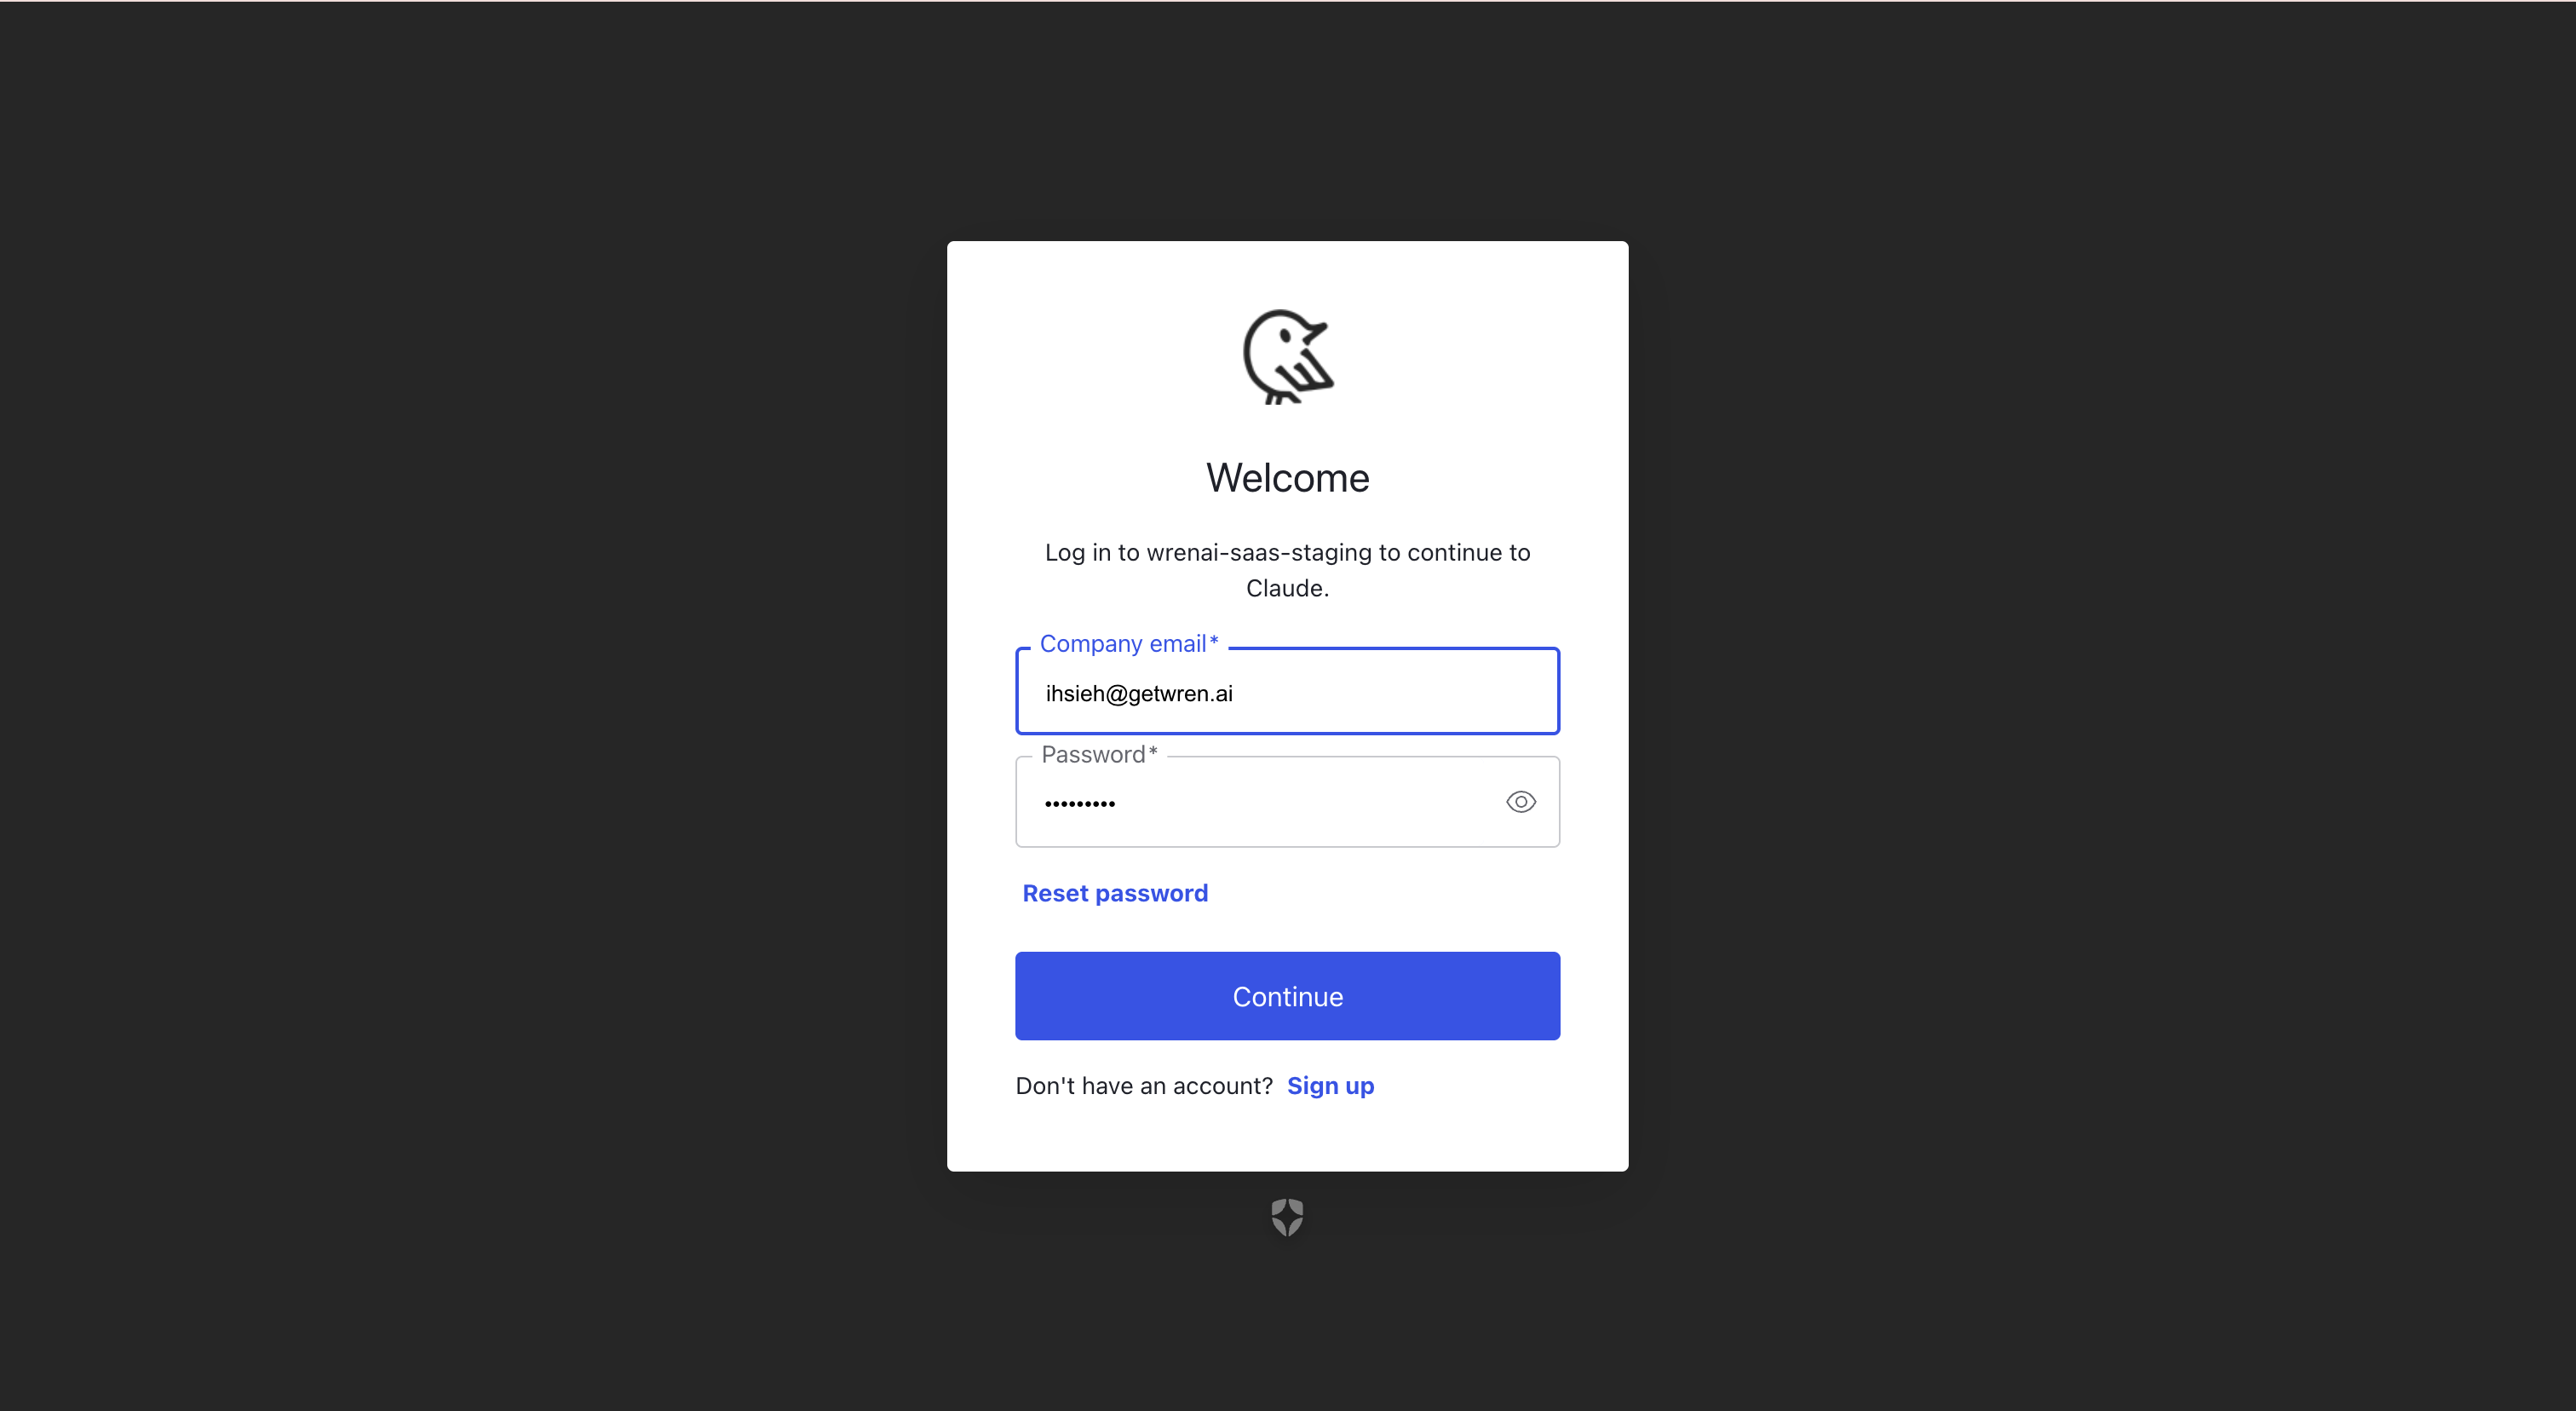
Connect — you'll be redirected to log in with your Wren AI account (OAuth).
-
Log in with your Wren AI account.
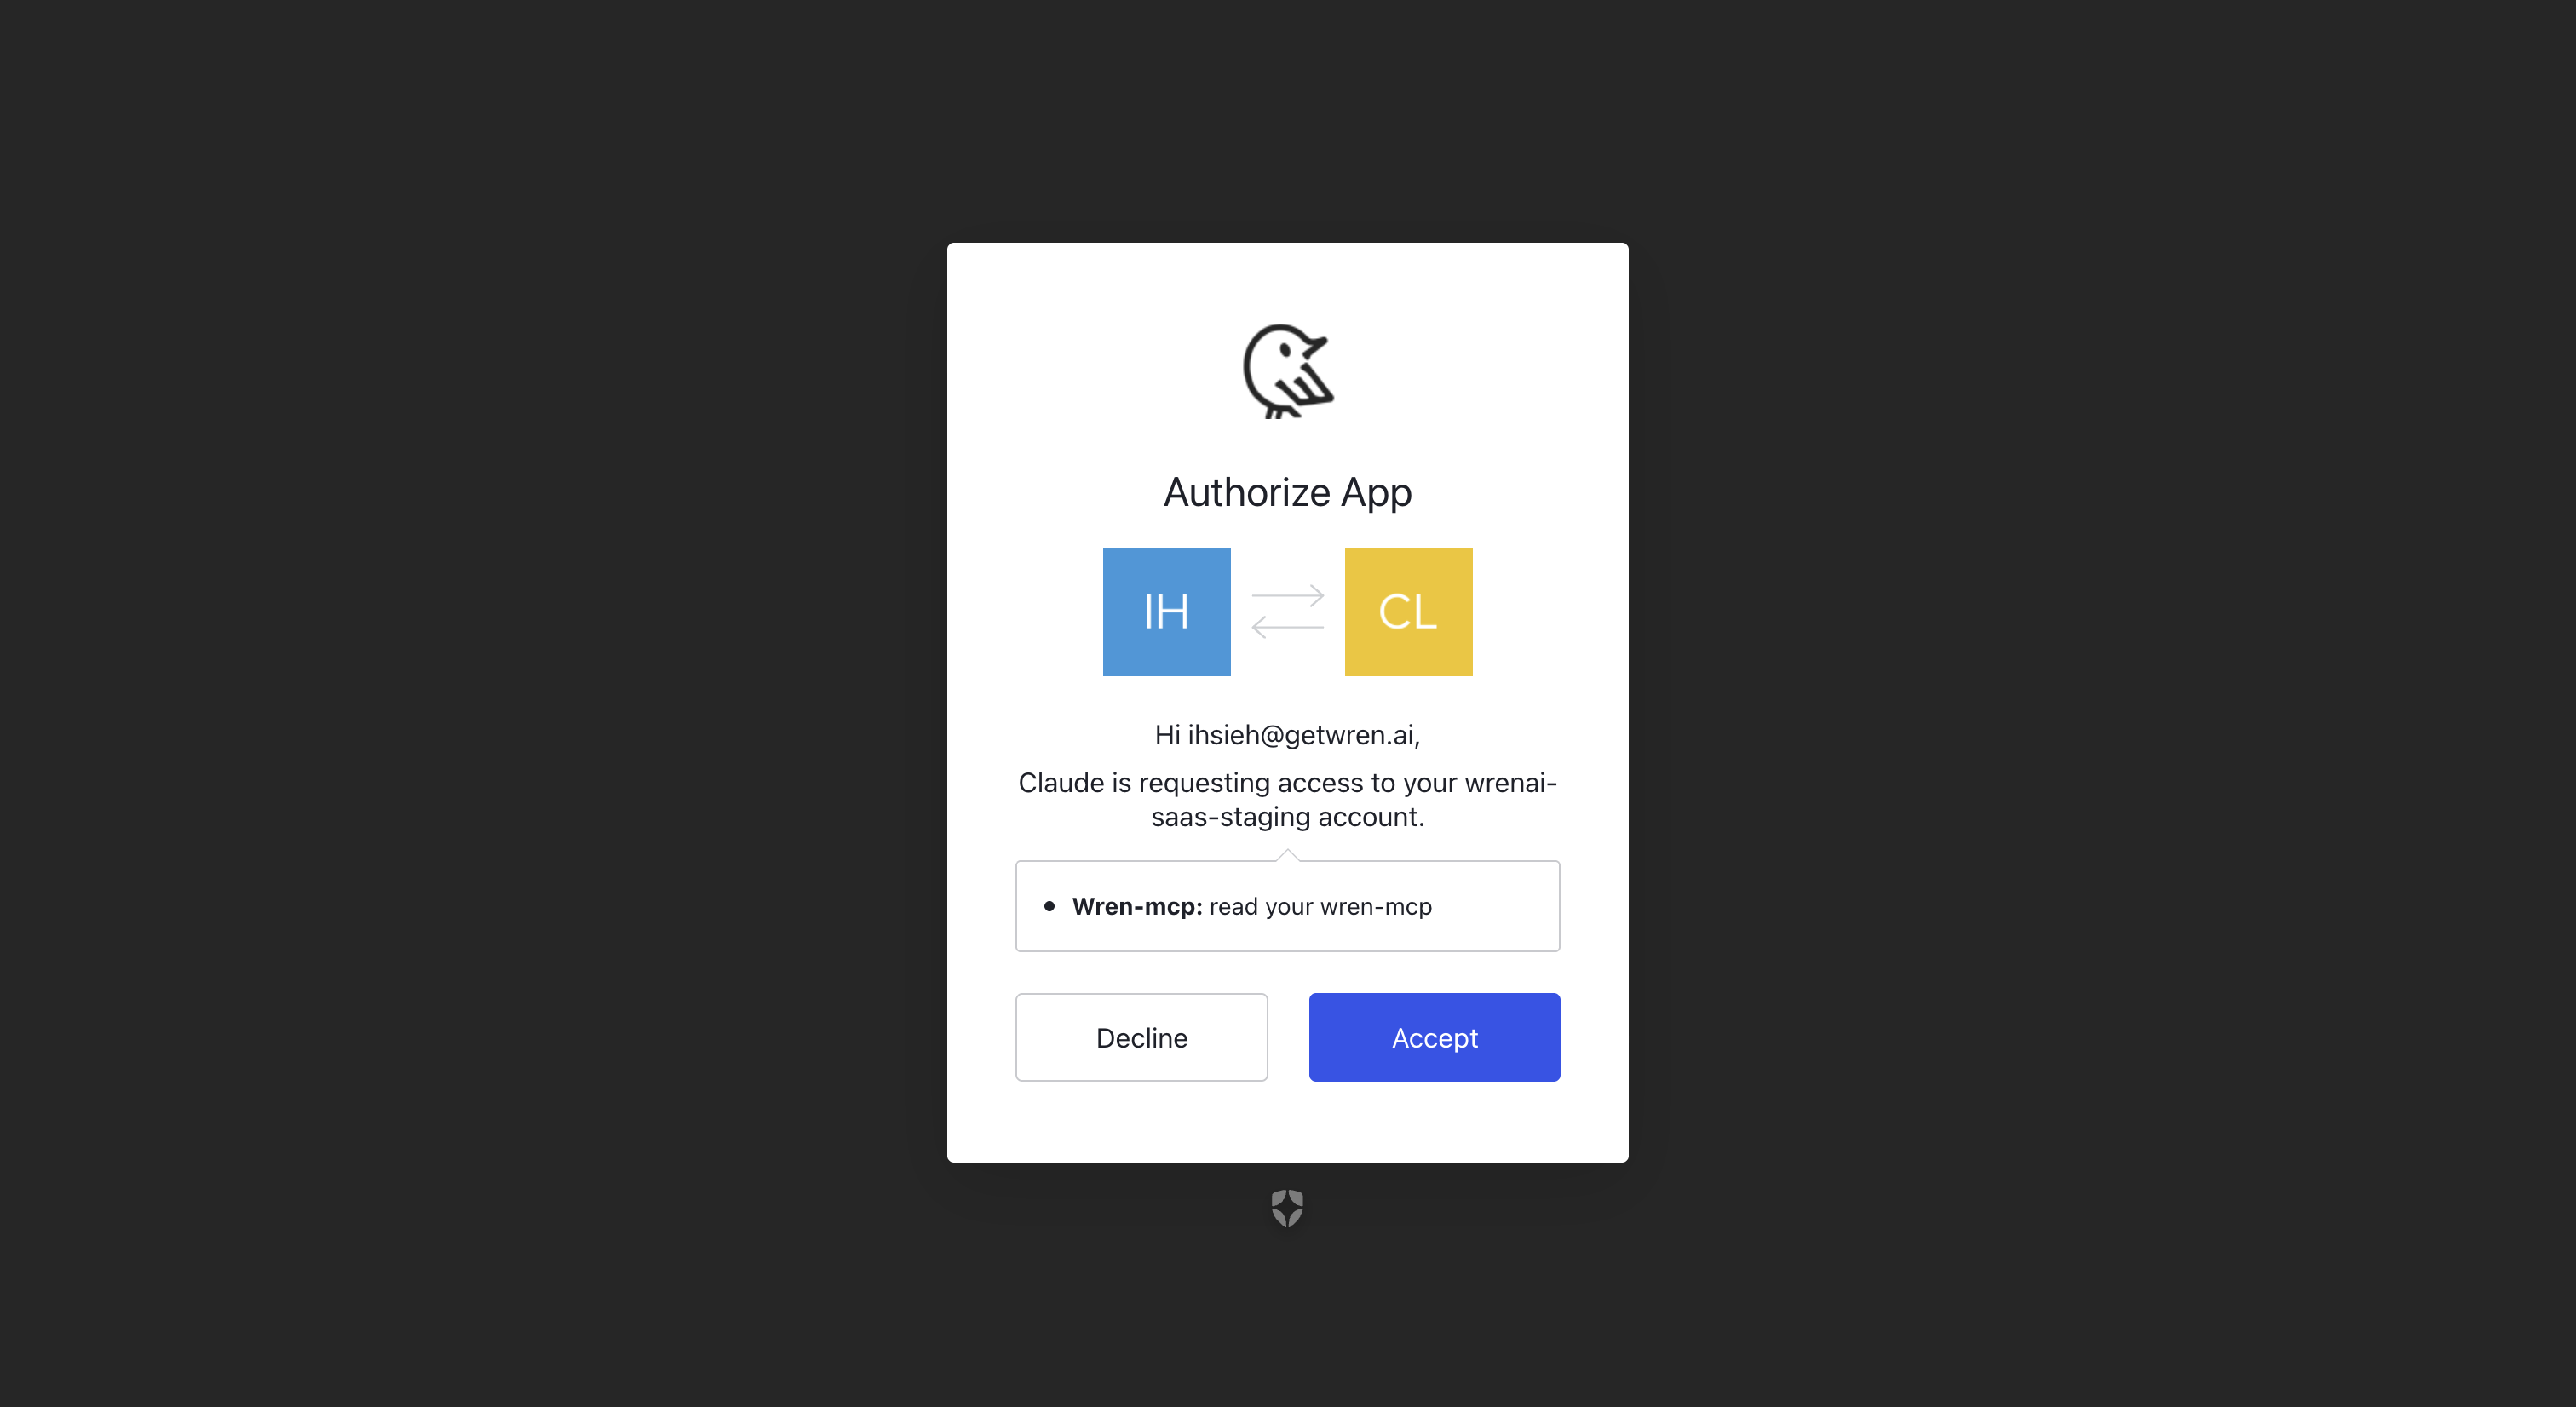
-
Authorize the app.
Step 2 — Upload the analyst skill (optional):
- Open Customize → Skills → Create a skill → Upload a skill.
- Upload
web/claude/wrenai-analyst/SKILL.md.
Generate the skill files locally:
git clone https://github.com/canner/wrenai-mcp.git && cd wrenai-mcp && ./setup --host web
ChatGPT
Auth is handled via OAuth. (Requires connector/Developer-Mode access on your ChatGPT plan; exact menu names vary by version.)
Step 1 — Add the MCP connector:
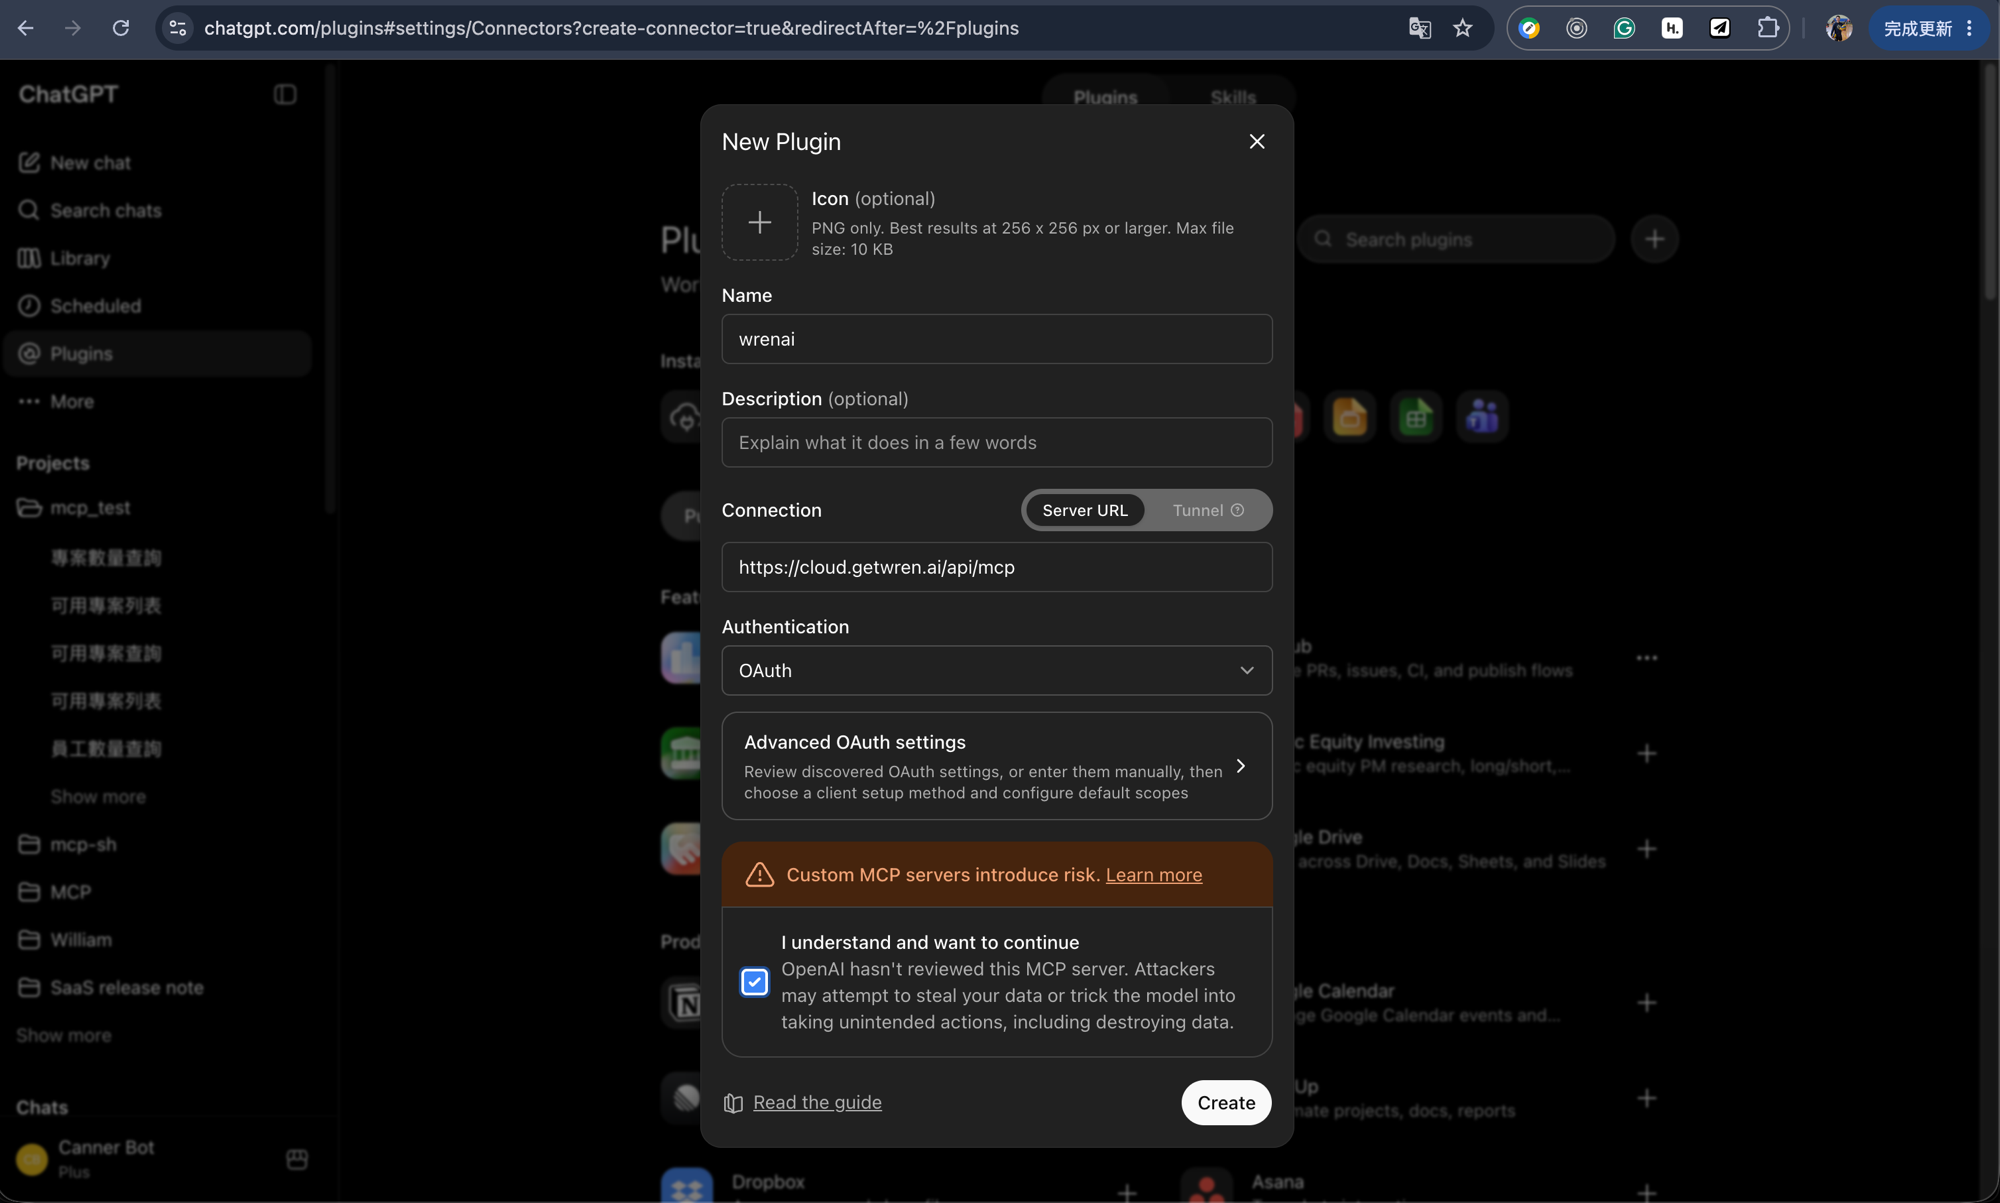
-
Open Plugins → Connectors and start a new connector (New Plugin).
-
Name:
WrenAI. Keep Connection: Server URL and enterhttps://cloud.getwren.ai/api/mcp. -
Authentication: OAuth.
-
Tick "I understand and want to continue", then Create, and log in with your Wren AI account.
Step 2 — Add custom instructions (optional):
- Go to Settings → Personalization → Custom Instructions.
- Paste the content from
web/chatgpt/wrenai-analyst-skill.md.
Generate the skill content locally:
git clone https://github.com/canner/wrenai-mcp.git && cd wrenai-mcp && ./setup --host chatgpt
Claude Code (CLI)
claude mcp add --transport http wrenai https://cloud.getwren.ai/api/mcp
Then run /mcp inside Claude Code, select wrenai, and complete the OAuth login in your browser. No API key or proxy needed.
For the analyst skill and more, see the WrenAI-mcp repository.
Using It
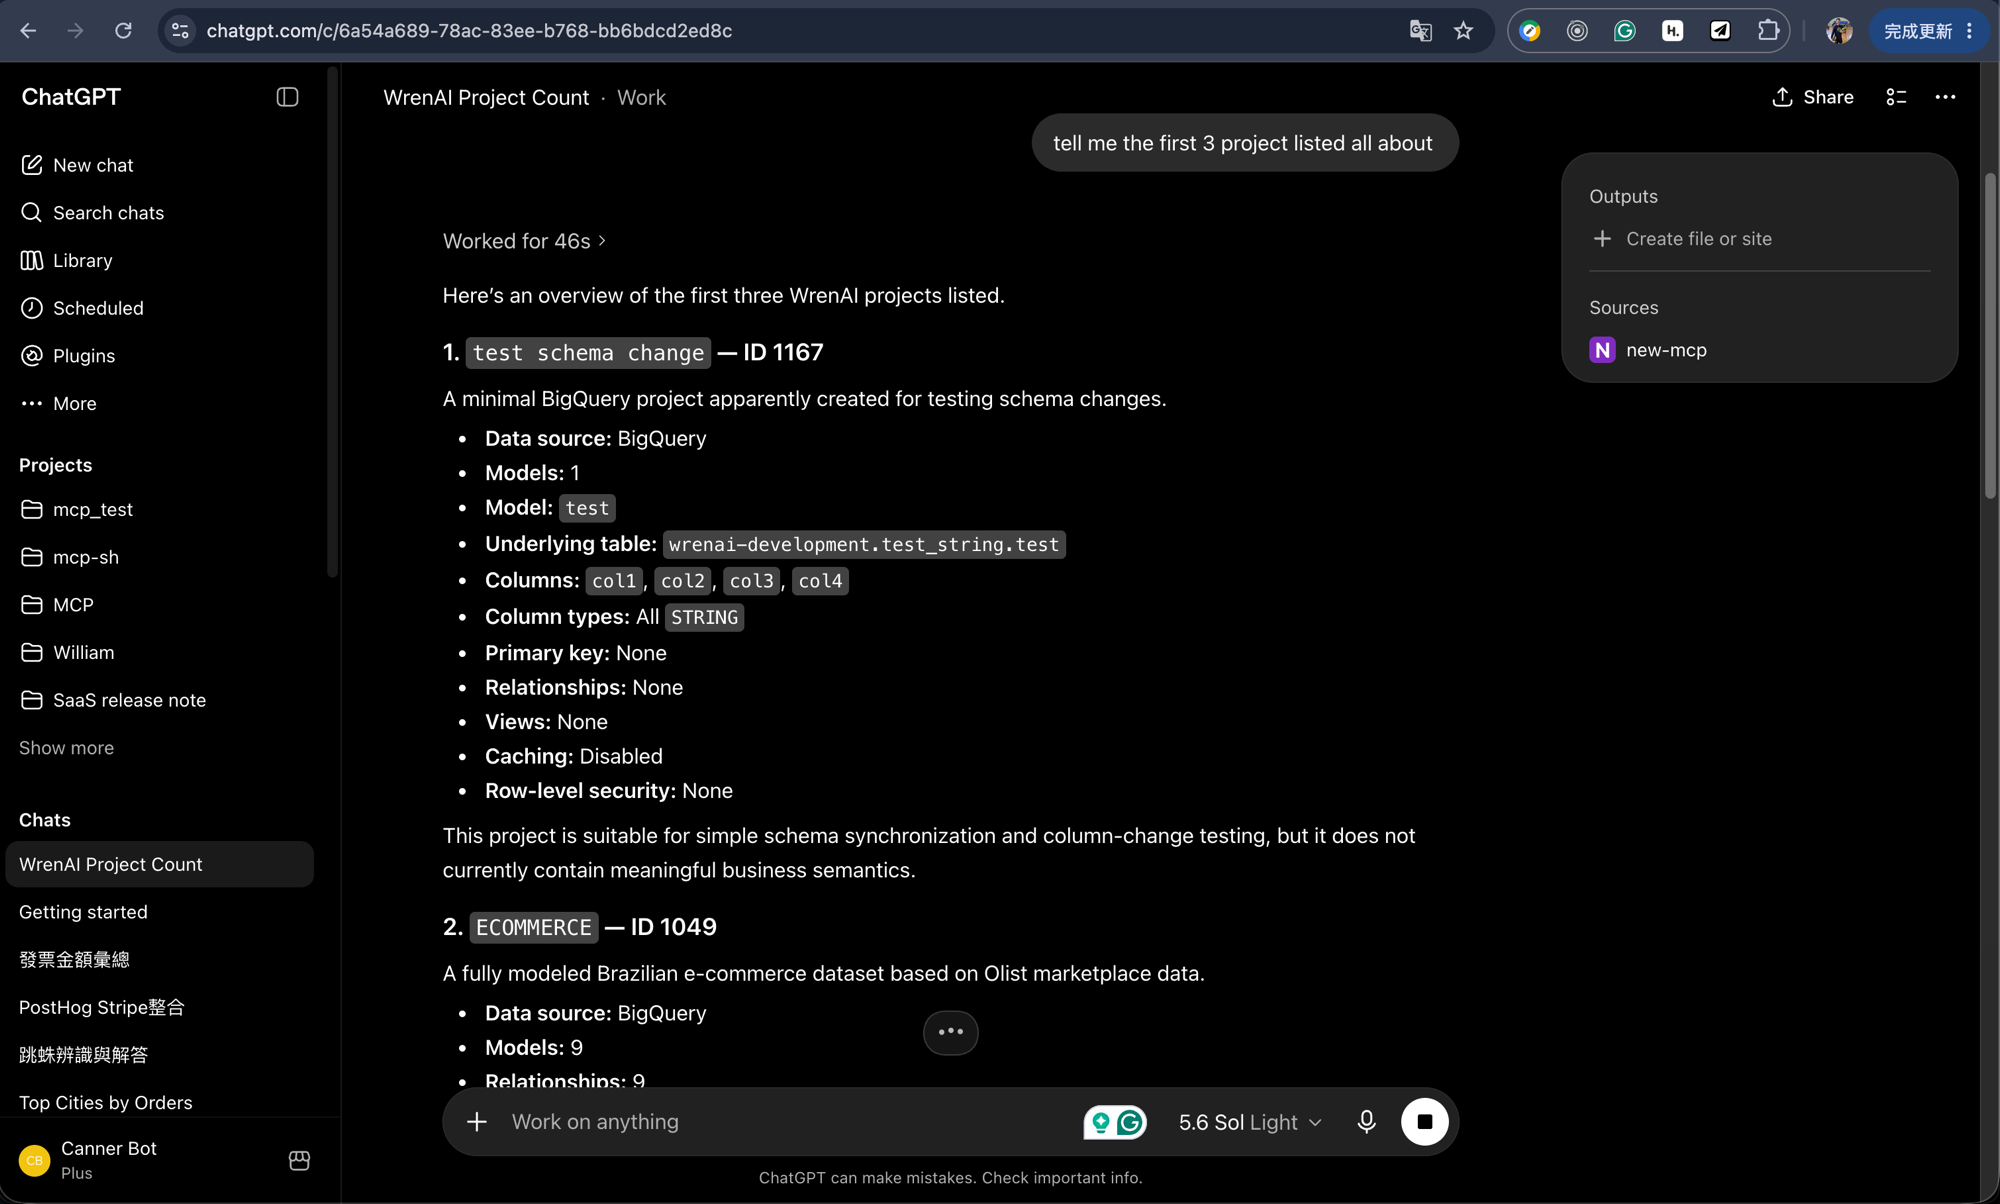
Once connected, just ask in natural language. Behind the scenes the agent calls list_projects to choose a project, reads schema with get_project_metadata, then answers with ask / generate_sql / run_sql and renders a generate_chart visualization.
Example prompts:
- "List my Wren AI projects."
- "In the Sales project, what were the top 5 products by revenue last quarter? Chart it."
If your account belongs to more than one MCP-enabled organization, list_projects shows the exposed projects across all of them.
Tools
| Tool | Purpose | Takes projectId |
|---|---|---|
list_projects | Projects you can query | — |
get_project_metadata | Table schema for a project | ✓ |
ask | End-to-end natural-language Q&A | ✓ |
generate_sql | Question → SQL | ✓ |
run_sql | Execute SQL | ✓ |
generate_chart | Vega chart spec | ✓ |
generate_summary | Summarize results | ✓ |
Data Security
Row/column-level security (RLS/CLS) is enforced per user: policies are resolved server-side from the Wren AI account that authenticated the MCP connection (the user who logged in via OAuth), and the connected client cannot override them. Each person sees only the rows and columns their own account is permitted to see.
Because data access is resolved from the connecting account, anyone using a shared Wren AI account inherits exactly that account's data permissions — so RLS/CLS won't distinguish between the individual people behind it. Have each person connect with their own Wren AI account so security policies apply to the correct identity.
Migrating from the per-project URL
The legacy per-project URL — https://cloud.getwren.ai/api/mcp/{token} — and its Settings → Project → MCP connection page are deprecated and will be removed soon. To migrate:
- Have an admin enable MCP and expose the project in Settings → Organization → MCP (see Before You Begin).
- In your AI client, replace the old per-project URL with
https://cloud.getwren.ai/api/mcpand reconnect. - Your agent now selects the project via
list_projectsinstead of the URL.