Installation
Install Wren AI locally on macOS, Linux, or Windows. This page covers the fastest launcher-based setup and an optional shell-based setup.
Before you begin
- Install Docker Desktop version 4.17 or later.
- Start Docker Desktop before launching Wren AI.
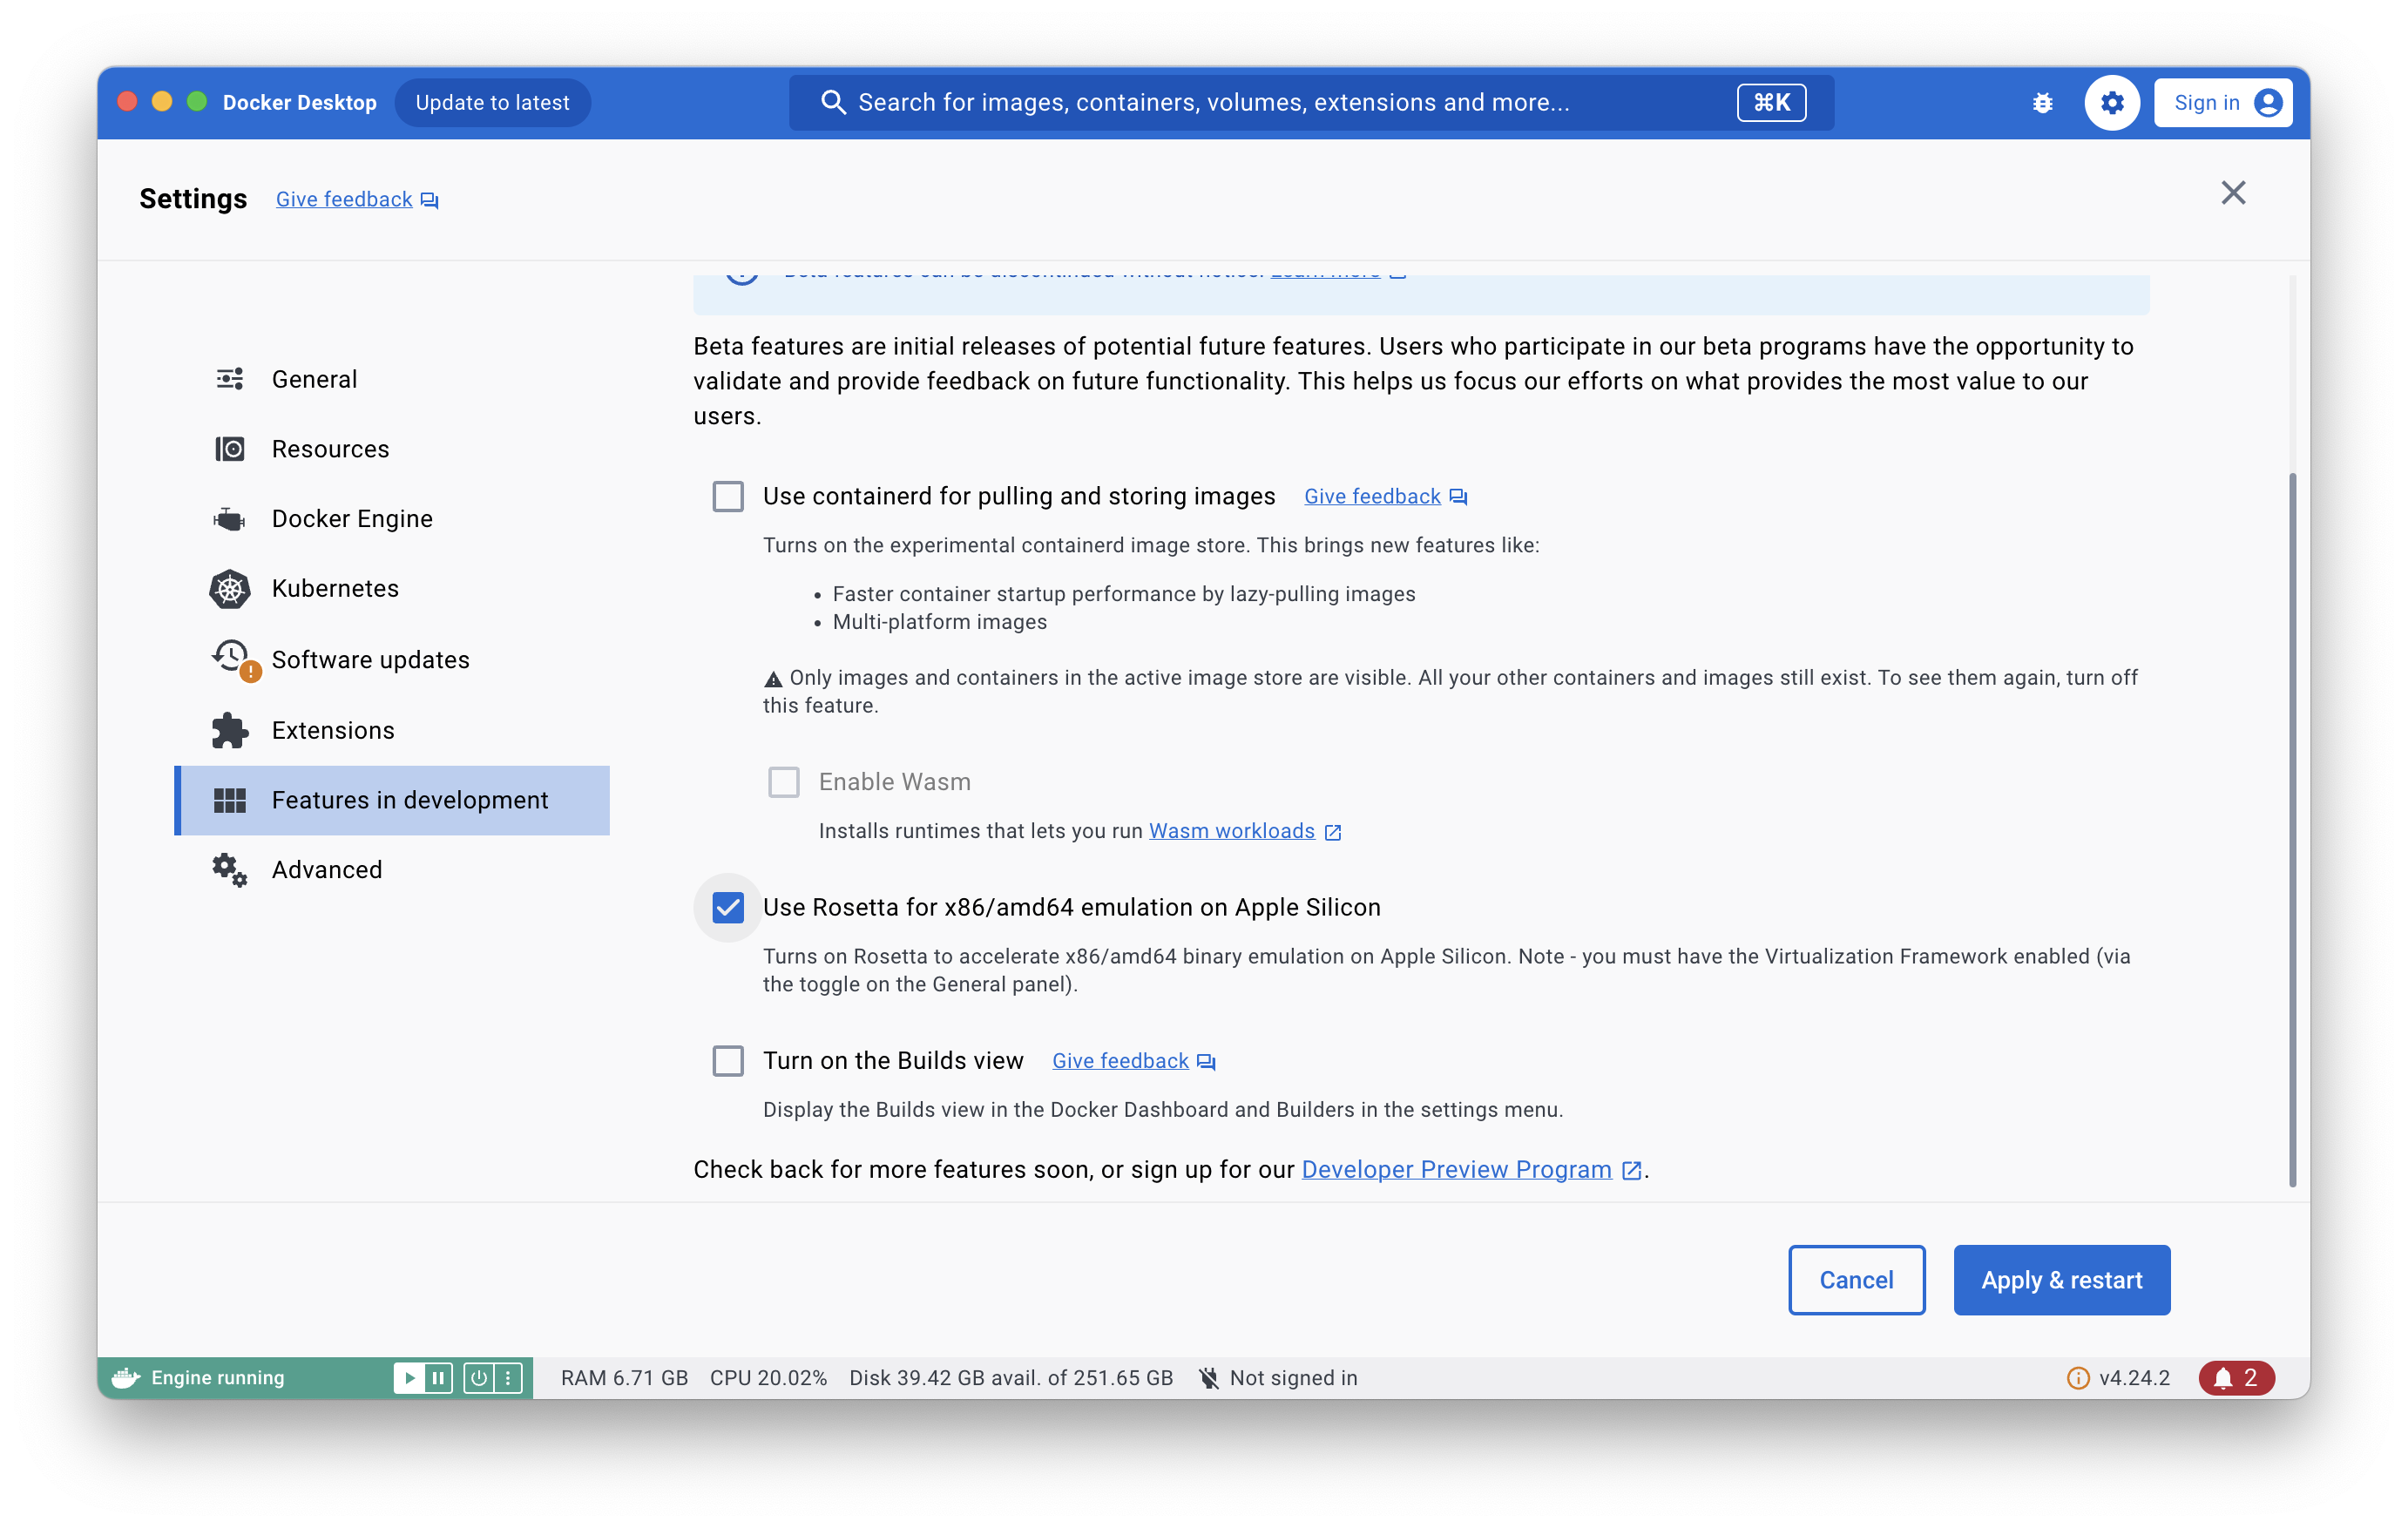
- If you use Apple Silicon on macOS, enable Rosetta 2 in Docker Desktop settings to avoid slow performance issues.
- Decide which LLM provider you want to use during setup.
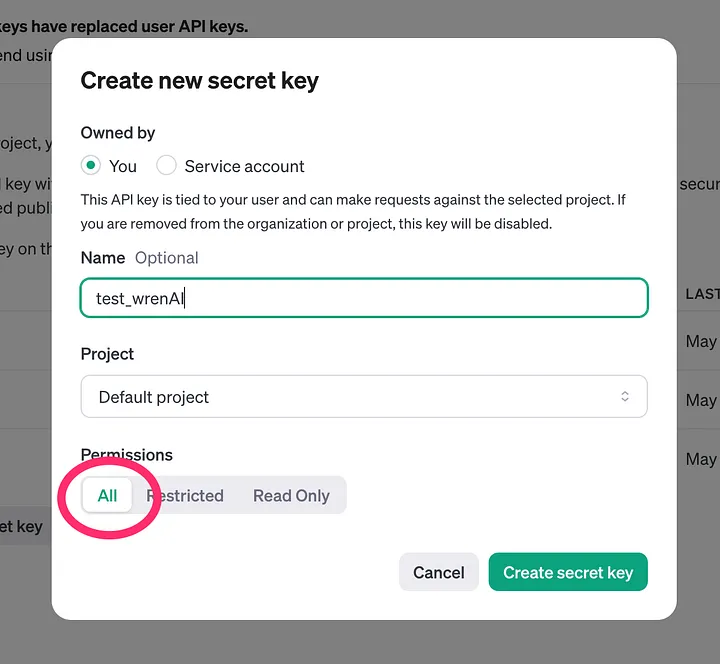
- If you plan to use OpenAI, prepare an OpenAI API key with Full Permission (All). If you plan to use another provider, see Custom LLM provider setup.
Wren AI only needs your OpenAI API key if you choose OpenAI as the LLM provider. We do not store the key for other purposes.
Using Wren AI Launcher
Wren AI Launcher is the easiest way to install Wren AI and start the local services for you.
- macOS
- Linux
- Windows
1. Download and run Wren AI Launcher
If you are using Apple Silicon Mac, run:
curl -L https://github.com/Canner/WrenAI/releases/download/0.29.1/wren-launcher-darwin-arm64.tar.gz | tar -xz && ./wren-launcher-darwin-arm64
If you are using Intel Mac, run:
curl -L https://github.com/Canner/WrenAI/releases/download/0.29.1/wren-launcher-darwin.tar.gz | tar -xz && ./wren-launcher-darwin
You can find other launcher builds on the WrenAI releases page.
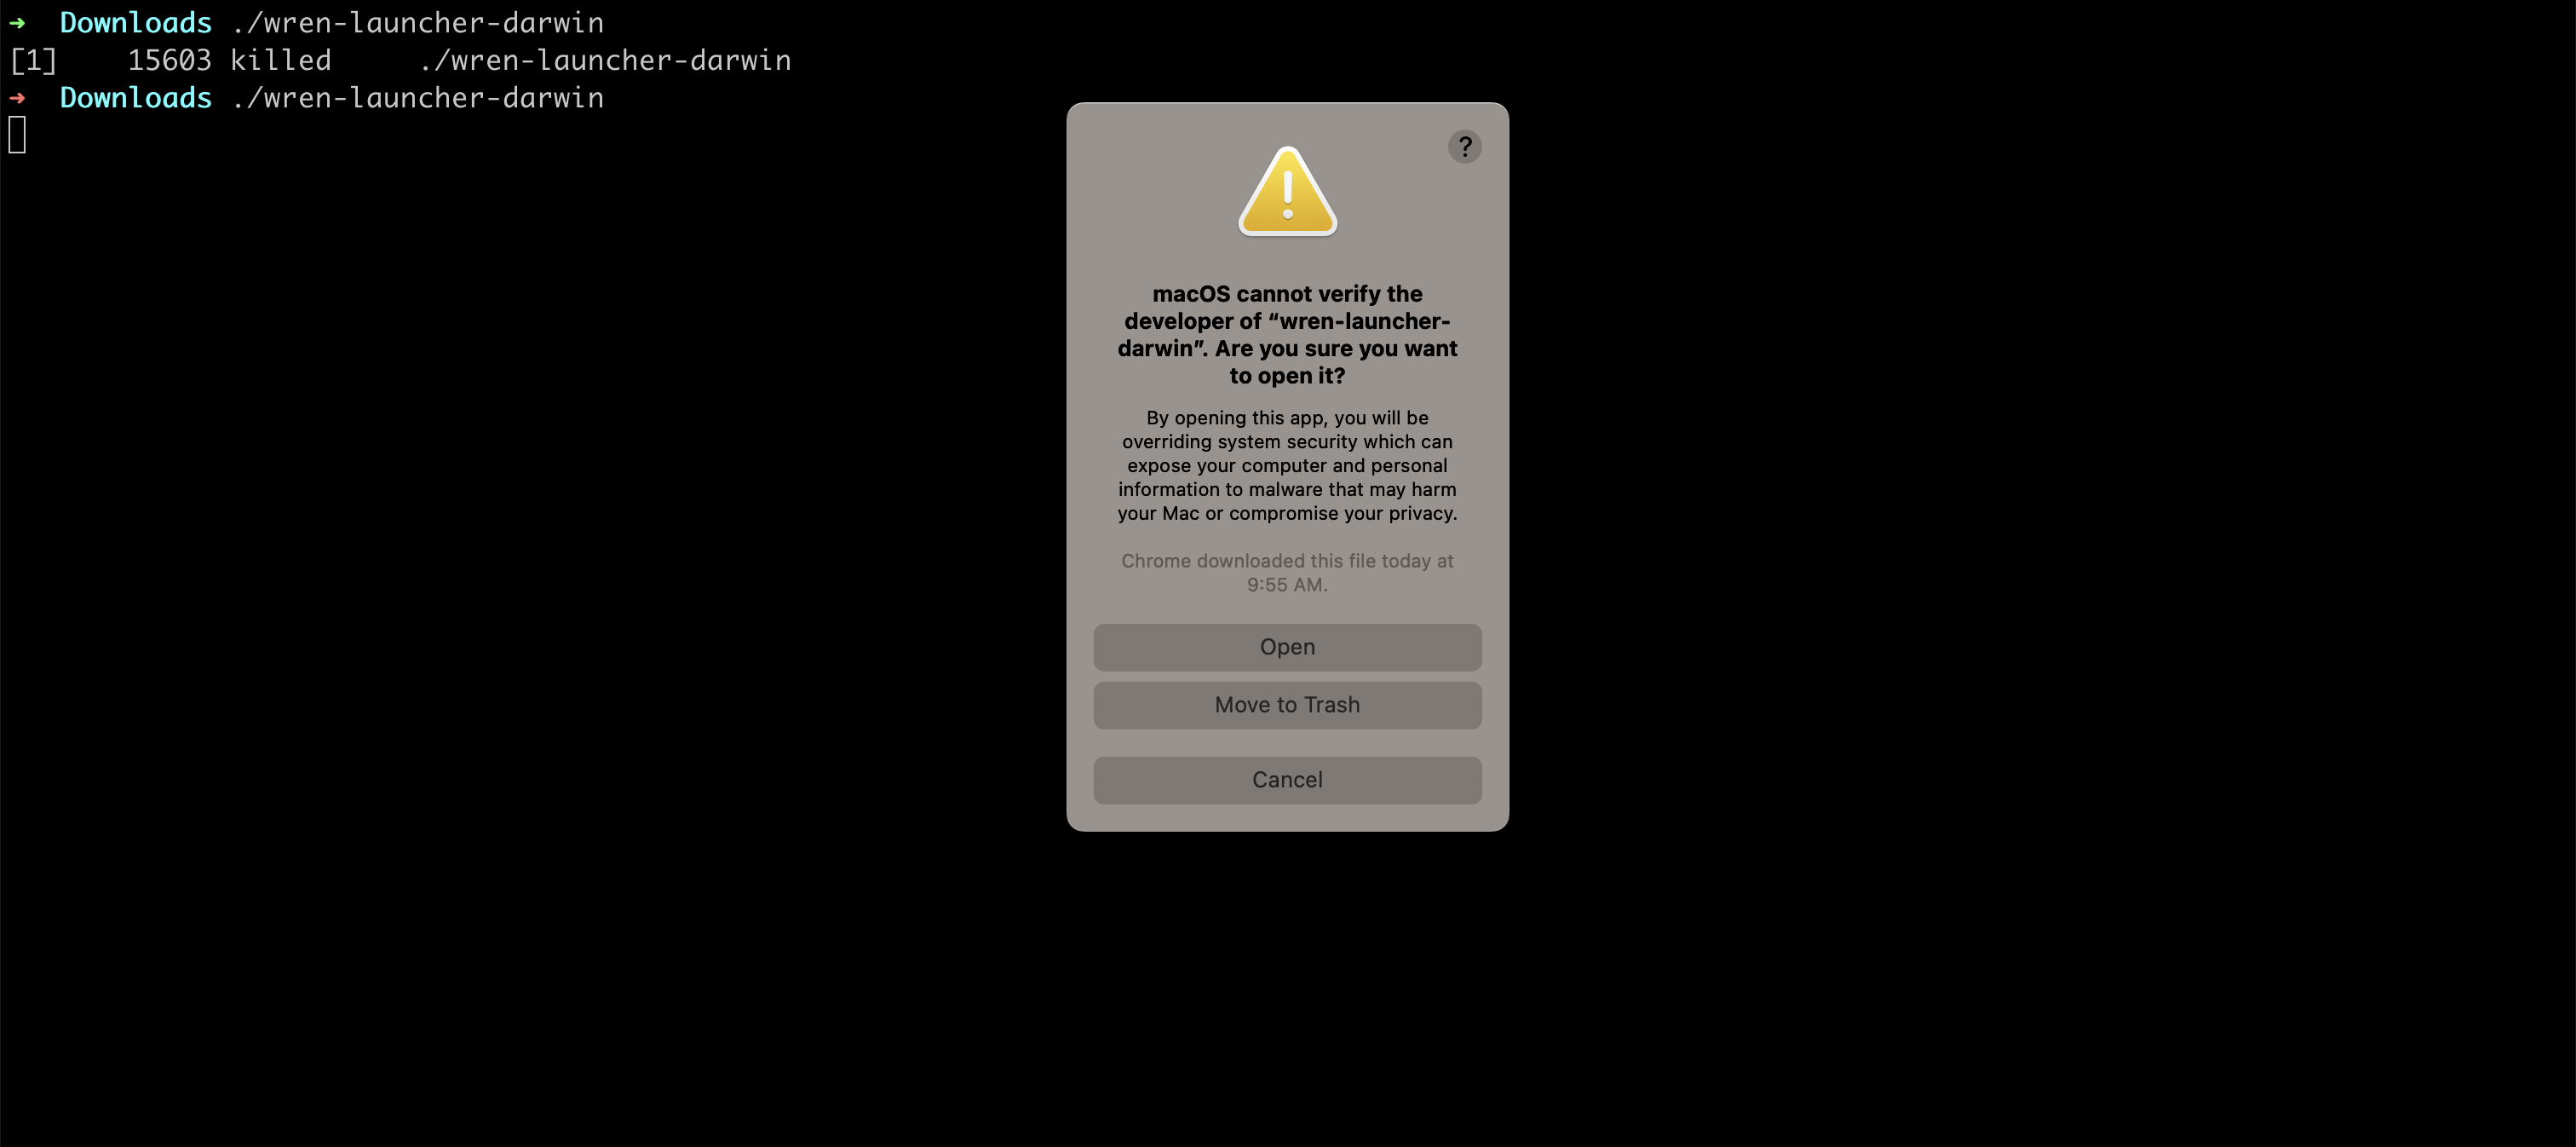
2. Allow the app to run
- The launcher may be blocked because it is not yet verified by Apple.
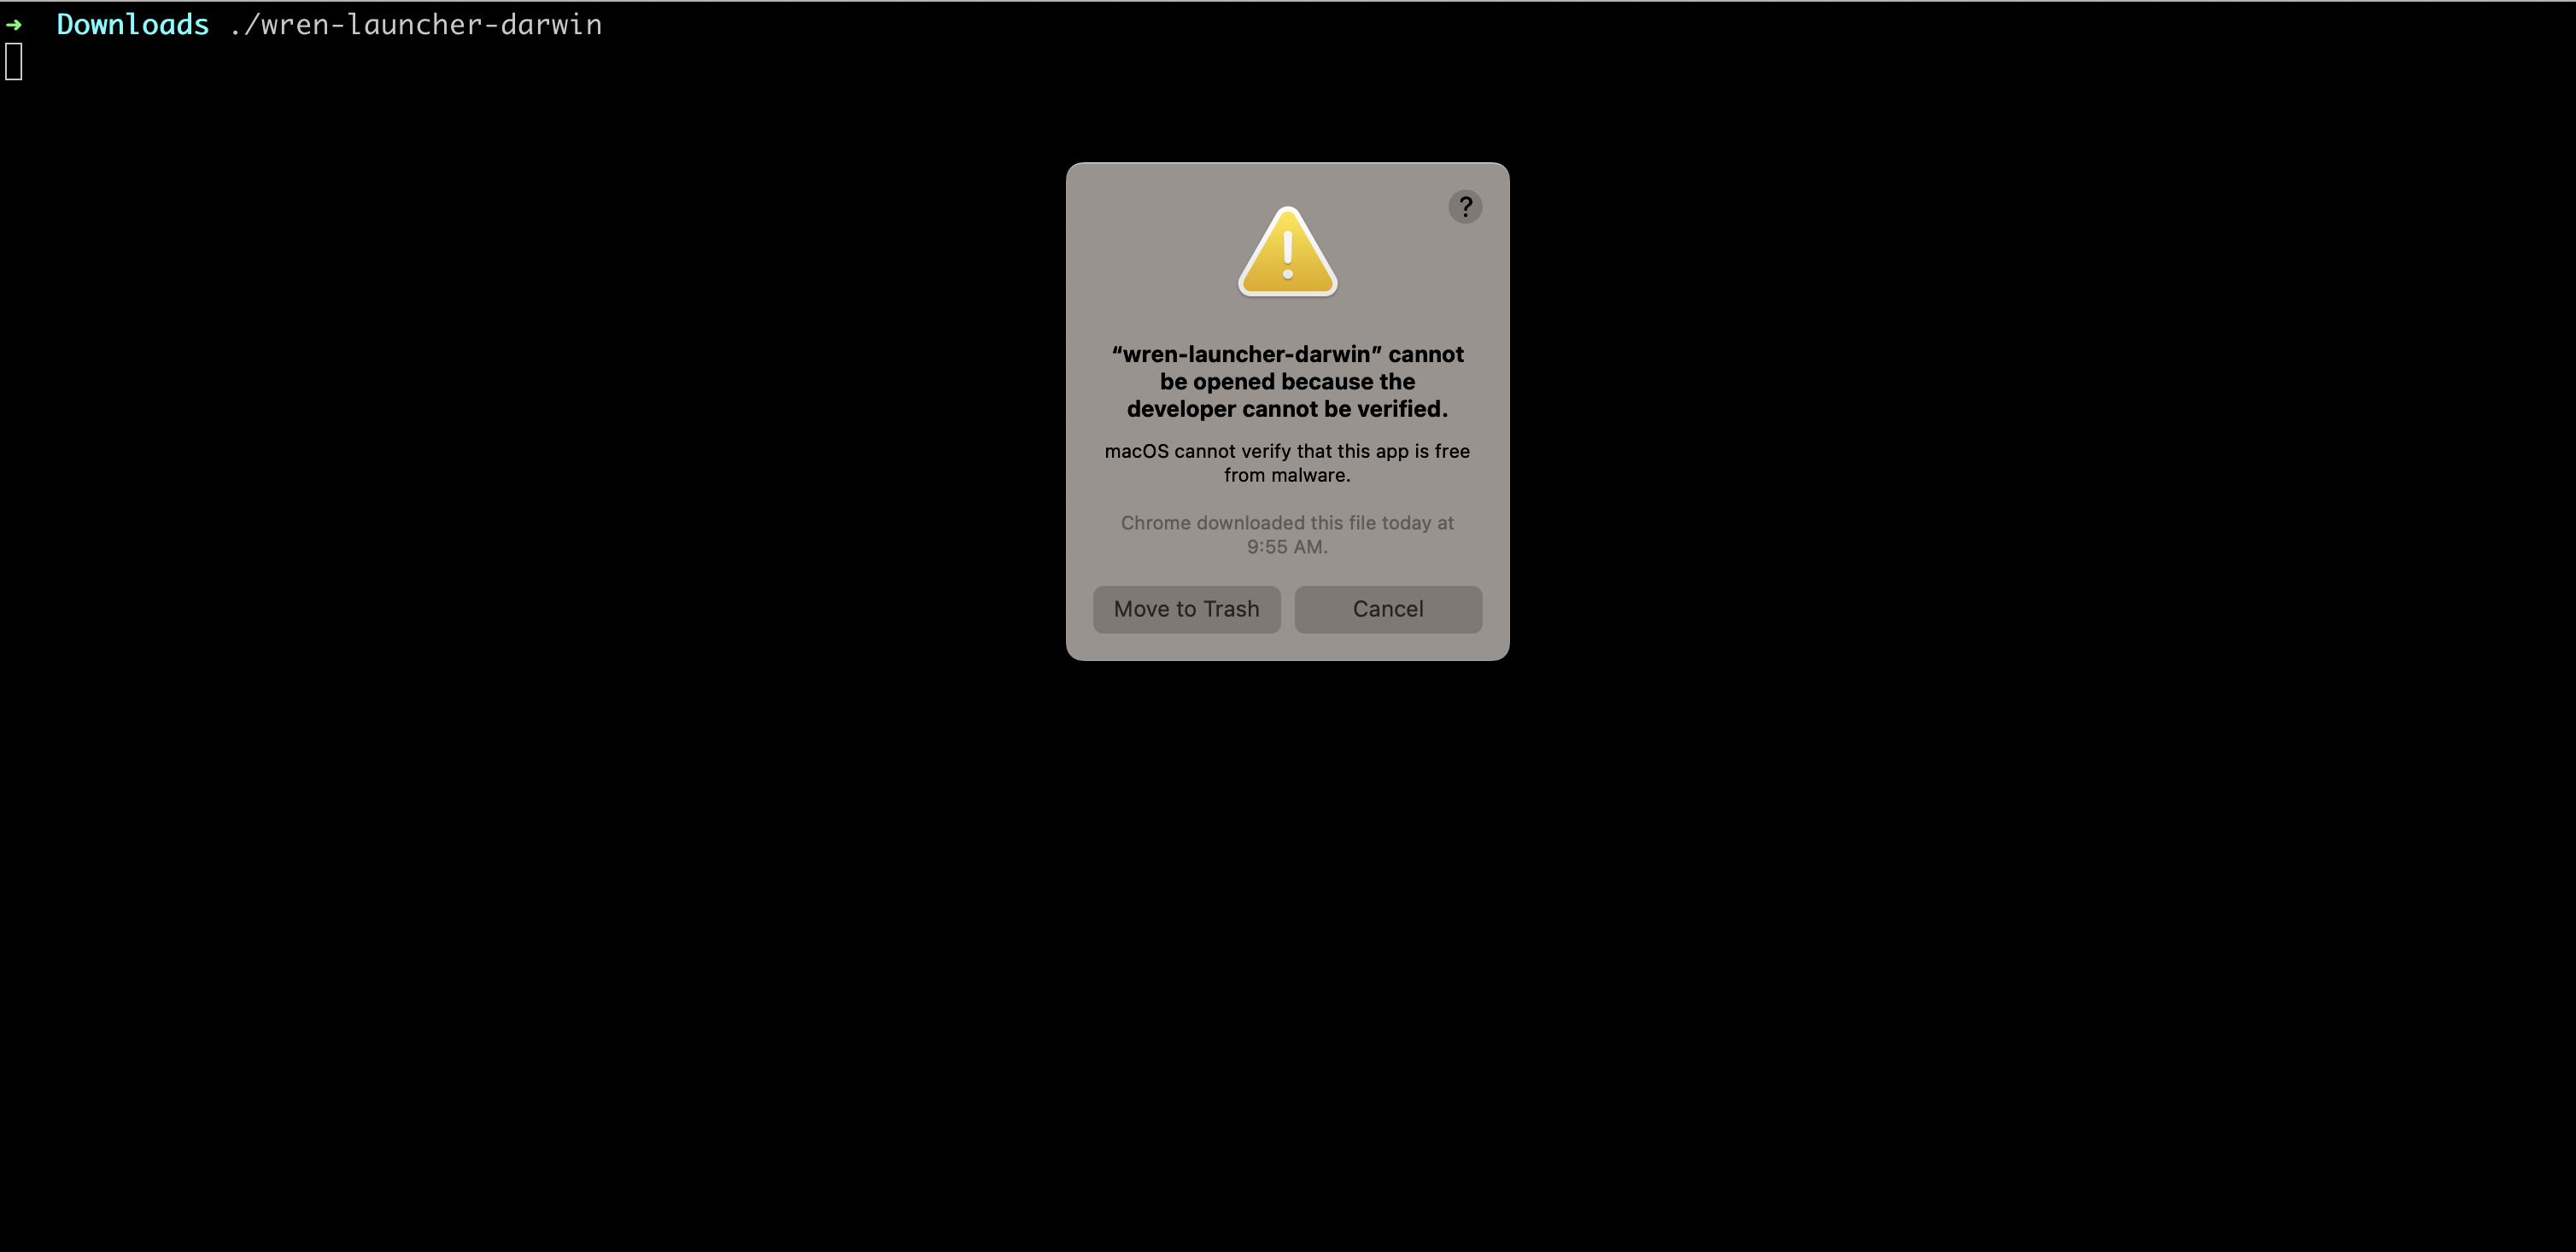
- Open System Settings from the Apple menu, then select Privacy & Security.
- Find the message that
"wren-launcher-darwin" was blocked...and click Allow Anyway.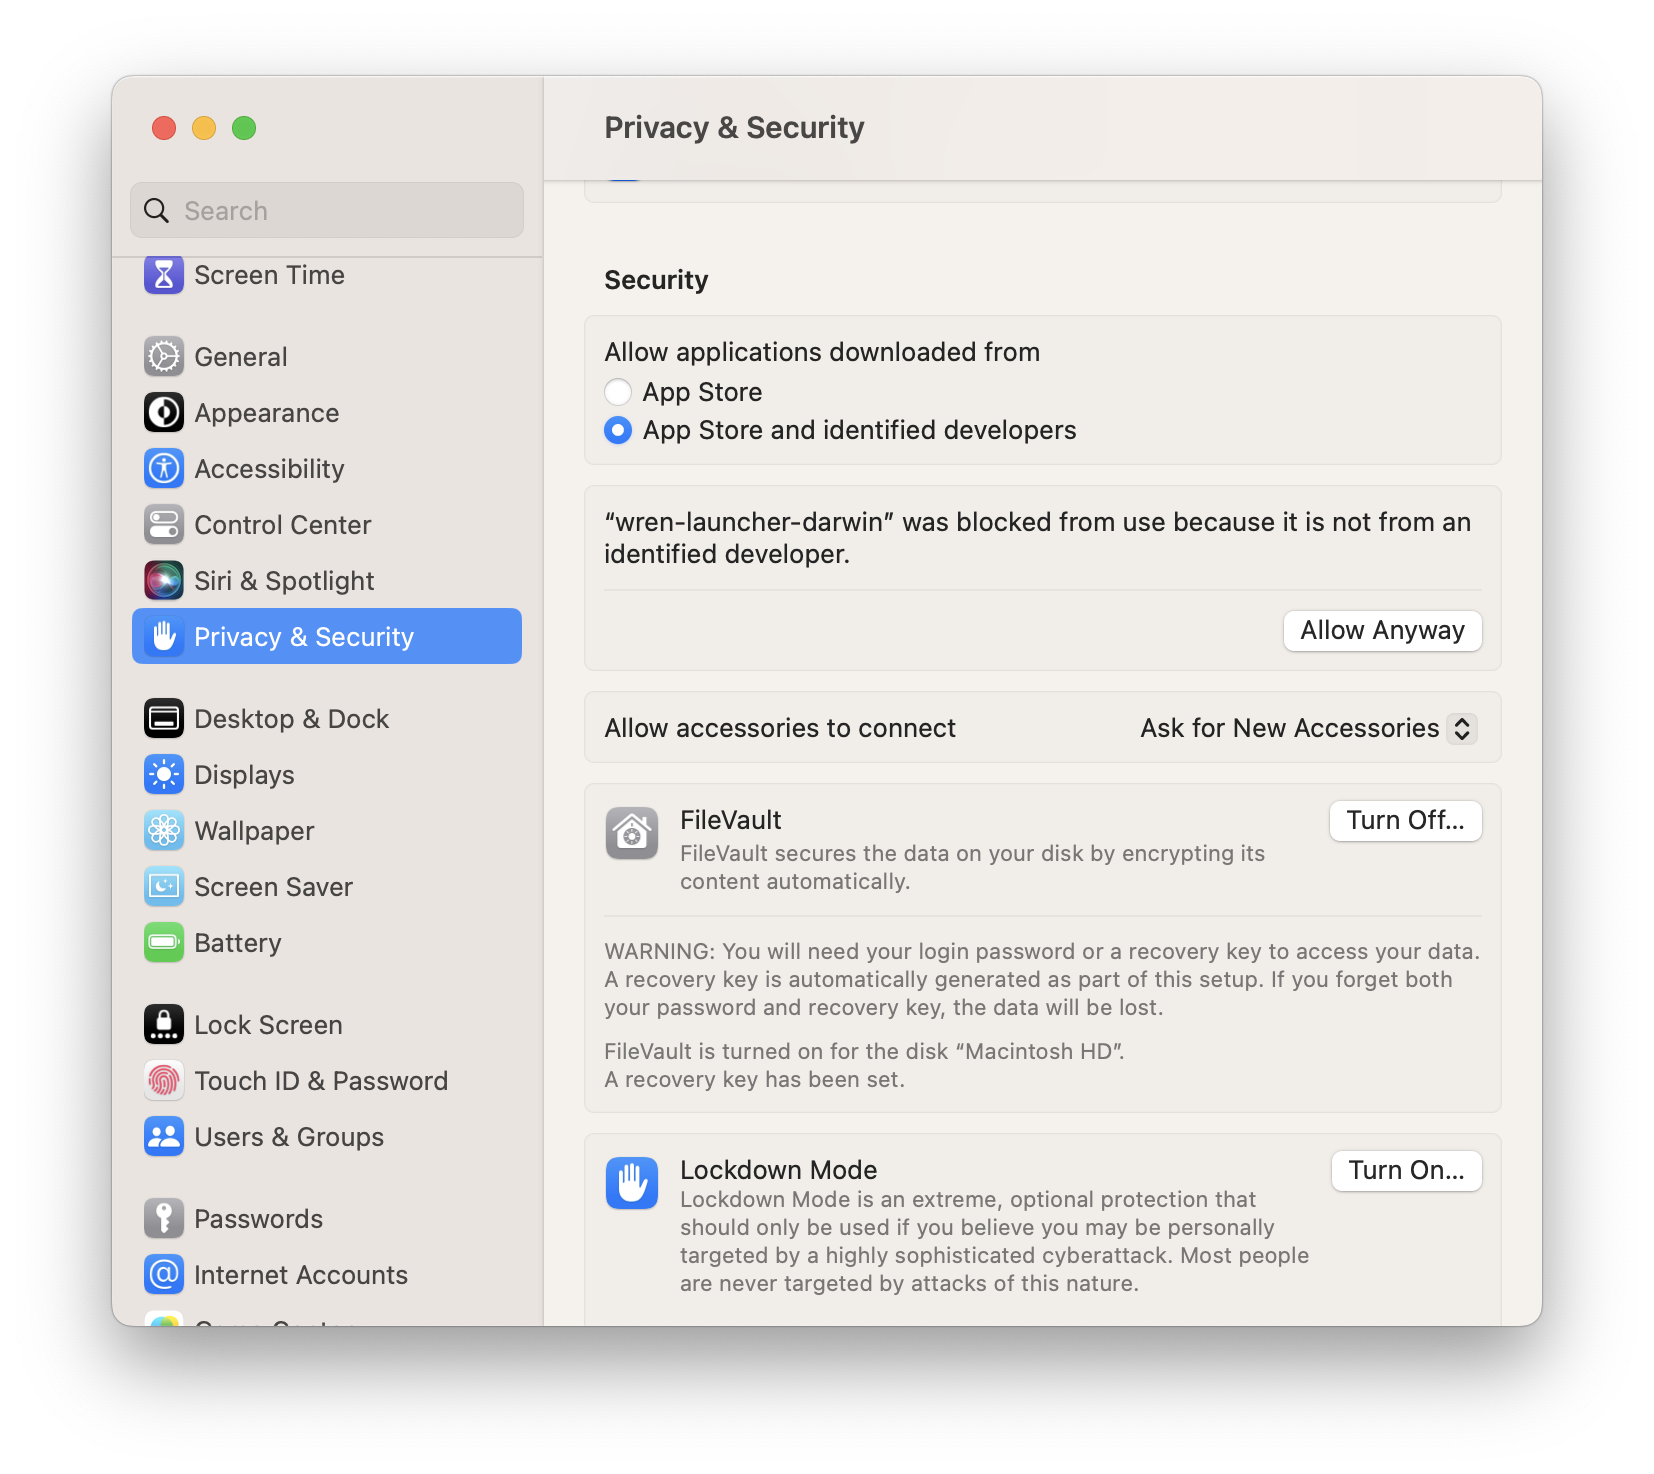
3. Finish setup in the launcher
- Click Open.
- Choose your LLM provider.
If you choose a custom provider, follow Custom LLM provider setup.
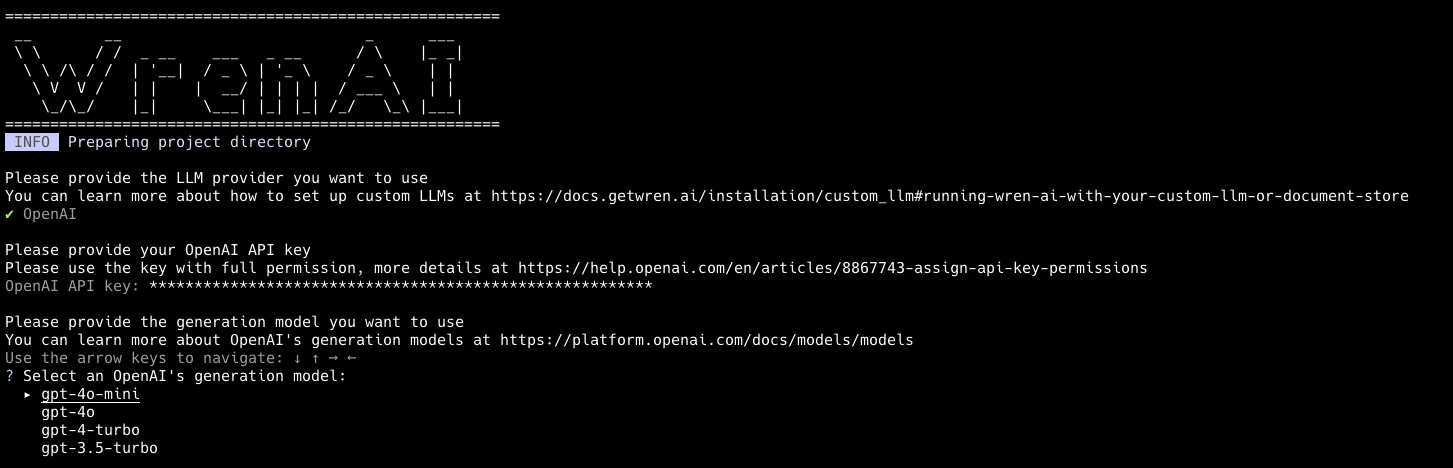
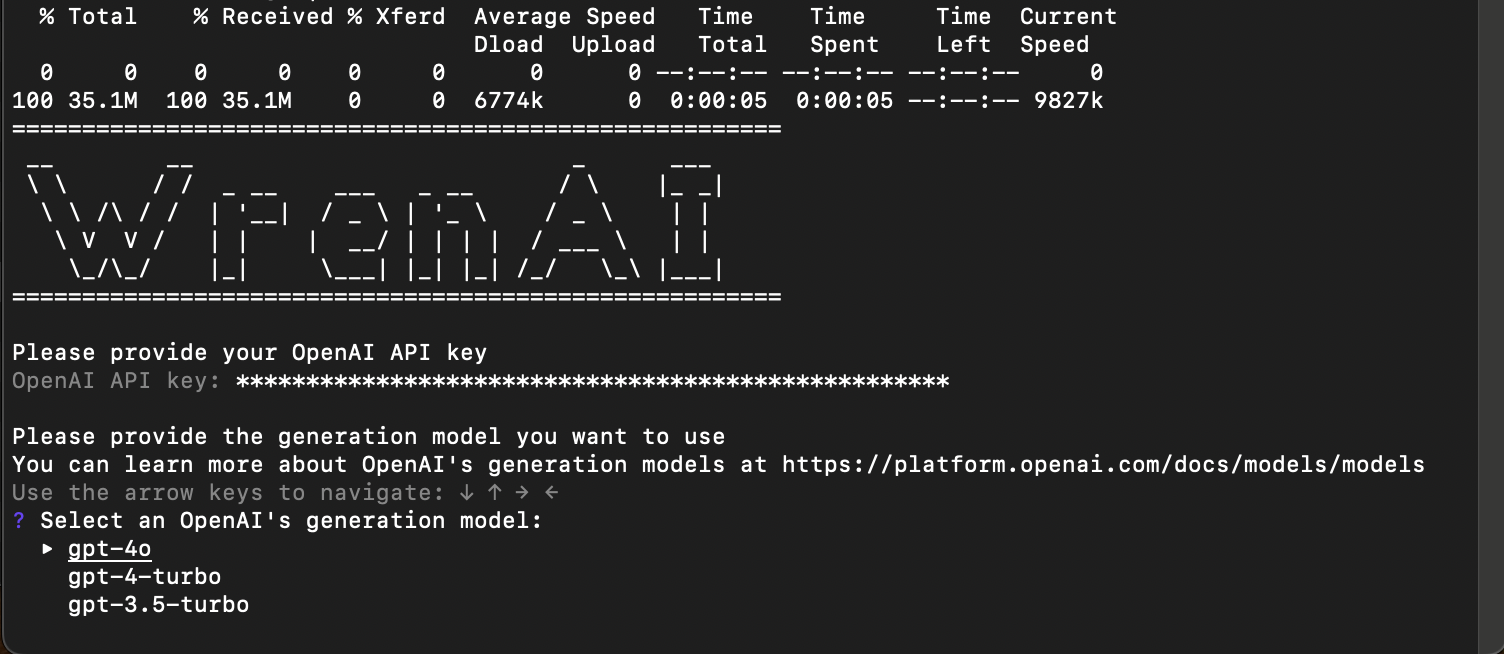
- If you choose OpenAI, enter your OpenAI API key and select the generation model you want to use.
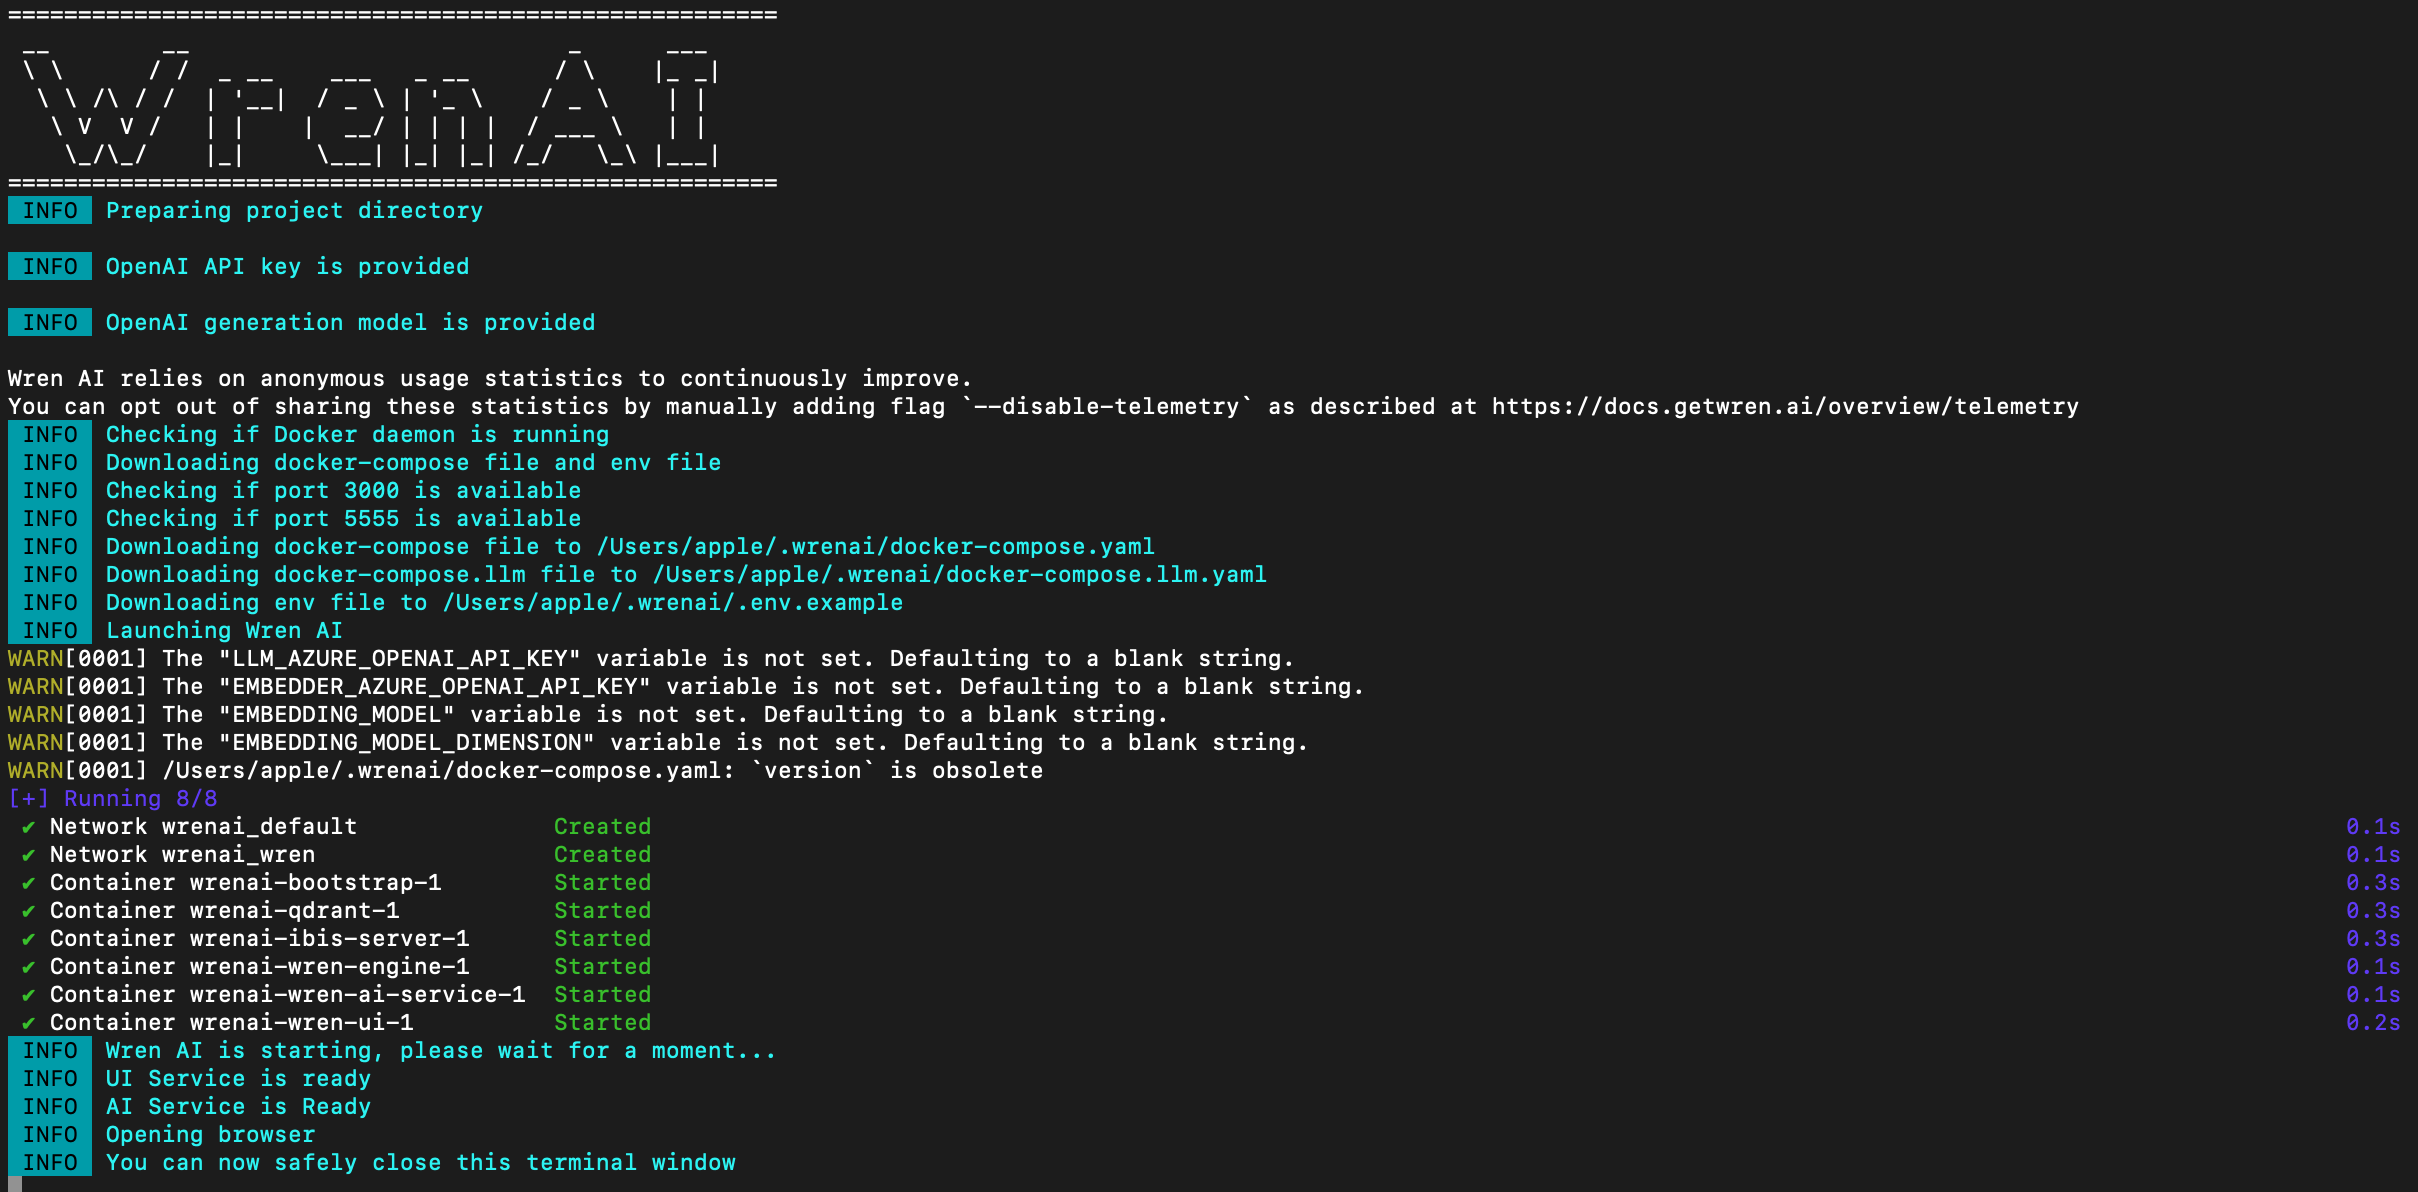
- Wait for installation to finish. The launcher will set up the Docker containers and open Wren AI in your browser.
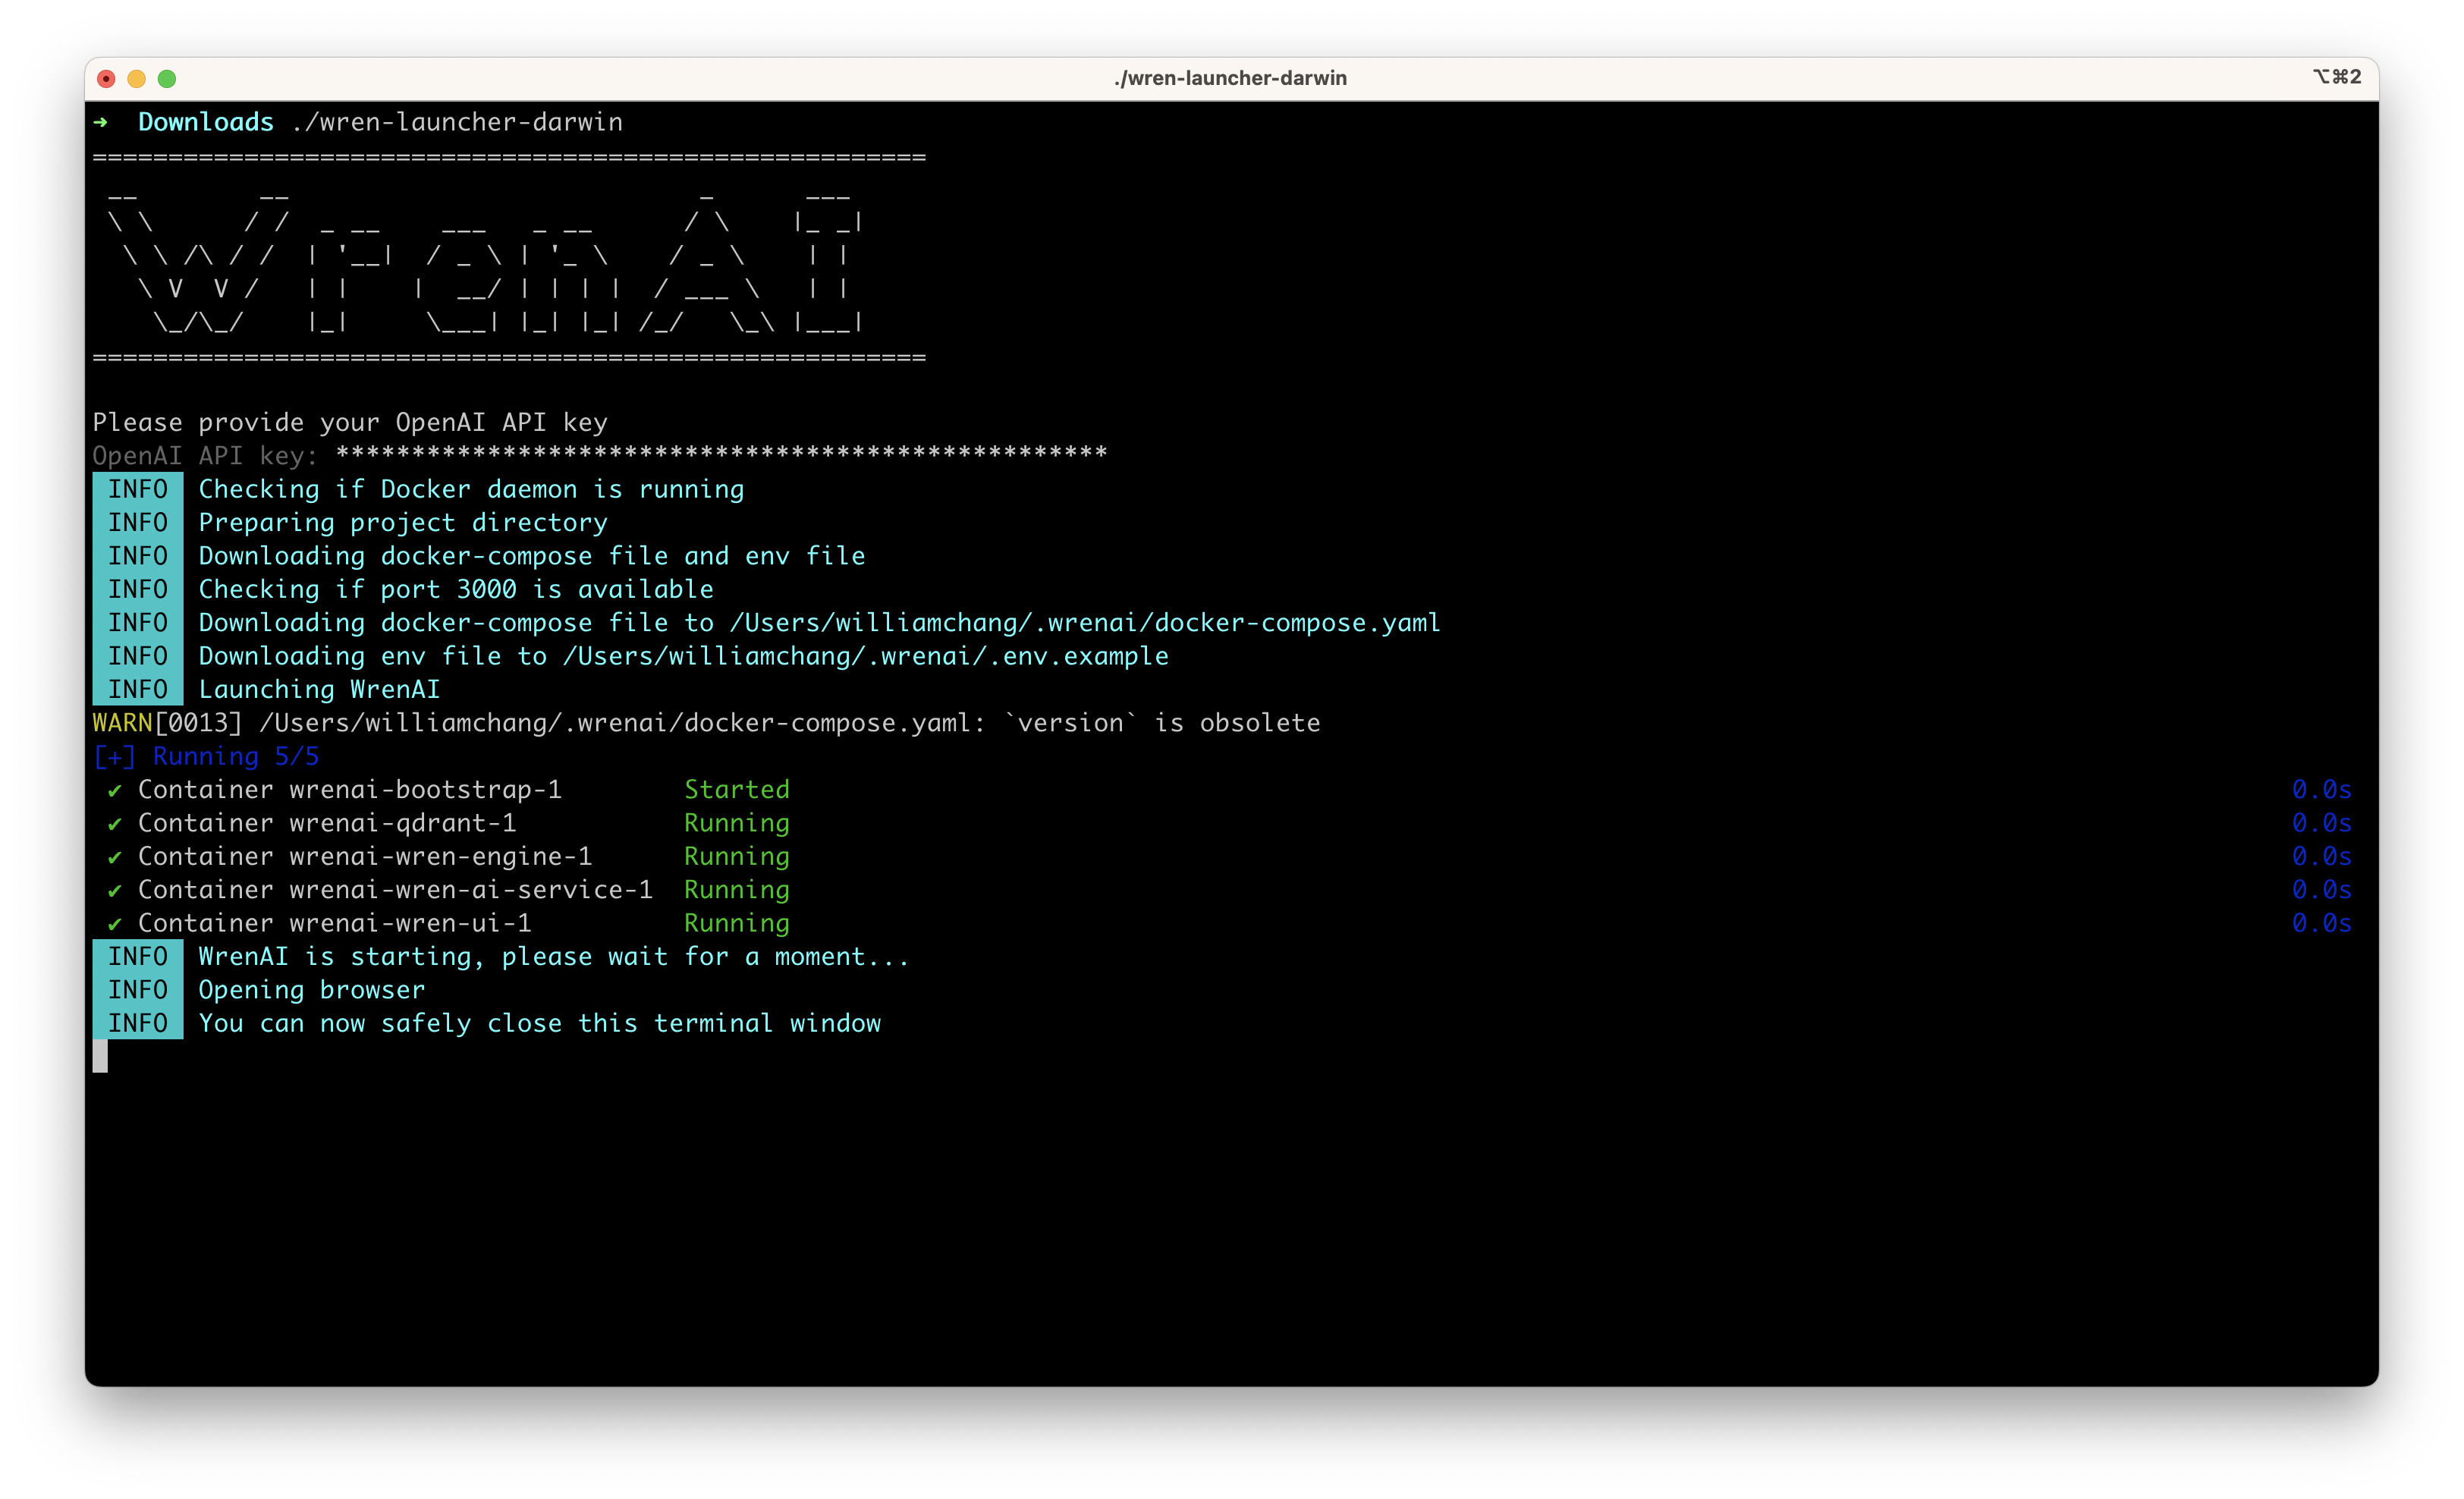
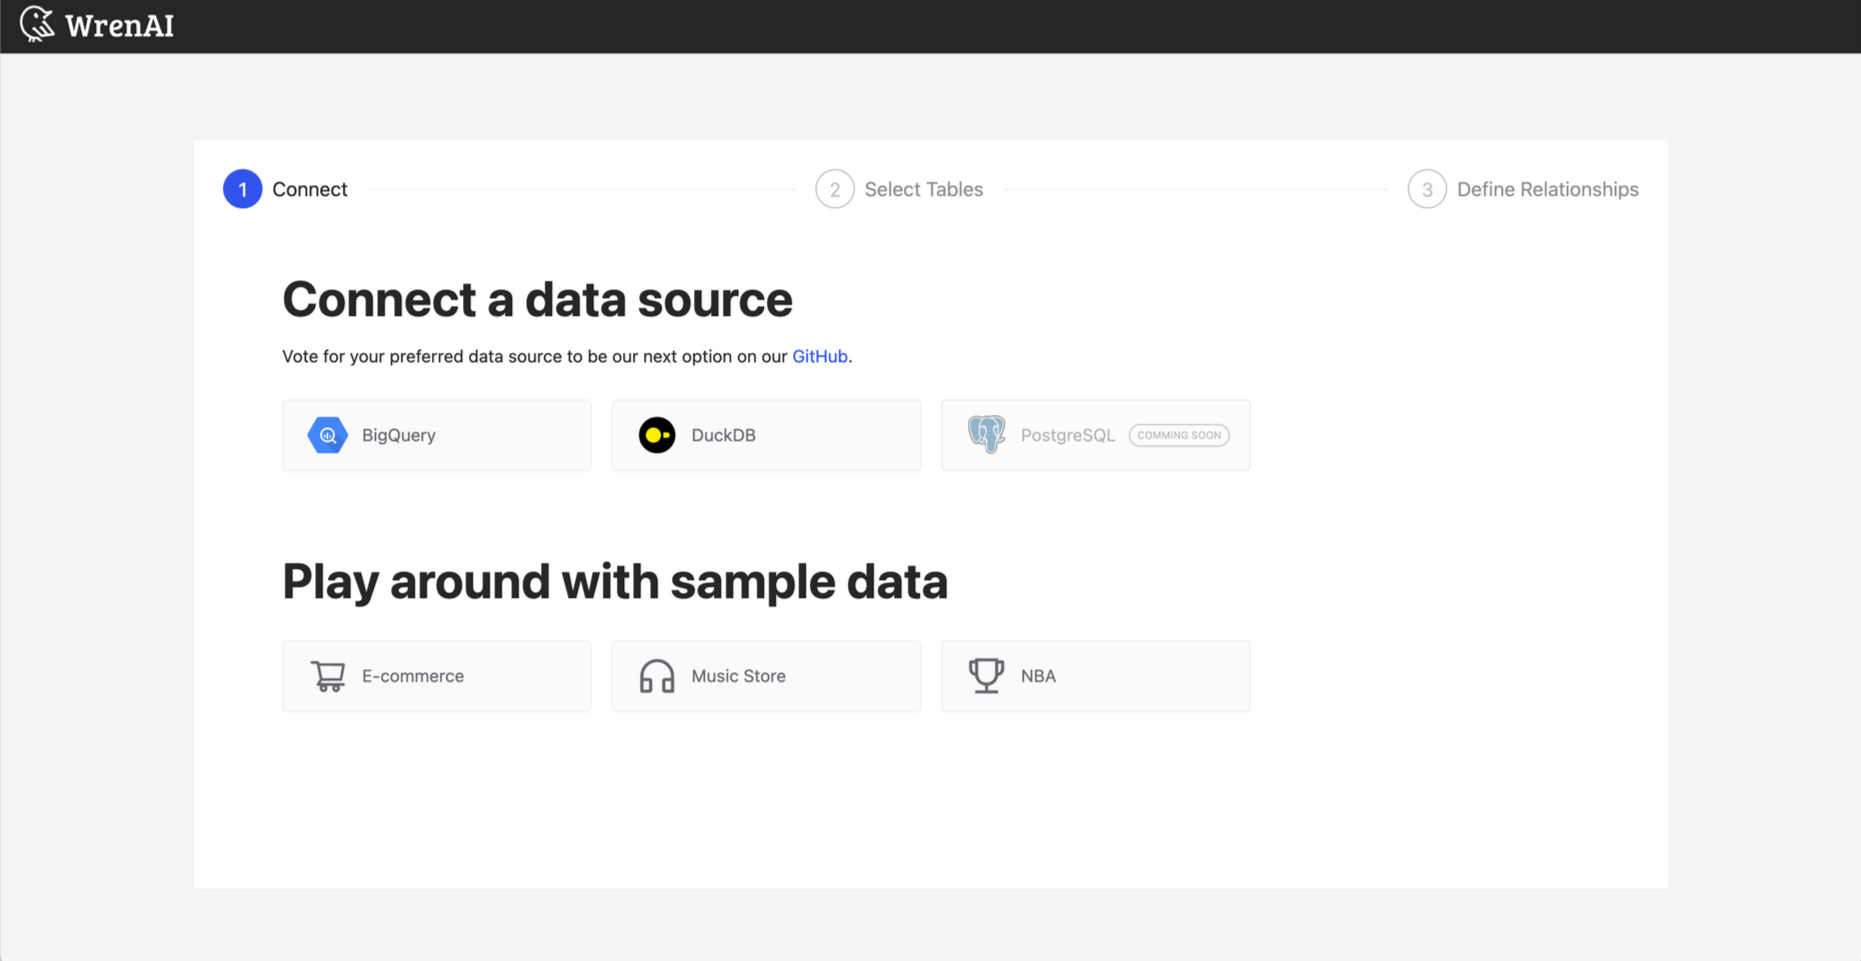
4. Open Wren AI
If the launcher does not open the site automatically, go to http://localhost:3000.

1. Download and run Wren AI Launcher
If you are using Intel Linux, run:
curl -L https://github.com/Canner/WrenAI/releases/download/0.29.1/wren-launcher-linux.tar.gz | tar -xz && ./wren-launcher-linux
If you are using ARM64 Linux, run:
curl -L https://github.com/Canner/WrenAI/releases/download/0.29.1/wren-launcher-linux-arm64.tar.gz | tar -xz && ./wren-launcher-linux-arm64
You can find other launcher builds on the WrenAI releases page.
2. Finish setup in the launcher
- Choose your LLM provider.
If you choose a custom provider, follow Custom LLM provider setup.
- If you choose OpenAI, enter your OpenAI API key and select the generation model you want to use.
- Wait for installation to finish. The launcher will set up the Docker containers and open Wren AI in your browser.

3. Open Wren AI
If the launcher does not open the site automatically, go to http://localhost:3000.
1. Download Wren AI Launcher
Download wren-launcher-windows.zip.
After you unzip it, run wren-launcher-windows.exe.
2. Run Wren AI Launcher
- Right-click
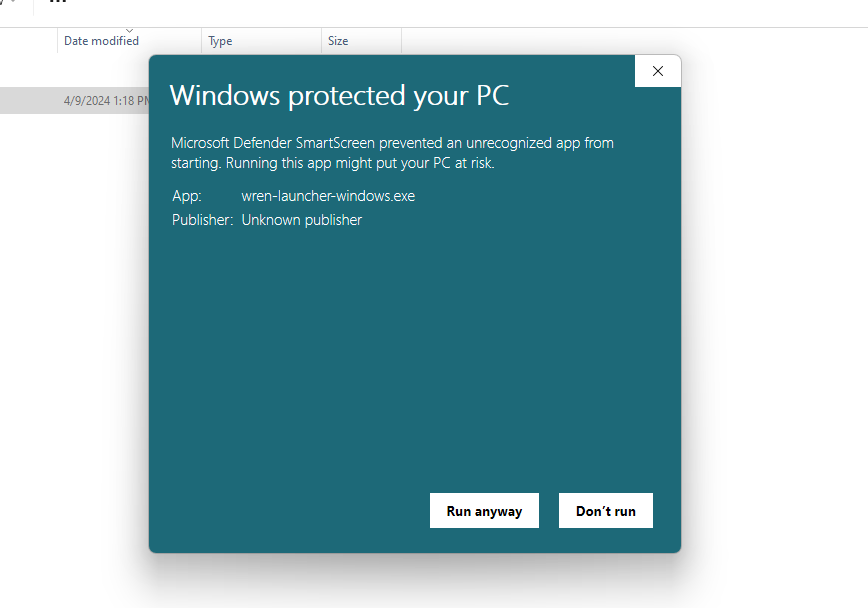
wren-launcher-windows.exeand choose to run as administrator. - When
Microsoft Defender SmartScreenappears, choose More info, then click Run anyway.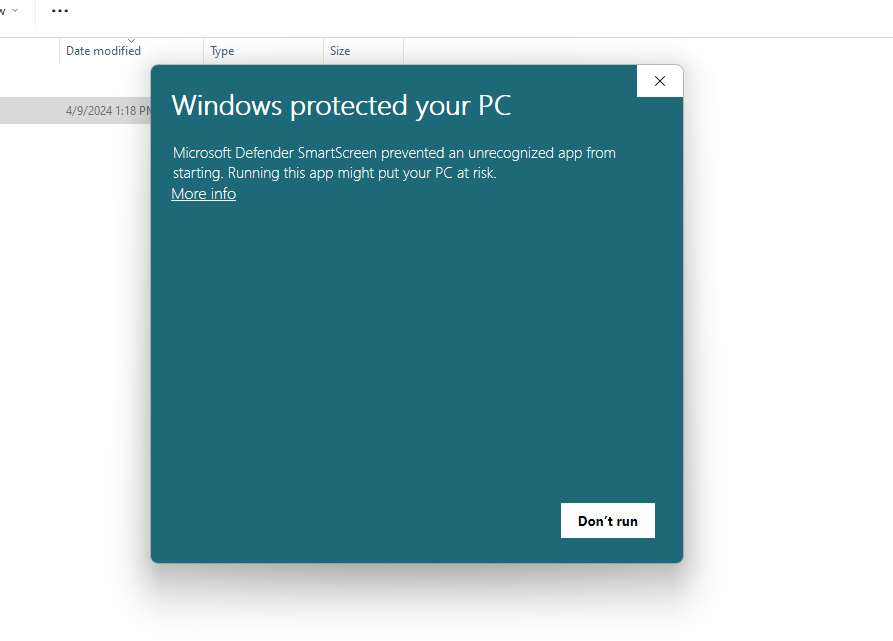
- Choose your LLM provider.
If you choose a custom provider, follow Custom LLM provider setup.
- If you choose OpenAI, enter your OpenAI API key and select the generation model you want to use.
- Wait for installation to finish. The launcher will set up the Docker containers and open Wren AI in your browser.
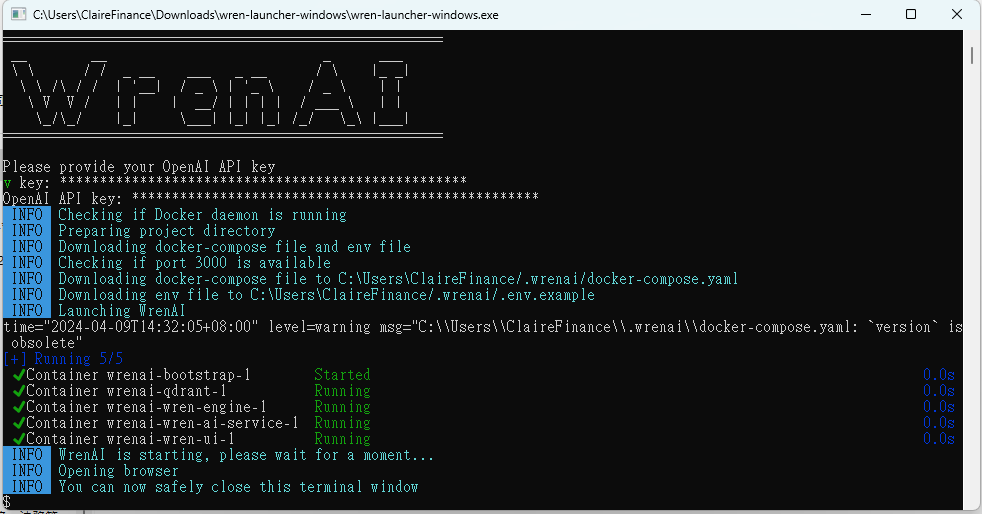
3. Open Wren AI
If the launcher does not open the site automatically, go to http://localhost:3000.

Using the shell
You can also launch Wren AI from the shell and pass arguments to skip some setup fields.
The examples below prefill OpenAI settings. If you are using another provider, launch Wren AI normally and complete the provider-specific setup separately.
- macOS
- Linux
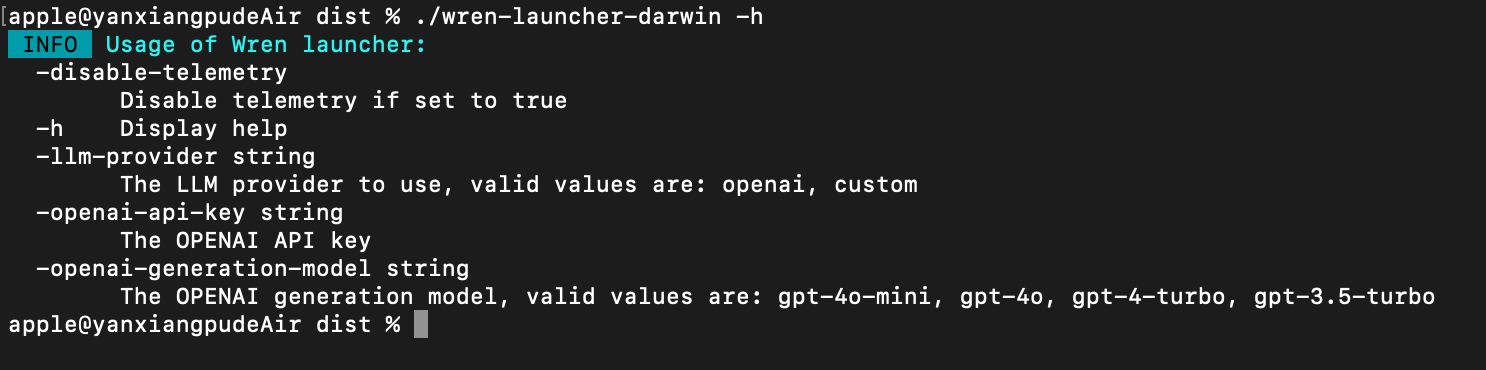
1. Check available arguments
If you are using Apple Silicon Mac, run:
./wren-launcher-darwin-arm64 -h
If you are using Intel Mac, run:
./wren-launcher-darwin -h

2. Launch Wren AI with OpenAI settings
If you are using Apple Silicon Mac, run:
./wren-launcher-darwin-arm64 -llm-provider openai -openai-api-key YOUR_OPENAI_API_KEY -openai-generation-model GENERATION_MODEL_NAME
If you are using Intel Mac, run:
./wren-launcher-darwin -llm-provider openai -openai-api-key YOUR_OPENAI_API_KEY -openai-generation-model GENERATION_MODEL_NAME
Wren AI starts automatically after the launcher receives the required OpenAI settings.
1. Check available arguments
If you are using Intel Linux, run:
./wren-launcher-linux -h
If you are using ARM64 Linux, run:
./wren-launcher-linux-arm64 -h
2. Launch Wren AI with OpenAI settings
If you are using Intel Linux, run:
./wren-launcher-linux -llm-provider openai -openai-api-key YOUR_OPENAI_API_KEY -openai-generation-model GENERATION_MODEL_NAME
If you are using ARM64 Linux, run:
./wren-launcher-linux-arm64 -llm-provider openai -openai-api-key YOUR_OPENAI_API_KEY -openai-generation-model GENERATION_MODEL_NAME
Wren AI starts automatically after the launcher receives the required OpenAI settings.

Change OpenAI API key
If you already installed Wren AI with OpenAI and want to use a different API key:
- Run Wren AI Launcher again and enter the new OpenAI API key.

- Restart the Wren AI service in Docker Desktop by selecting the
restartoption in thewrenaiproject.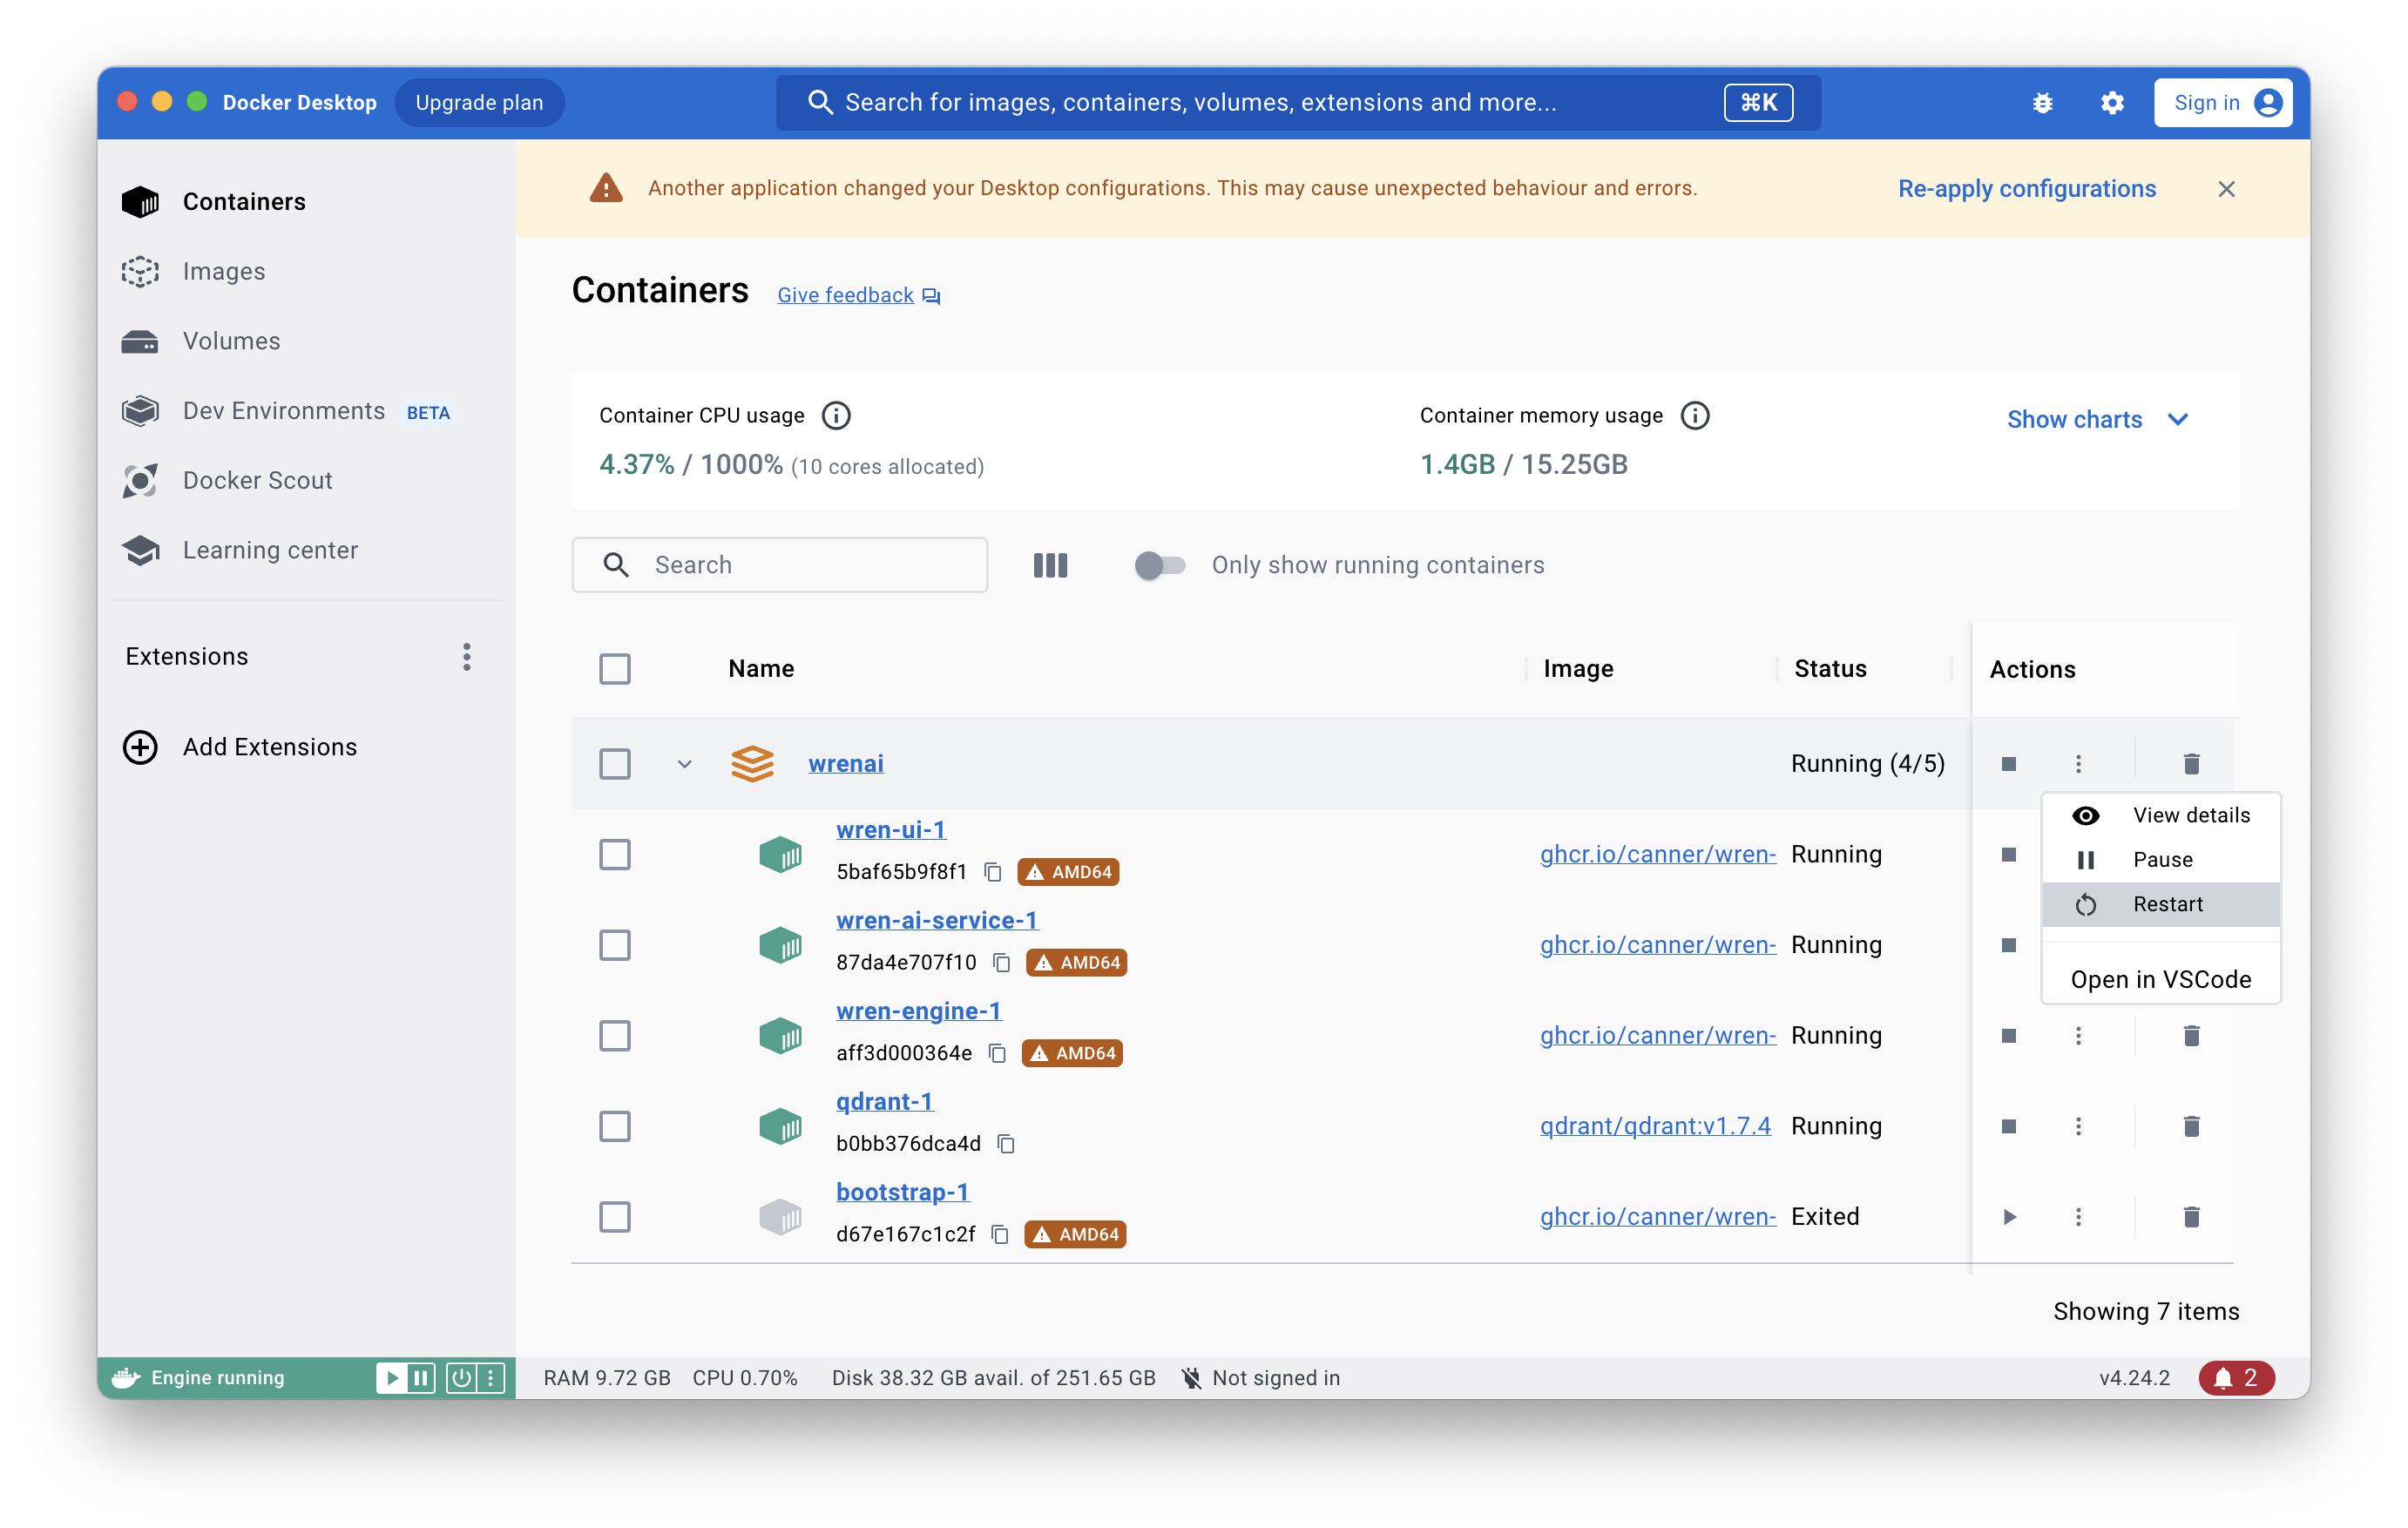
Update Wren AI version
To upgrade Wren AI:
- Download the latest Wren AI Launcher and run it. You can reuse the commands in Using Wren AI Launcher.
- Restart the Wren AI service in Docker Desktop by selecting the
restartoption in thewrenaiproject.
Troubleshooting
wren-engine fails to start with qemu: uncaught target signal 11
If you are using Apple Silicon Mac and Wren AI fails to launch with an error like this:
qemu: uncaught target signal 11 (Segmentation fault) - core dumped
Segmentation fault
...
Upgrade Docker Desktop to the latest version, or enable Use Rosetta for x86/amd64 emulation on Apple Silicon in Docker Desktop settings.